
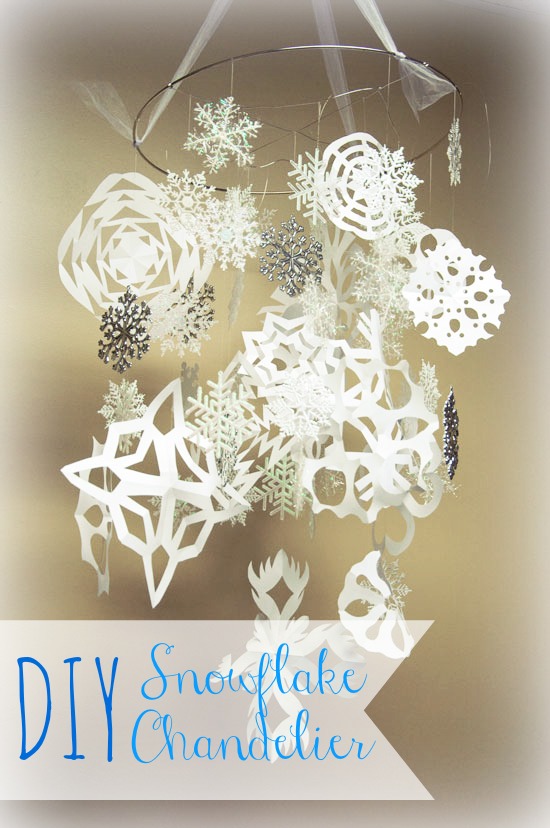
Today’s post is a fun winter/Christmas themed banner! This one was used for a Winter Wonderland themed party, but you could always write Merry Christmas or Happy Holidays on the banner instead and use green and red colored ornaments and ribbons:) I used poster paint on a basic brown wrapping paper for the banner and then used crepe paper and different types of sparkly ribbon to hang ornaments from at the bottom. I taped each one individually to the back so that it didn’t put to much stress on the paper. I am super excited about how it turned out:) I used Command poster strips to hang it up so that it wouldn’t ruin the walls and they were awesome, highly recommend!
 There you have it, an easy and cheap holiday banner! Use it for your Christmas dinner buffet or hang it in your classroom for the holiday season…the possibilities are endless:)
Want to see the other 11 days of Christmas? Check them out here:
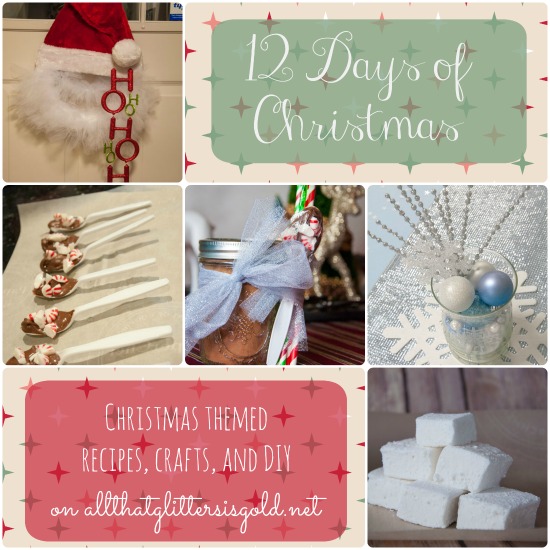
Day 1 // Day 2 // Day 3 // Day 4 // Day 5 // Day 6 // Day 7 // Day 8 // Day 9 // Day 10 // Day 11 // Day 12


