
 Hi Lovelies!
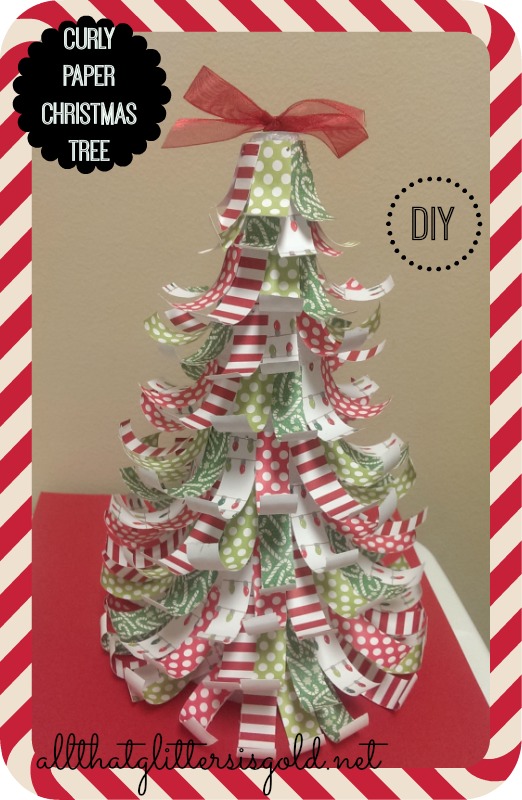
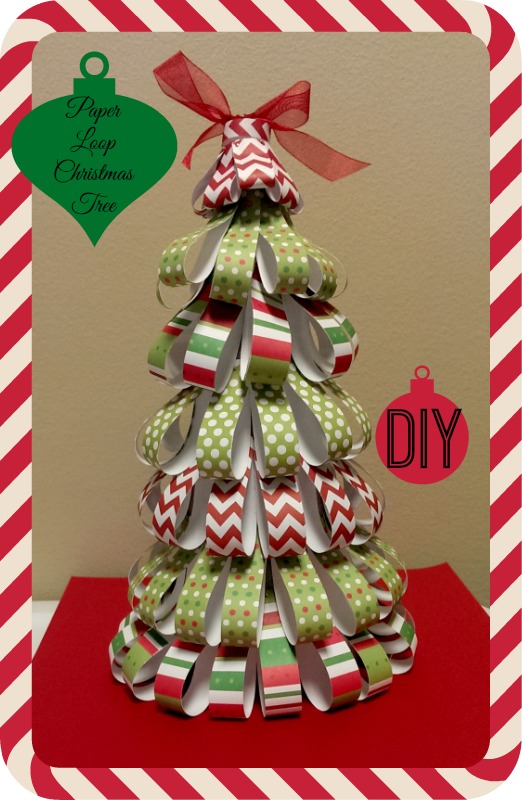
There is officially less than a week until Christmas and I get more and more excited as the days go on! You know what that means…I just get more and more crafty! Haha! I saw today’s craft on another blog through Pinterest the other day, and knew I just had to make it! It’s super easy and I already had all of the materials.
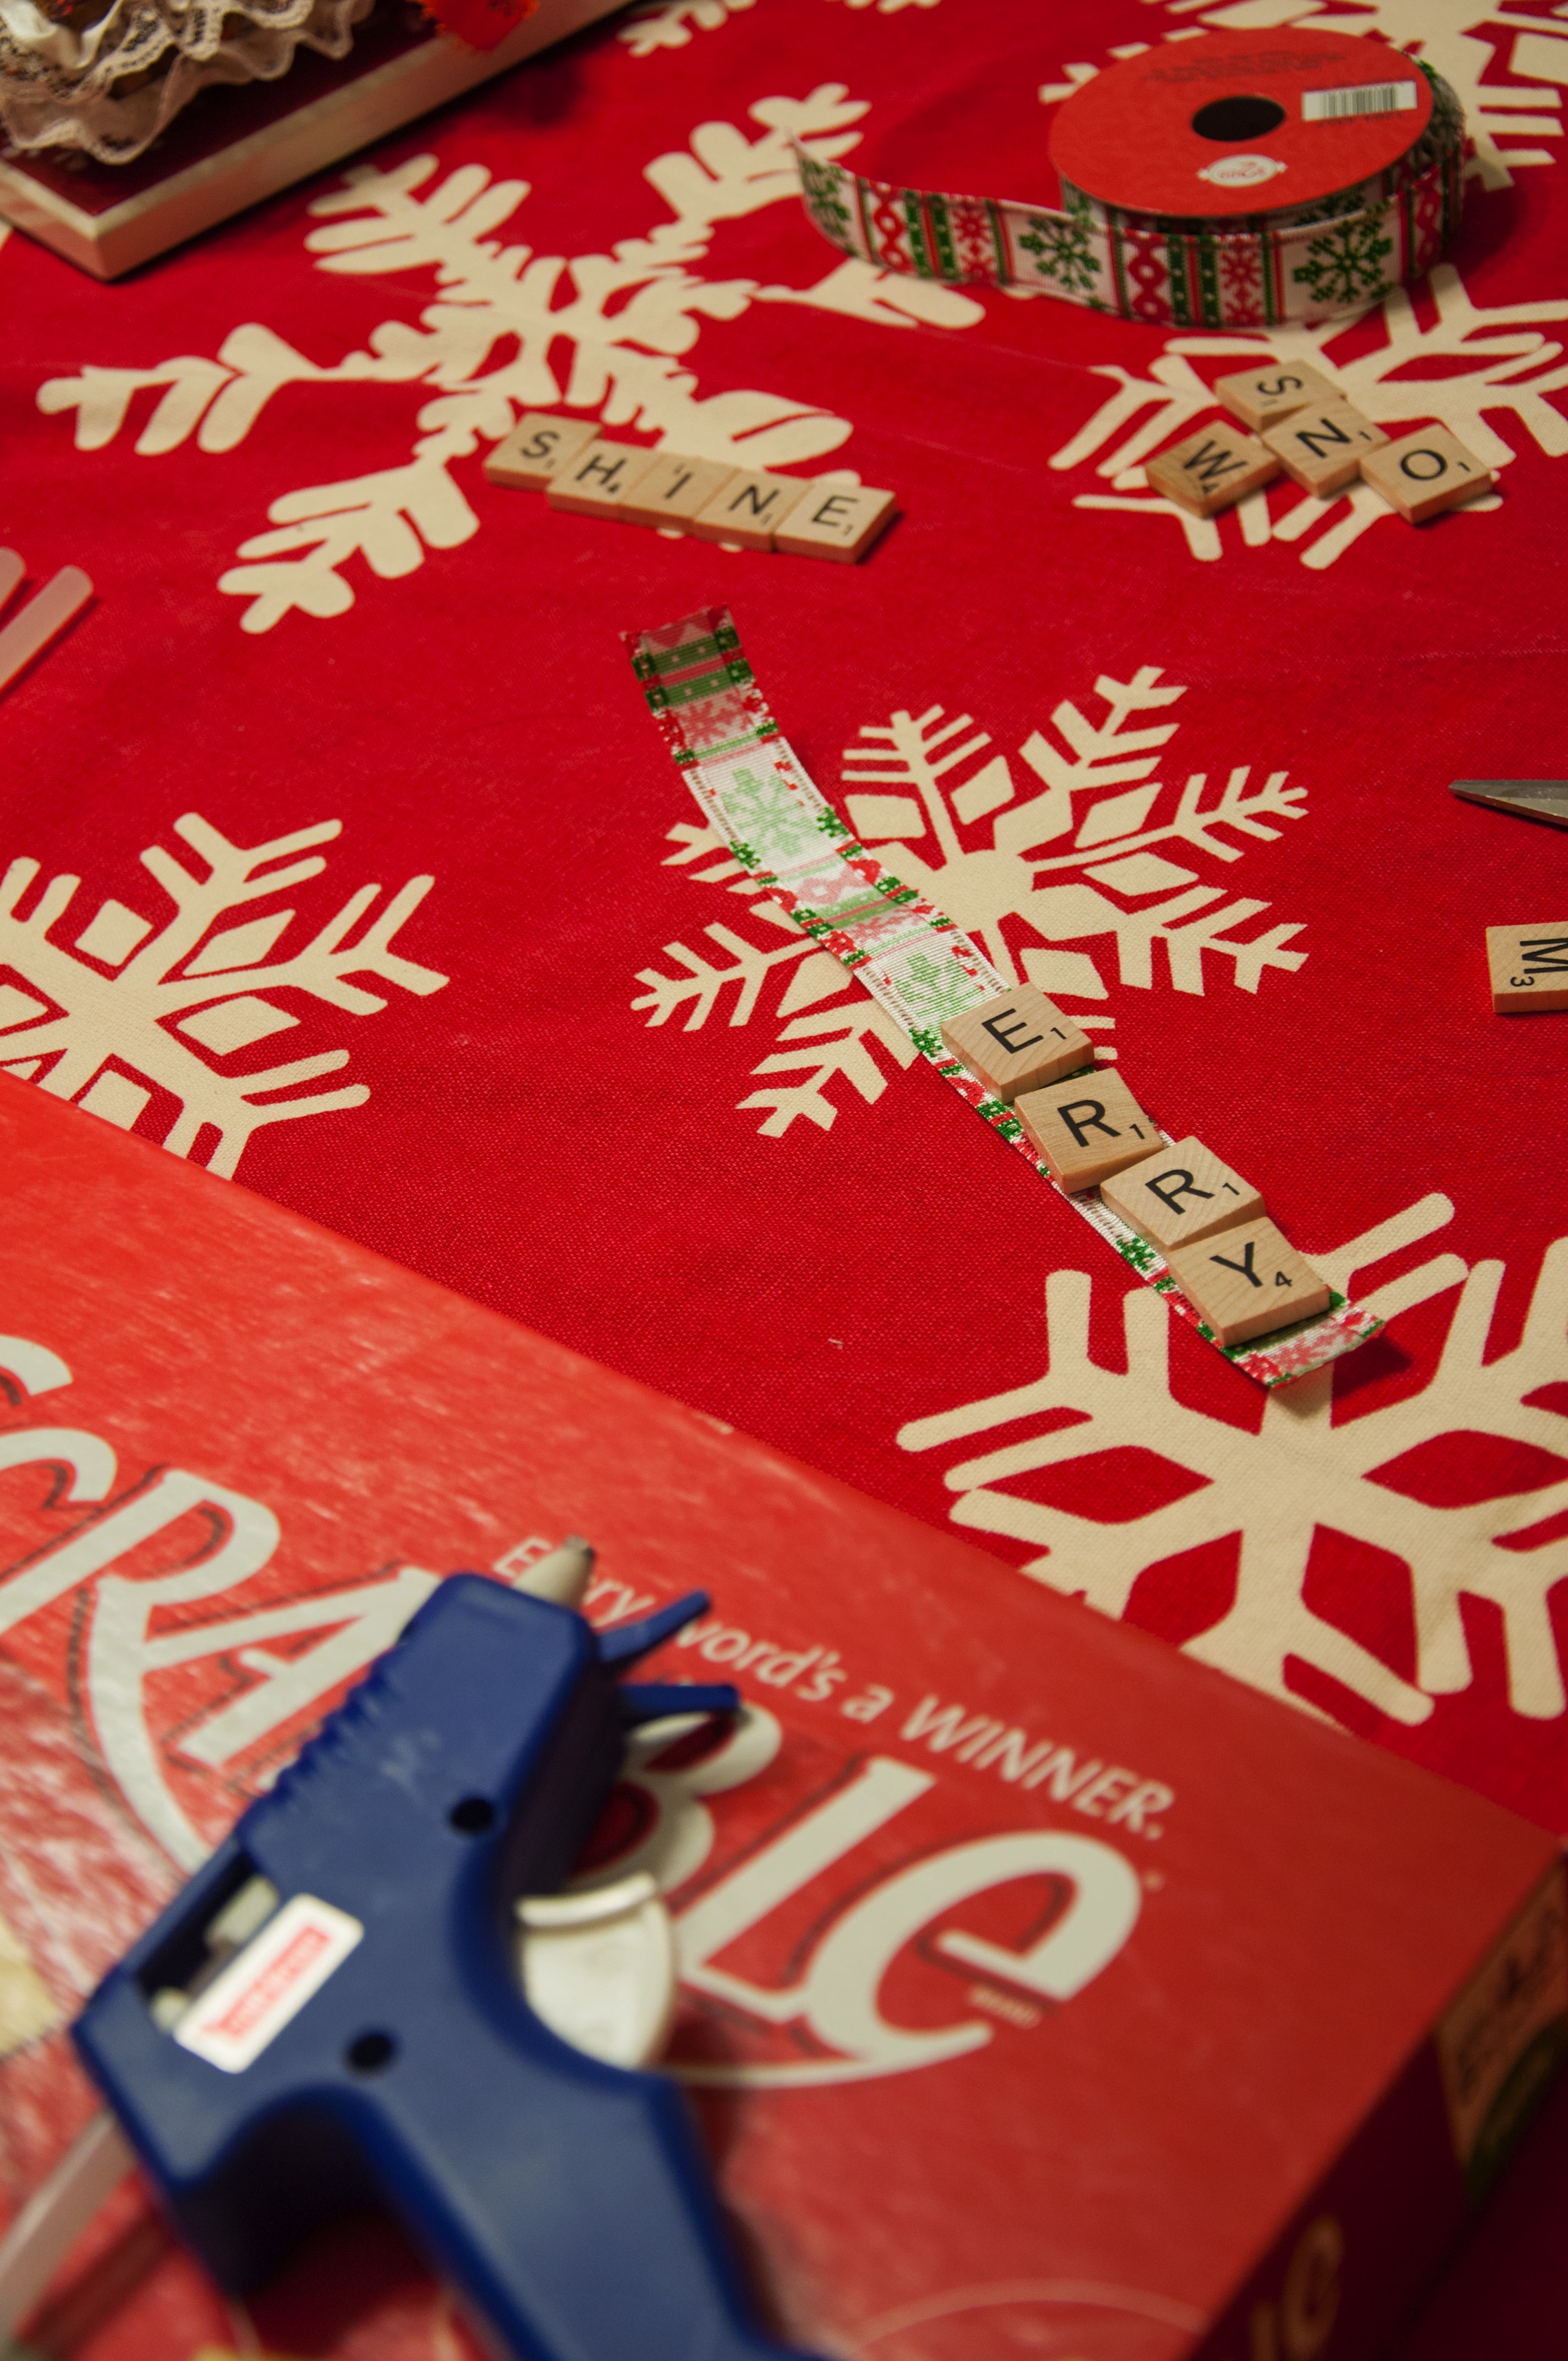
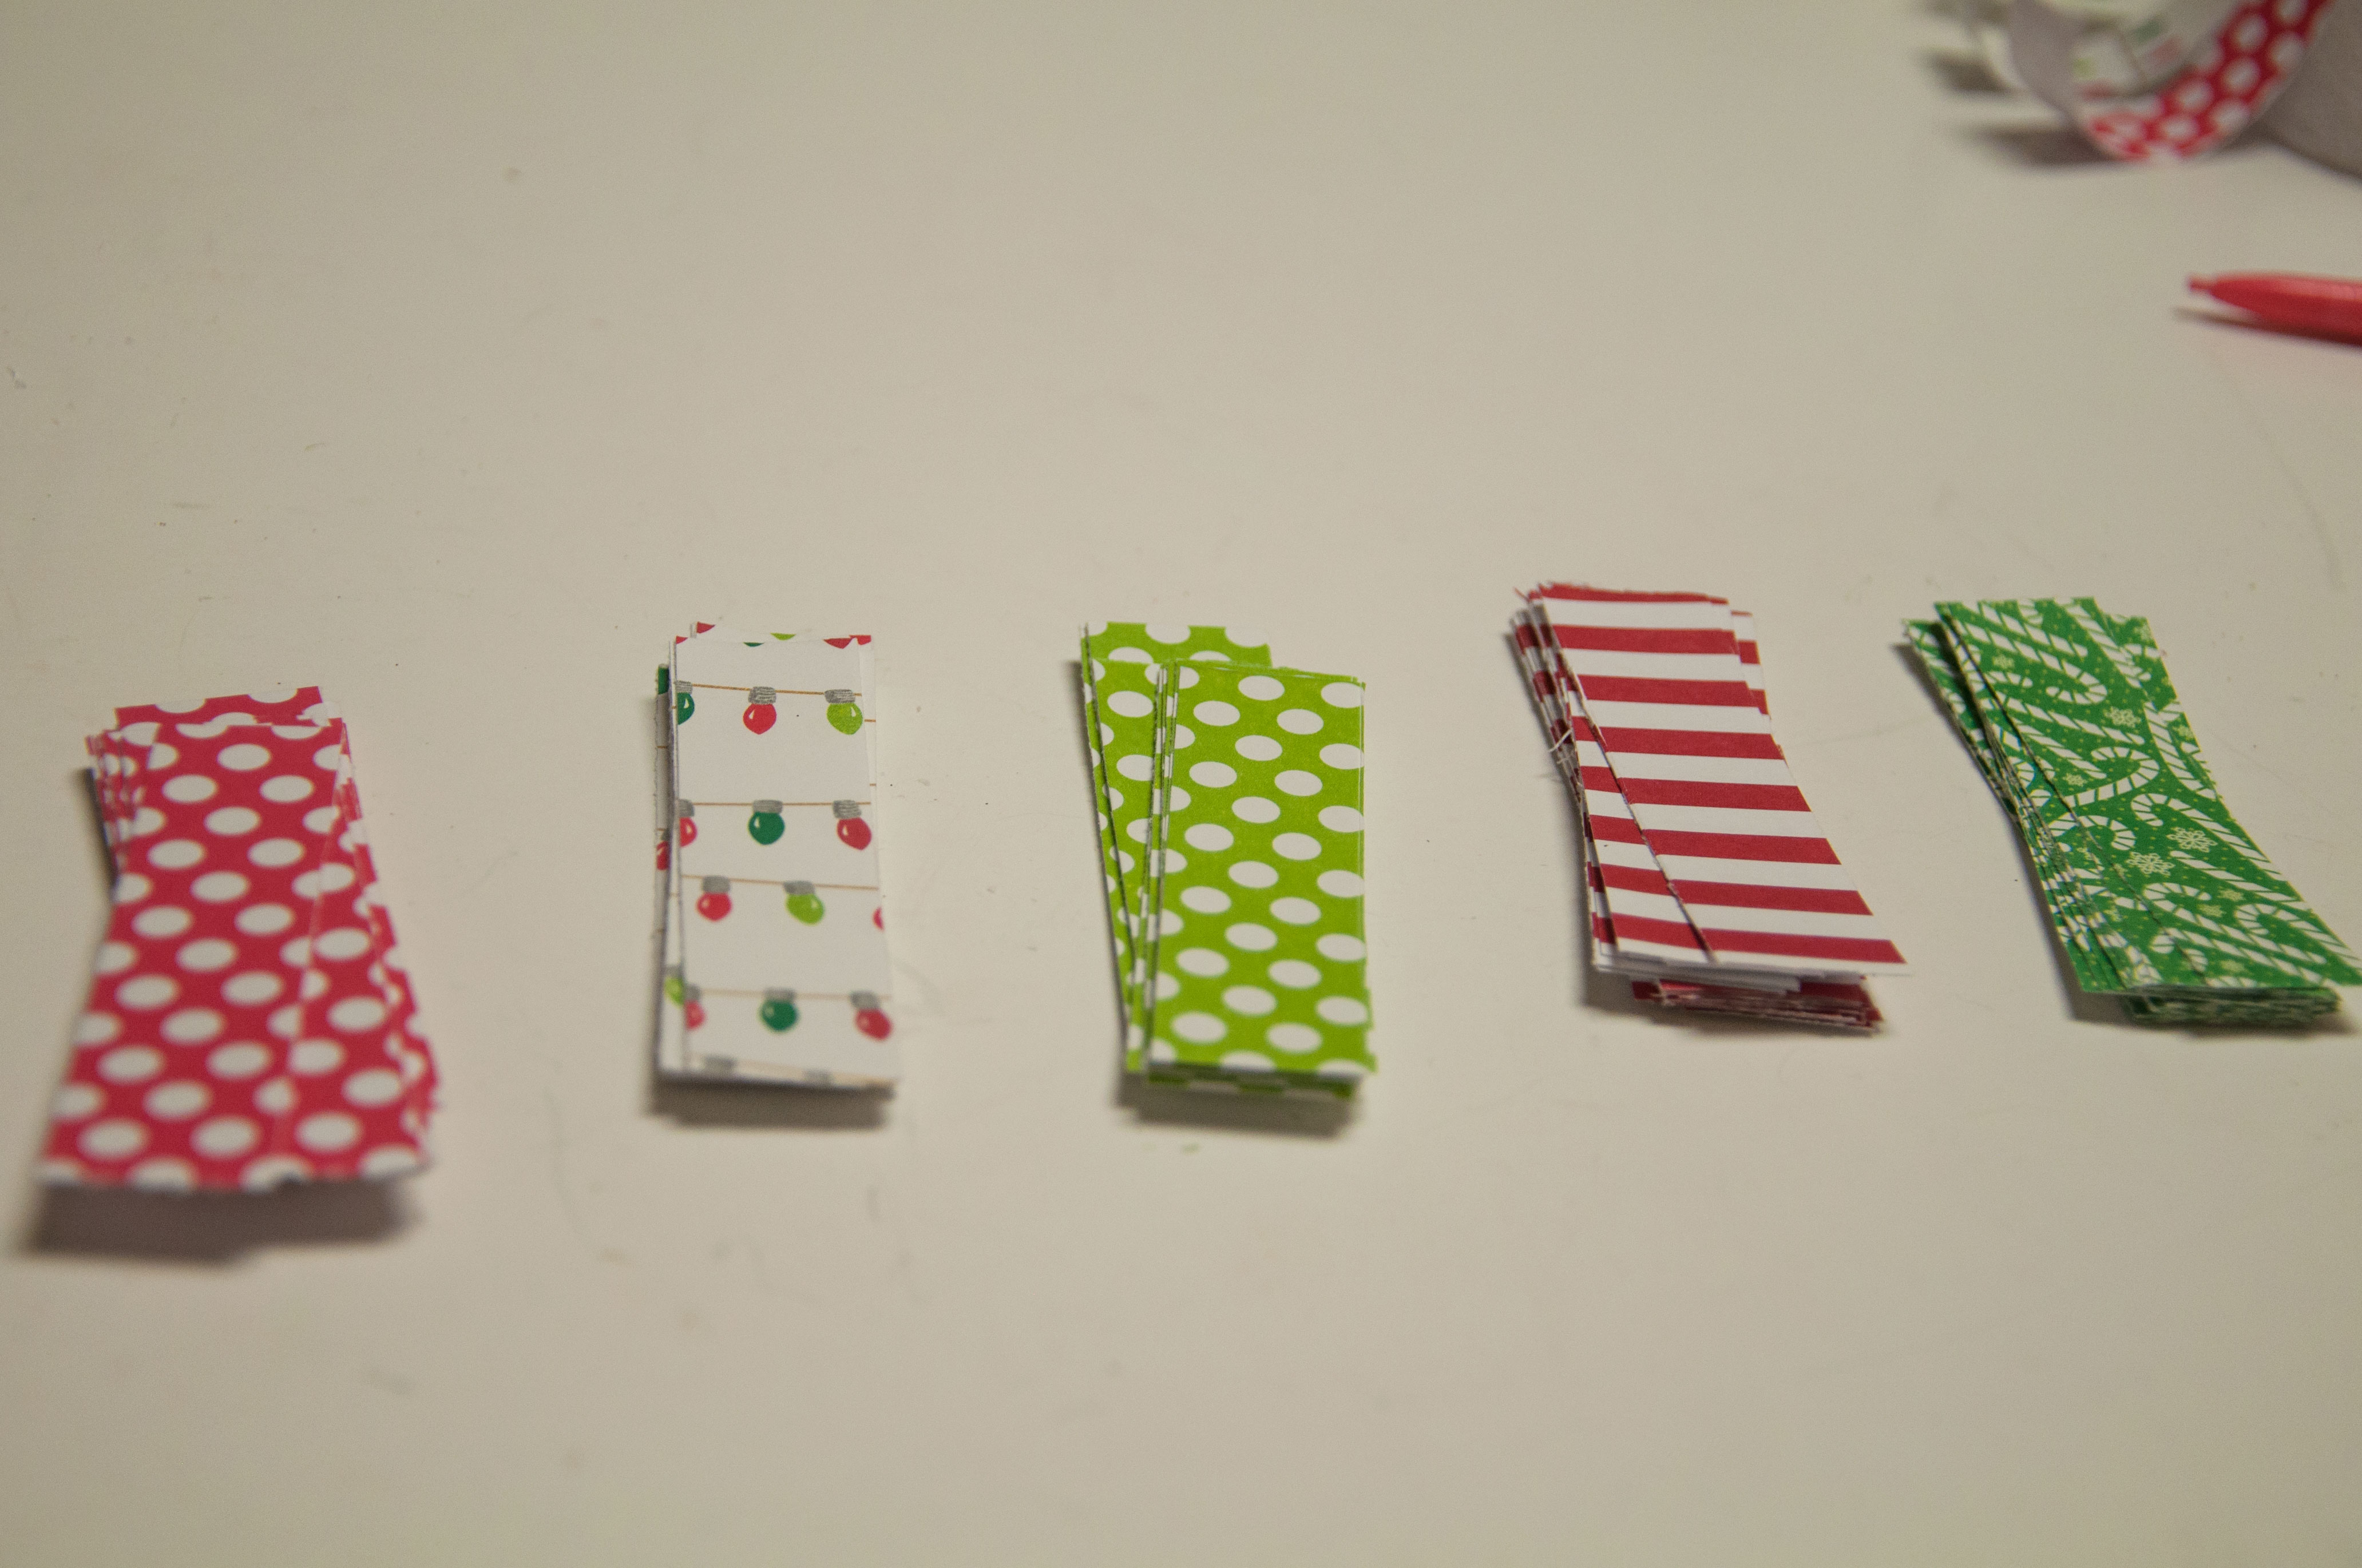
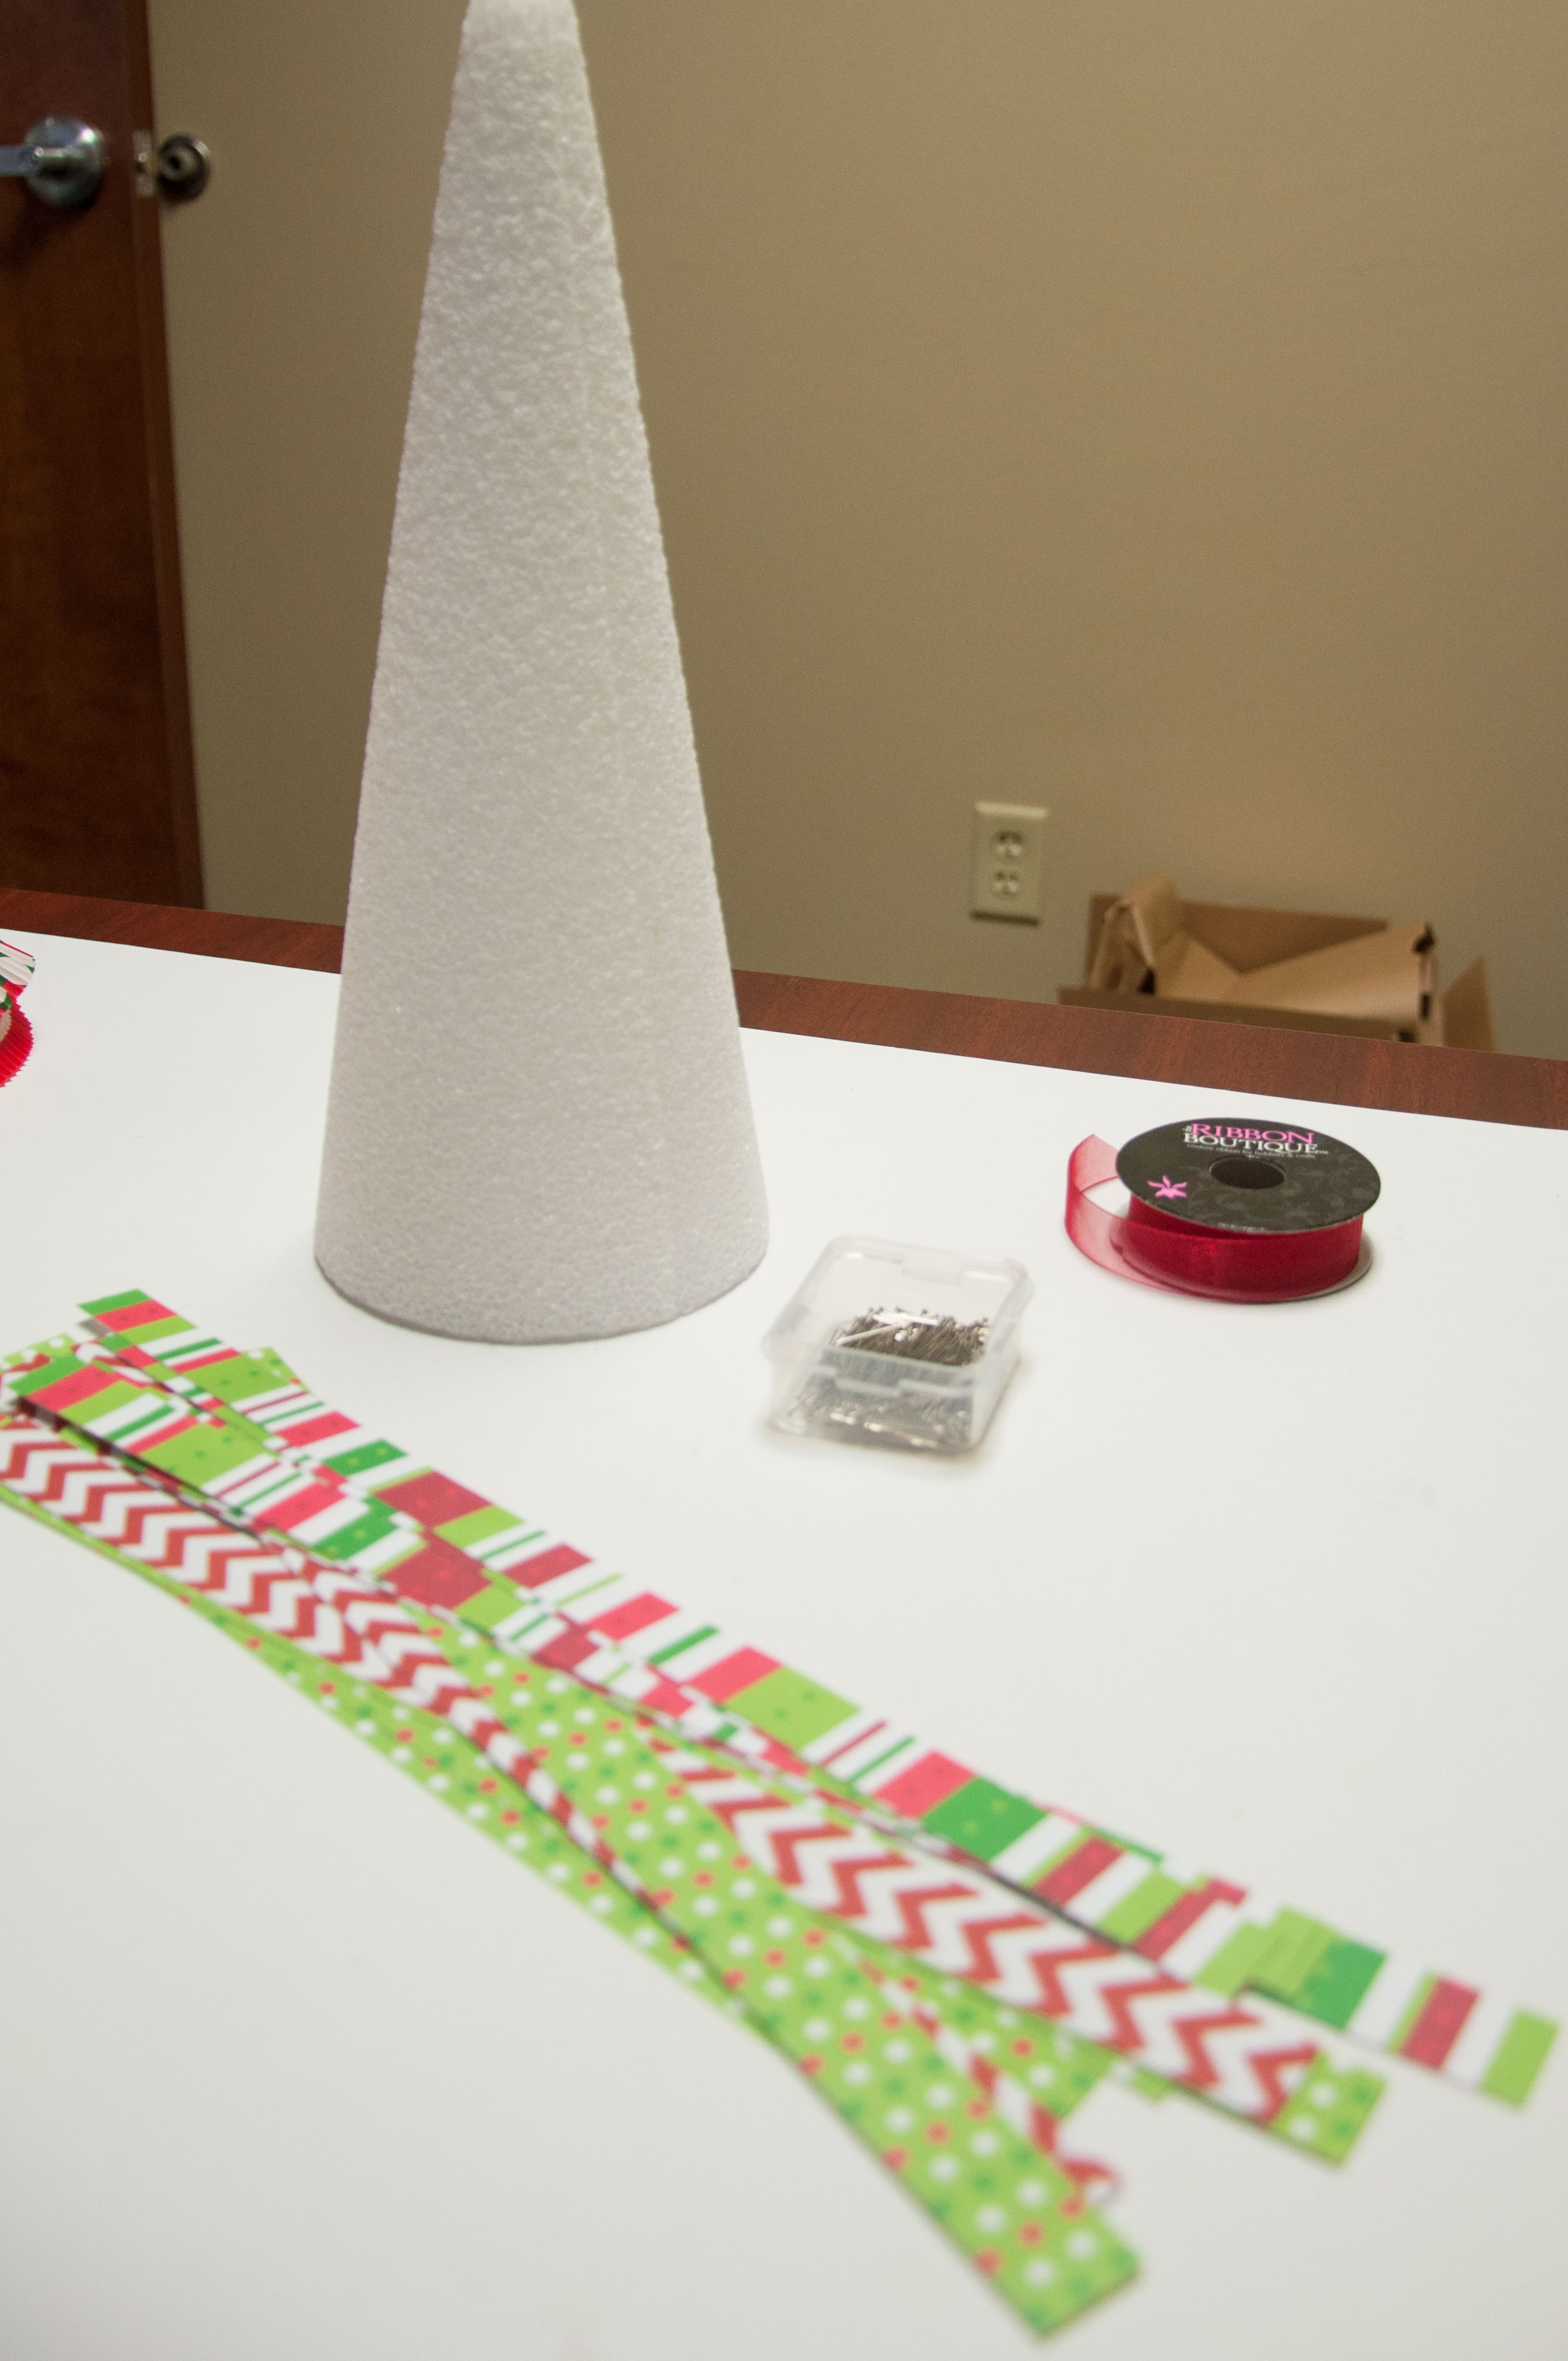
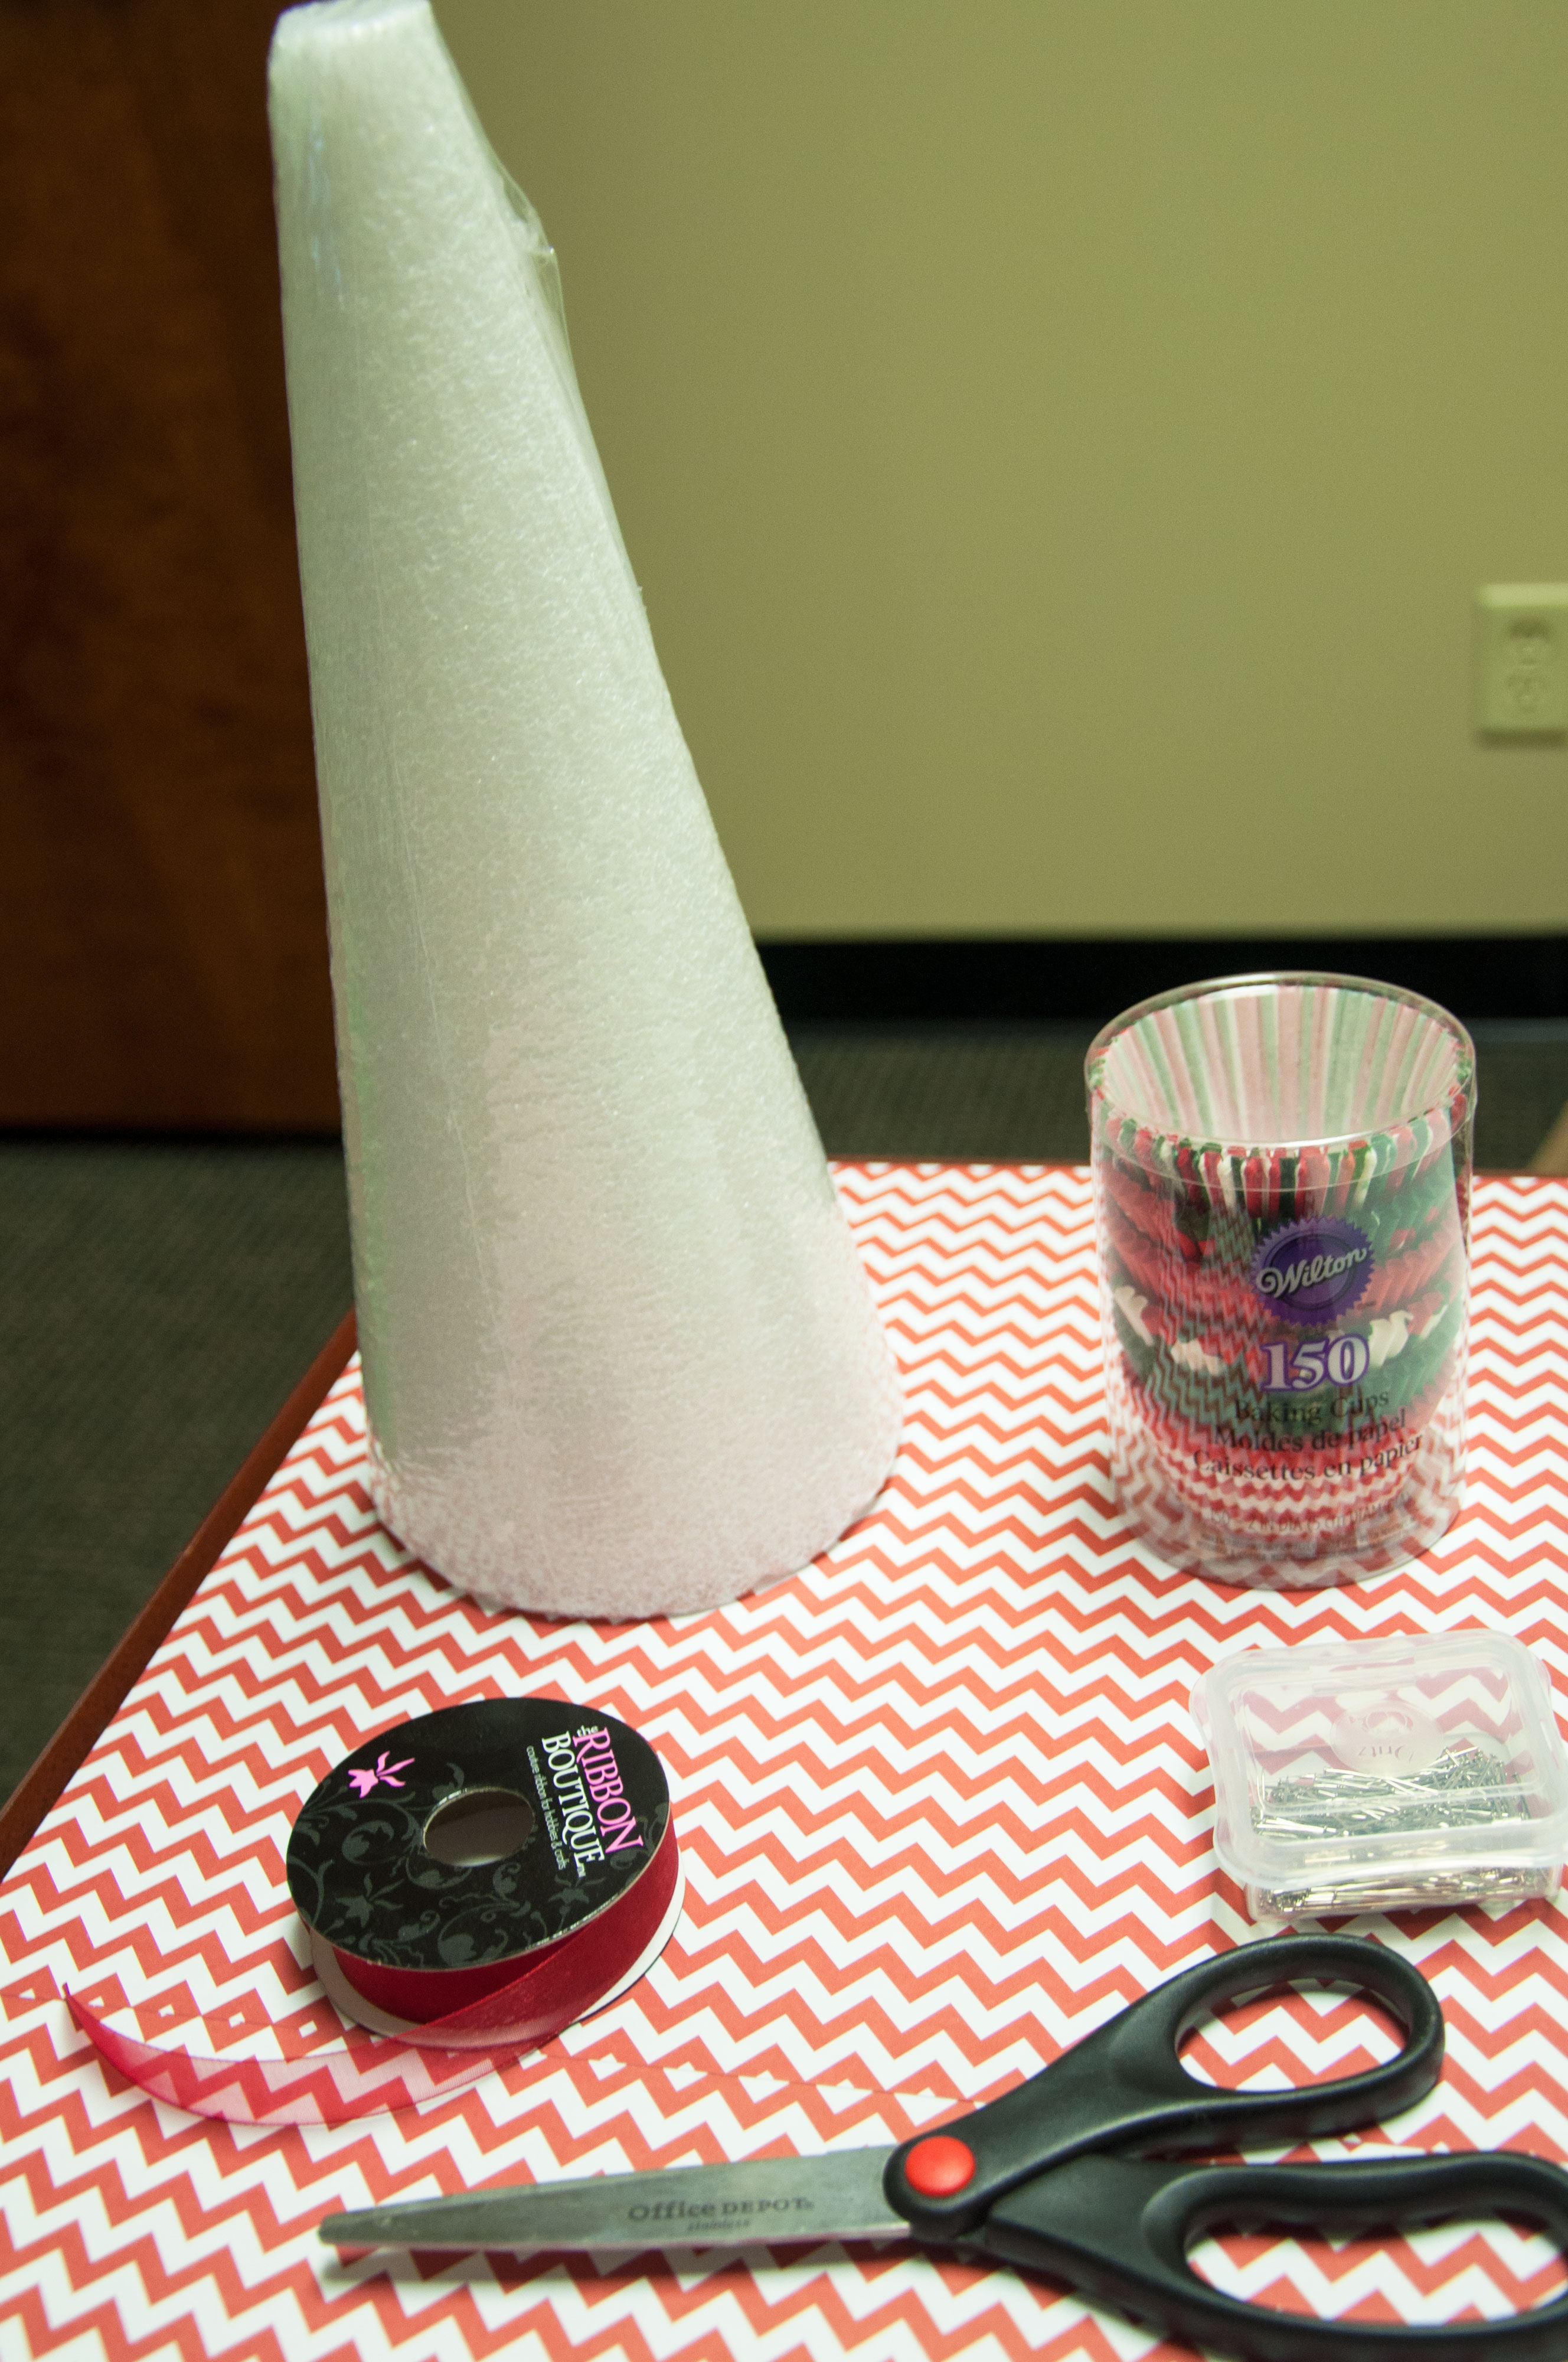
To begin you will need a glue gun, ribbon (I used left overs from the ribbon wreath I made), Scrabble tiles, and a lighter!

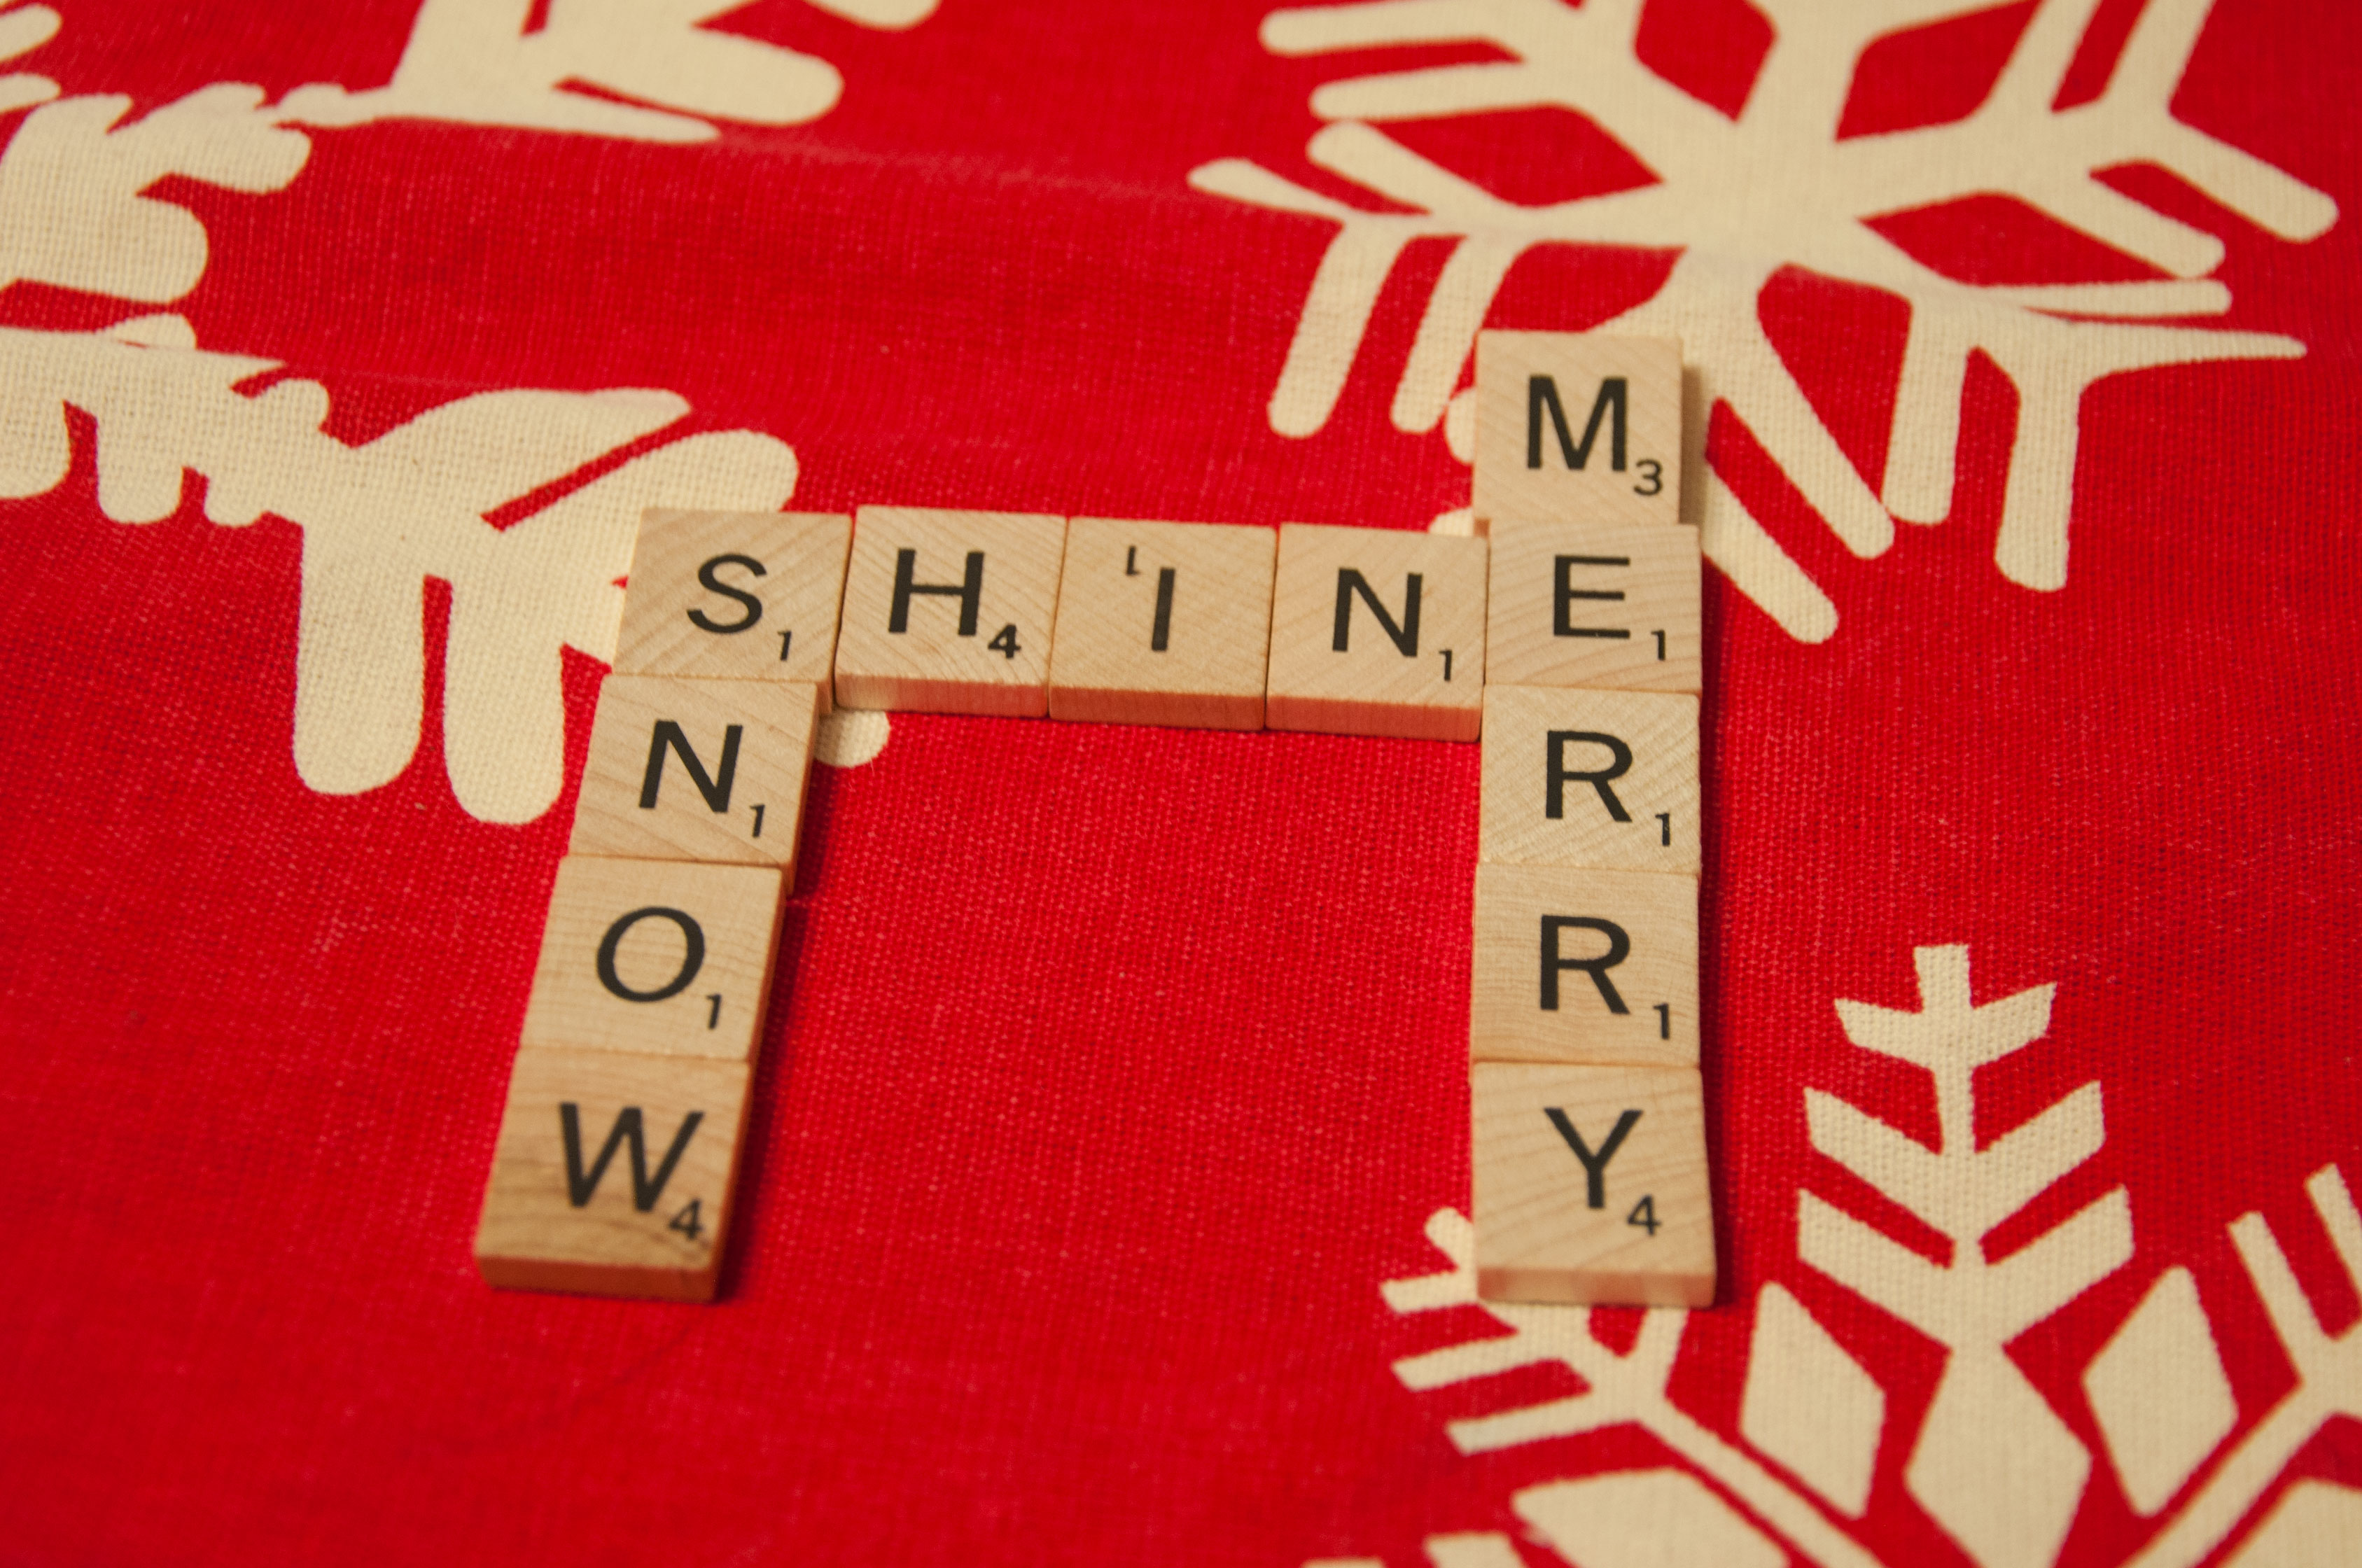
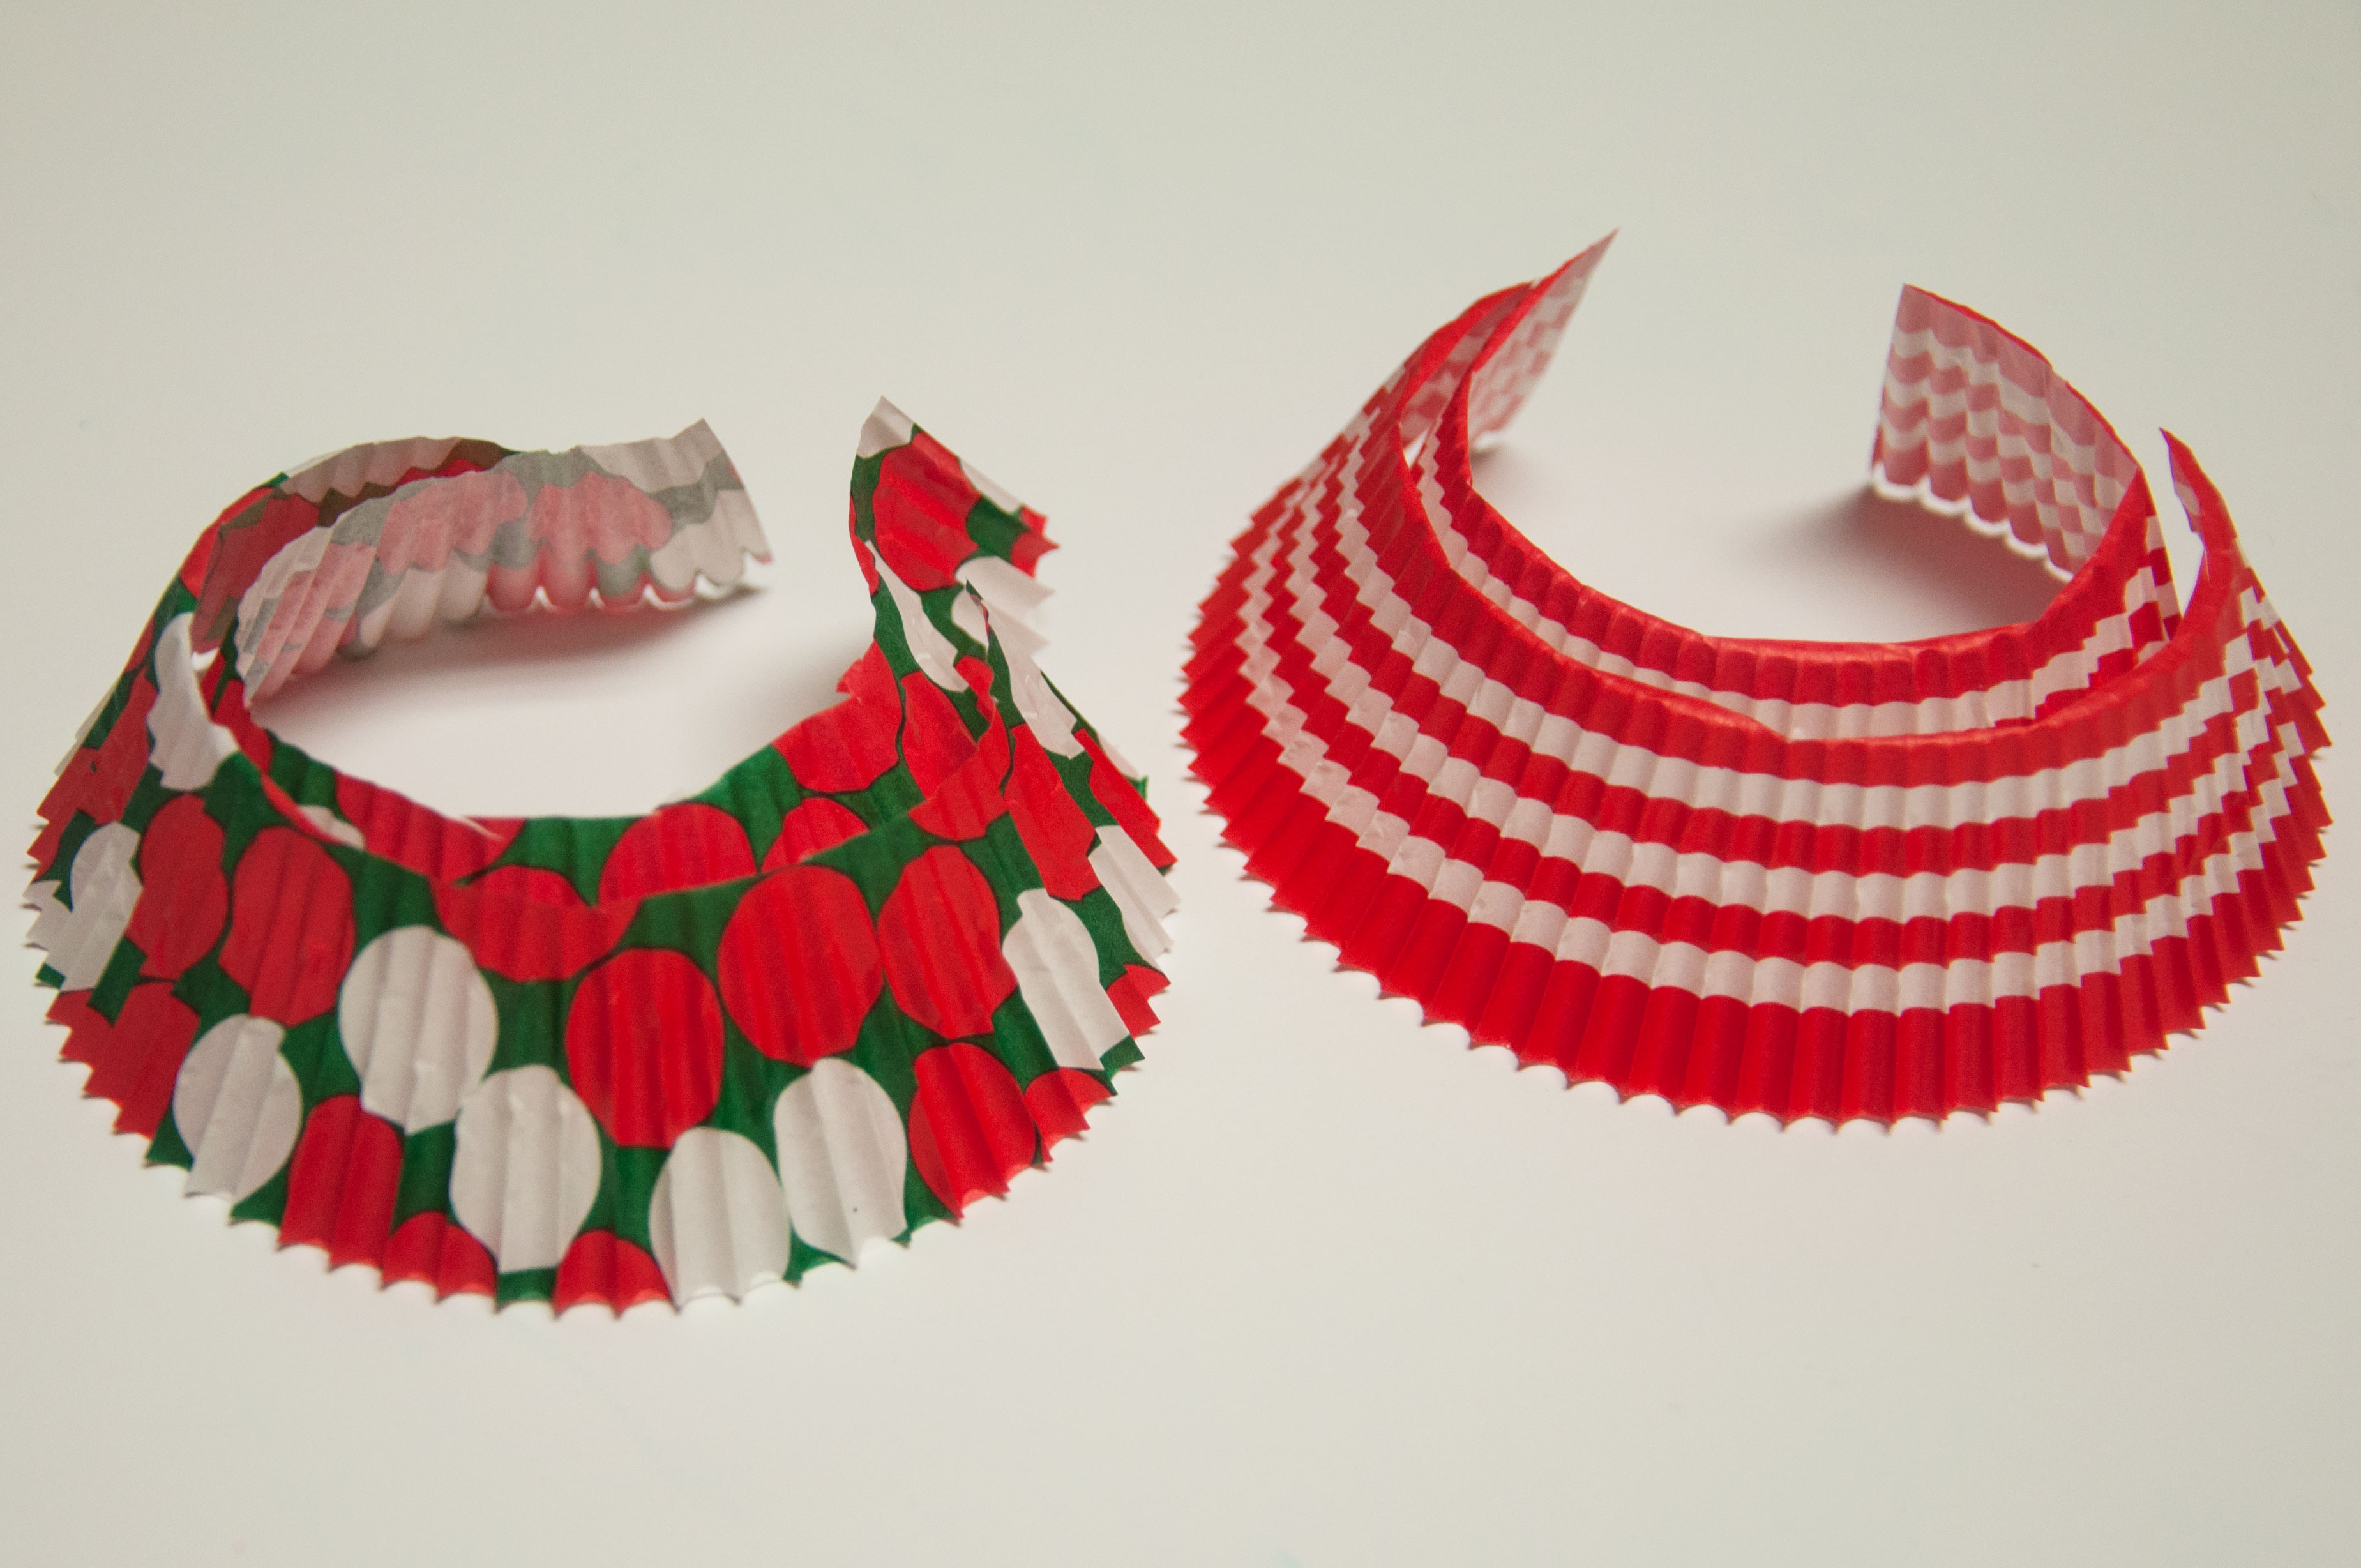
Once you have all of your supplies, pick out the words you want to make with the Scrabble letters!
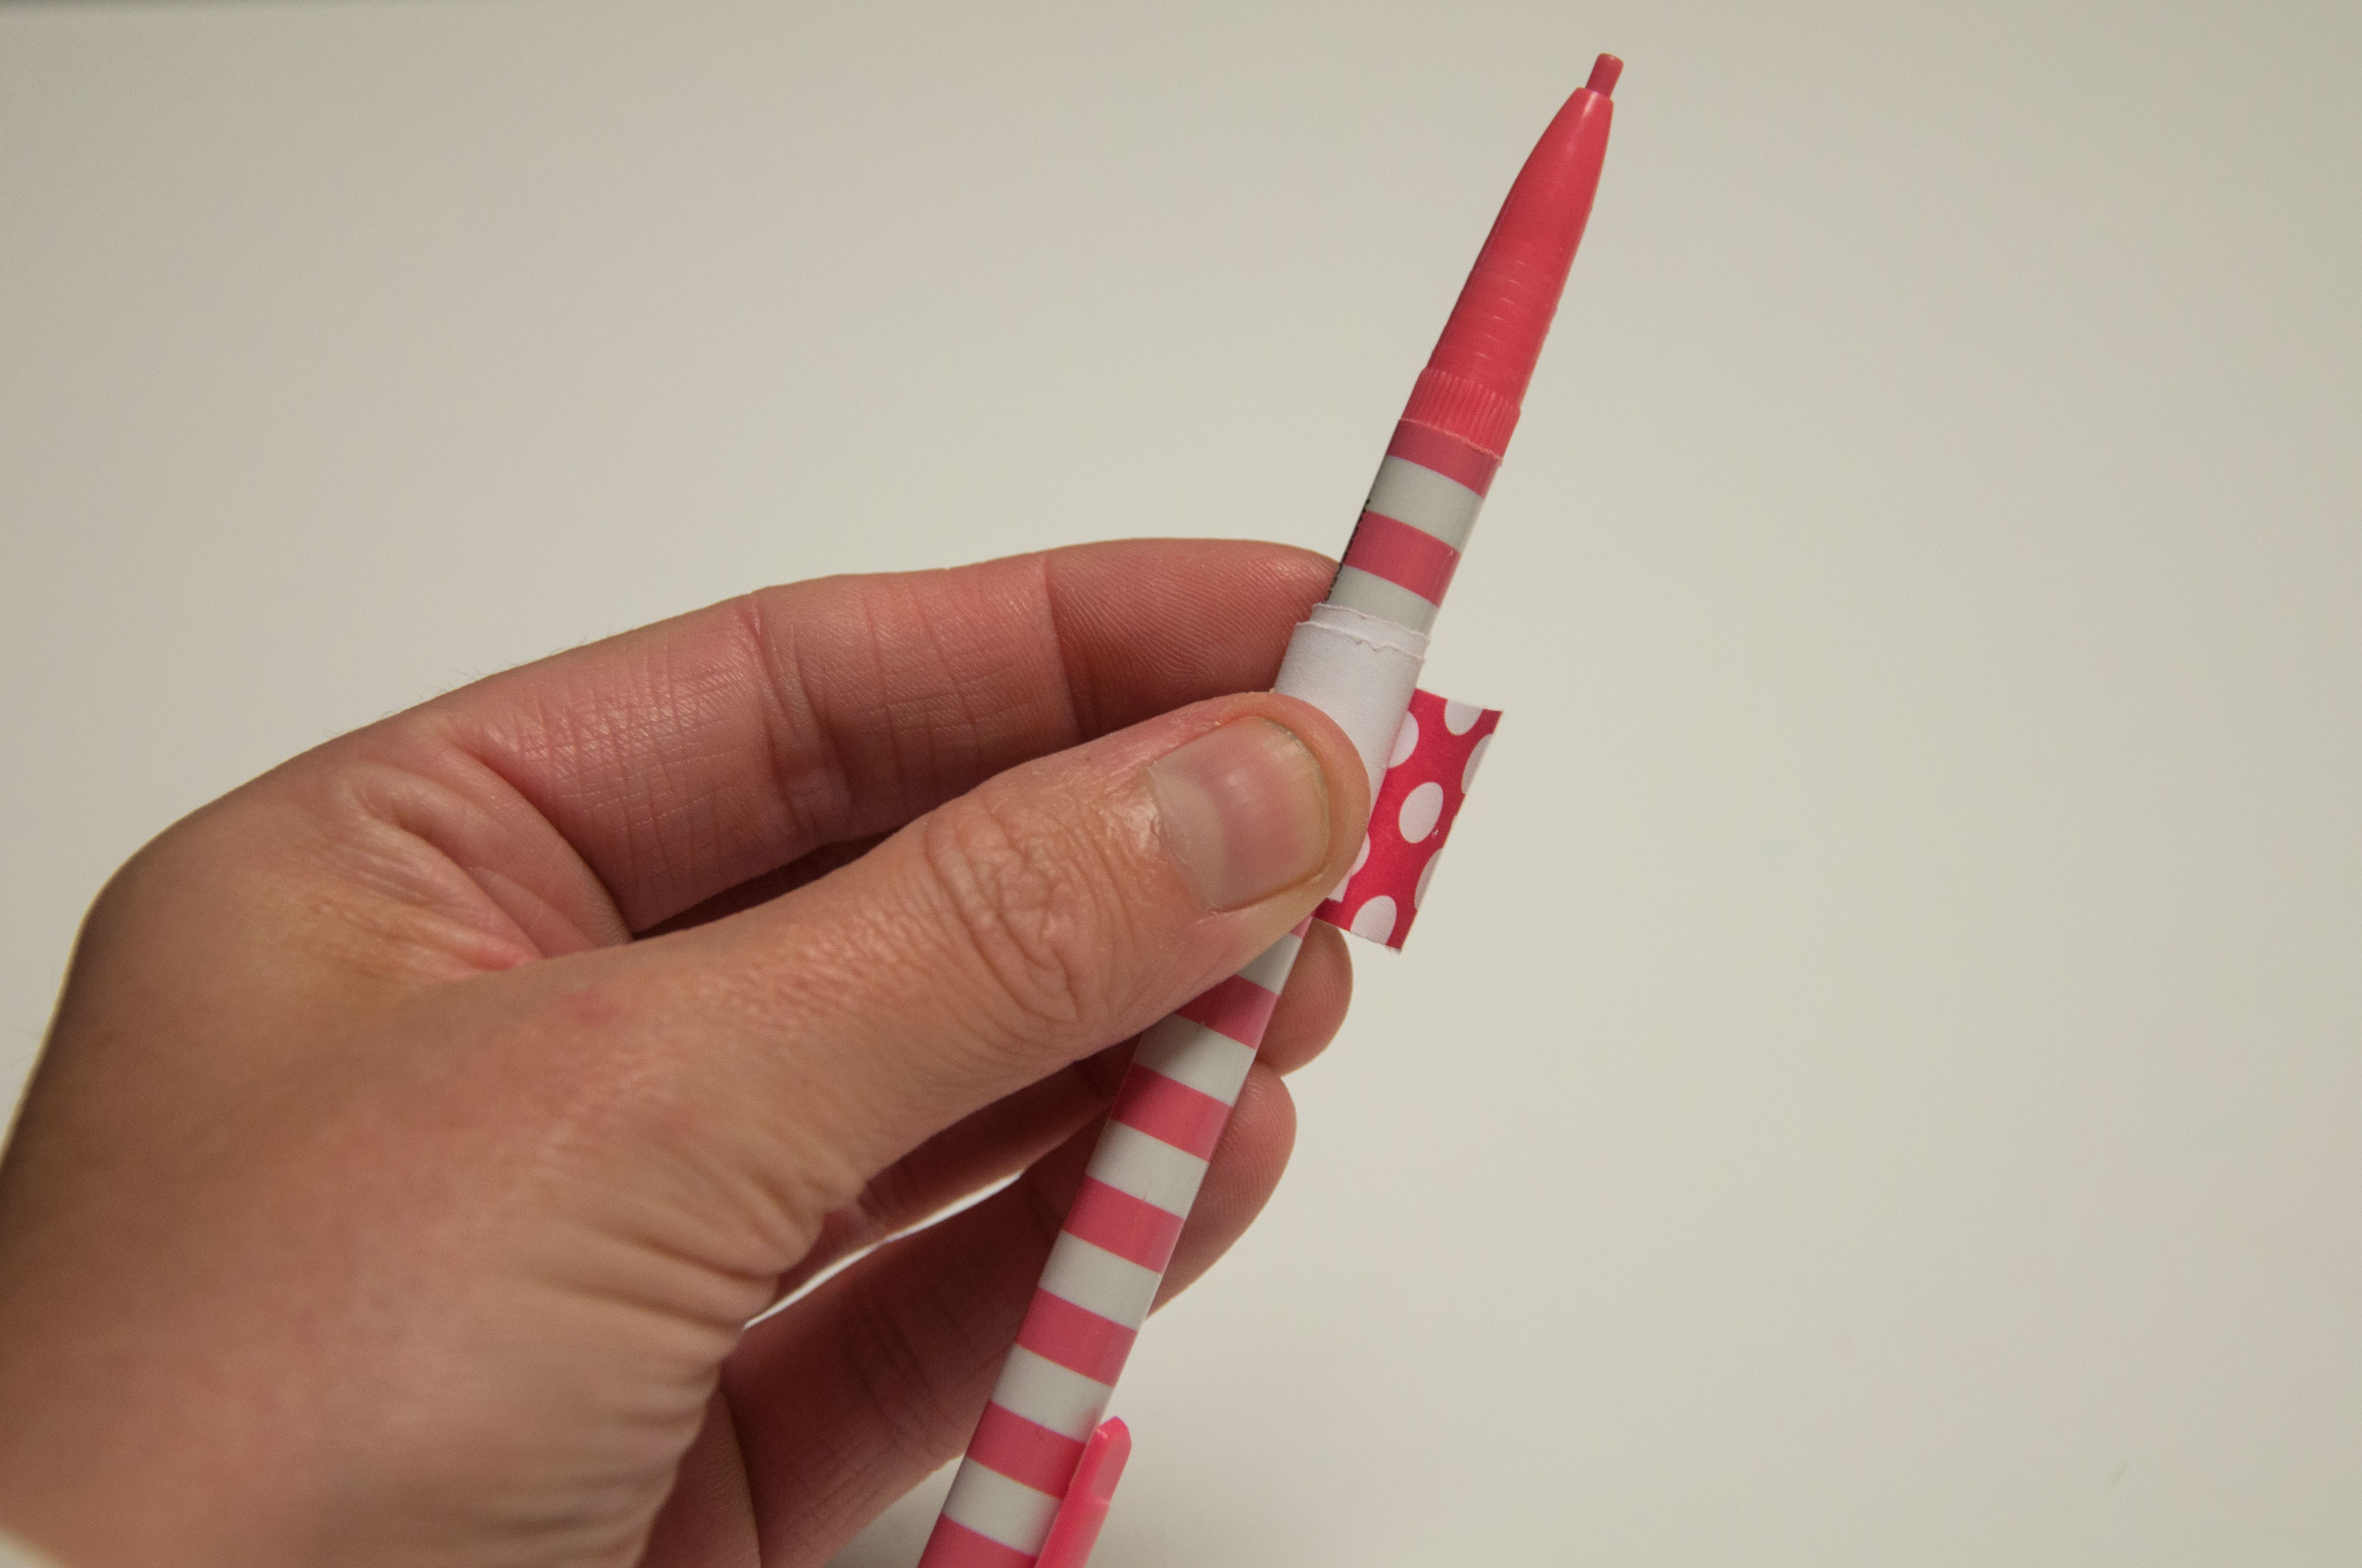
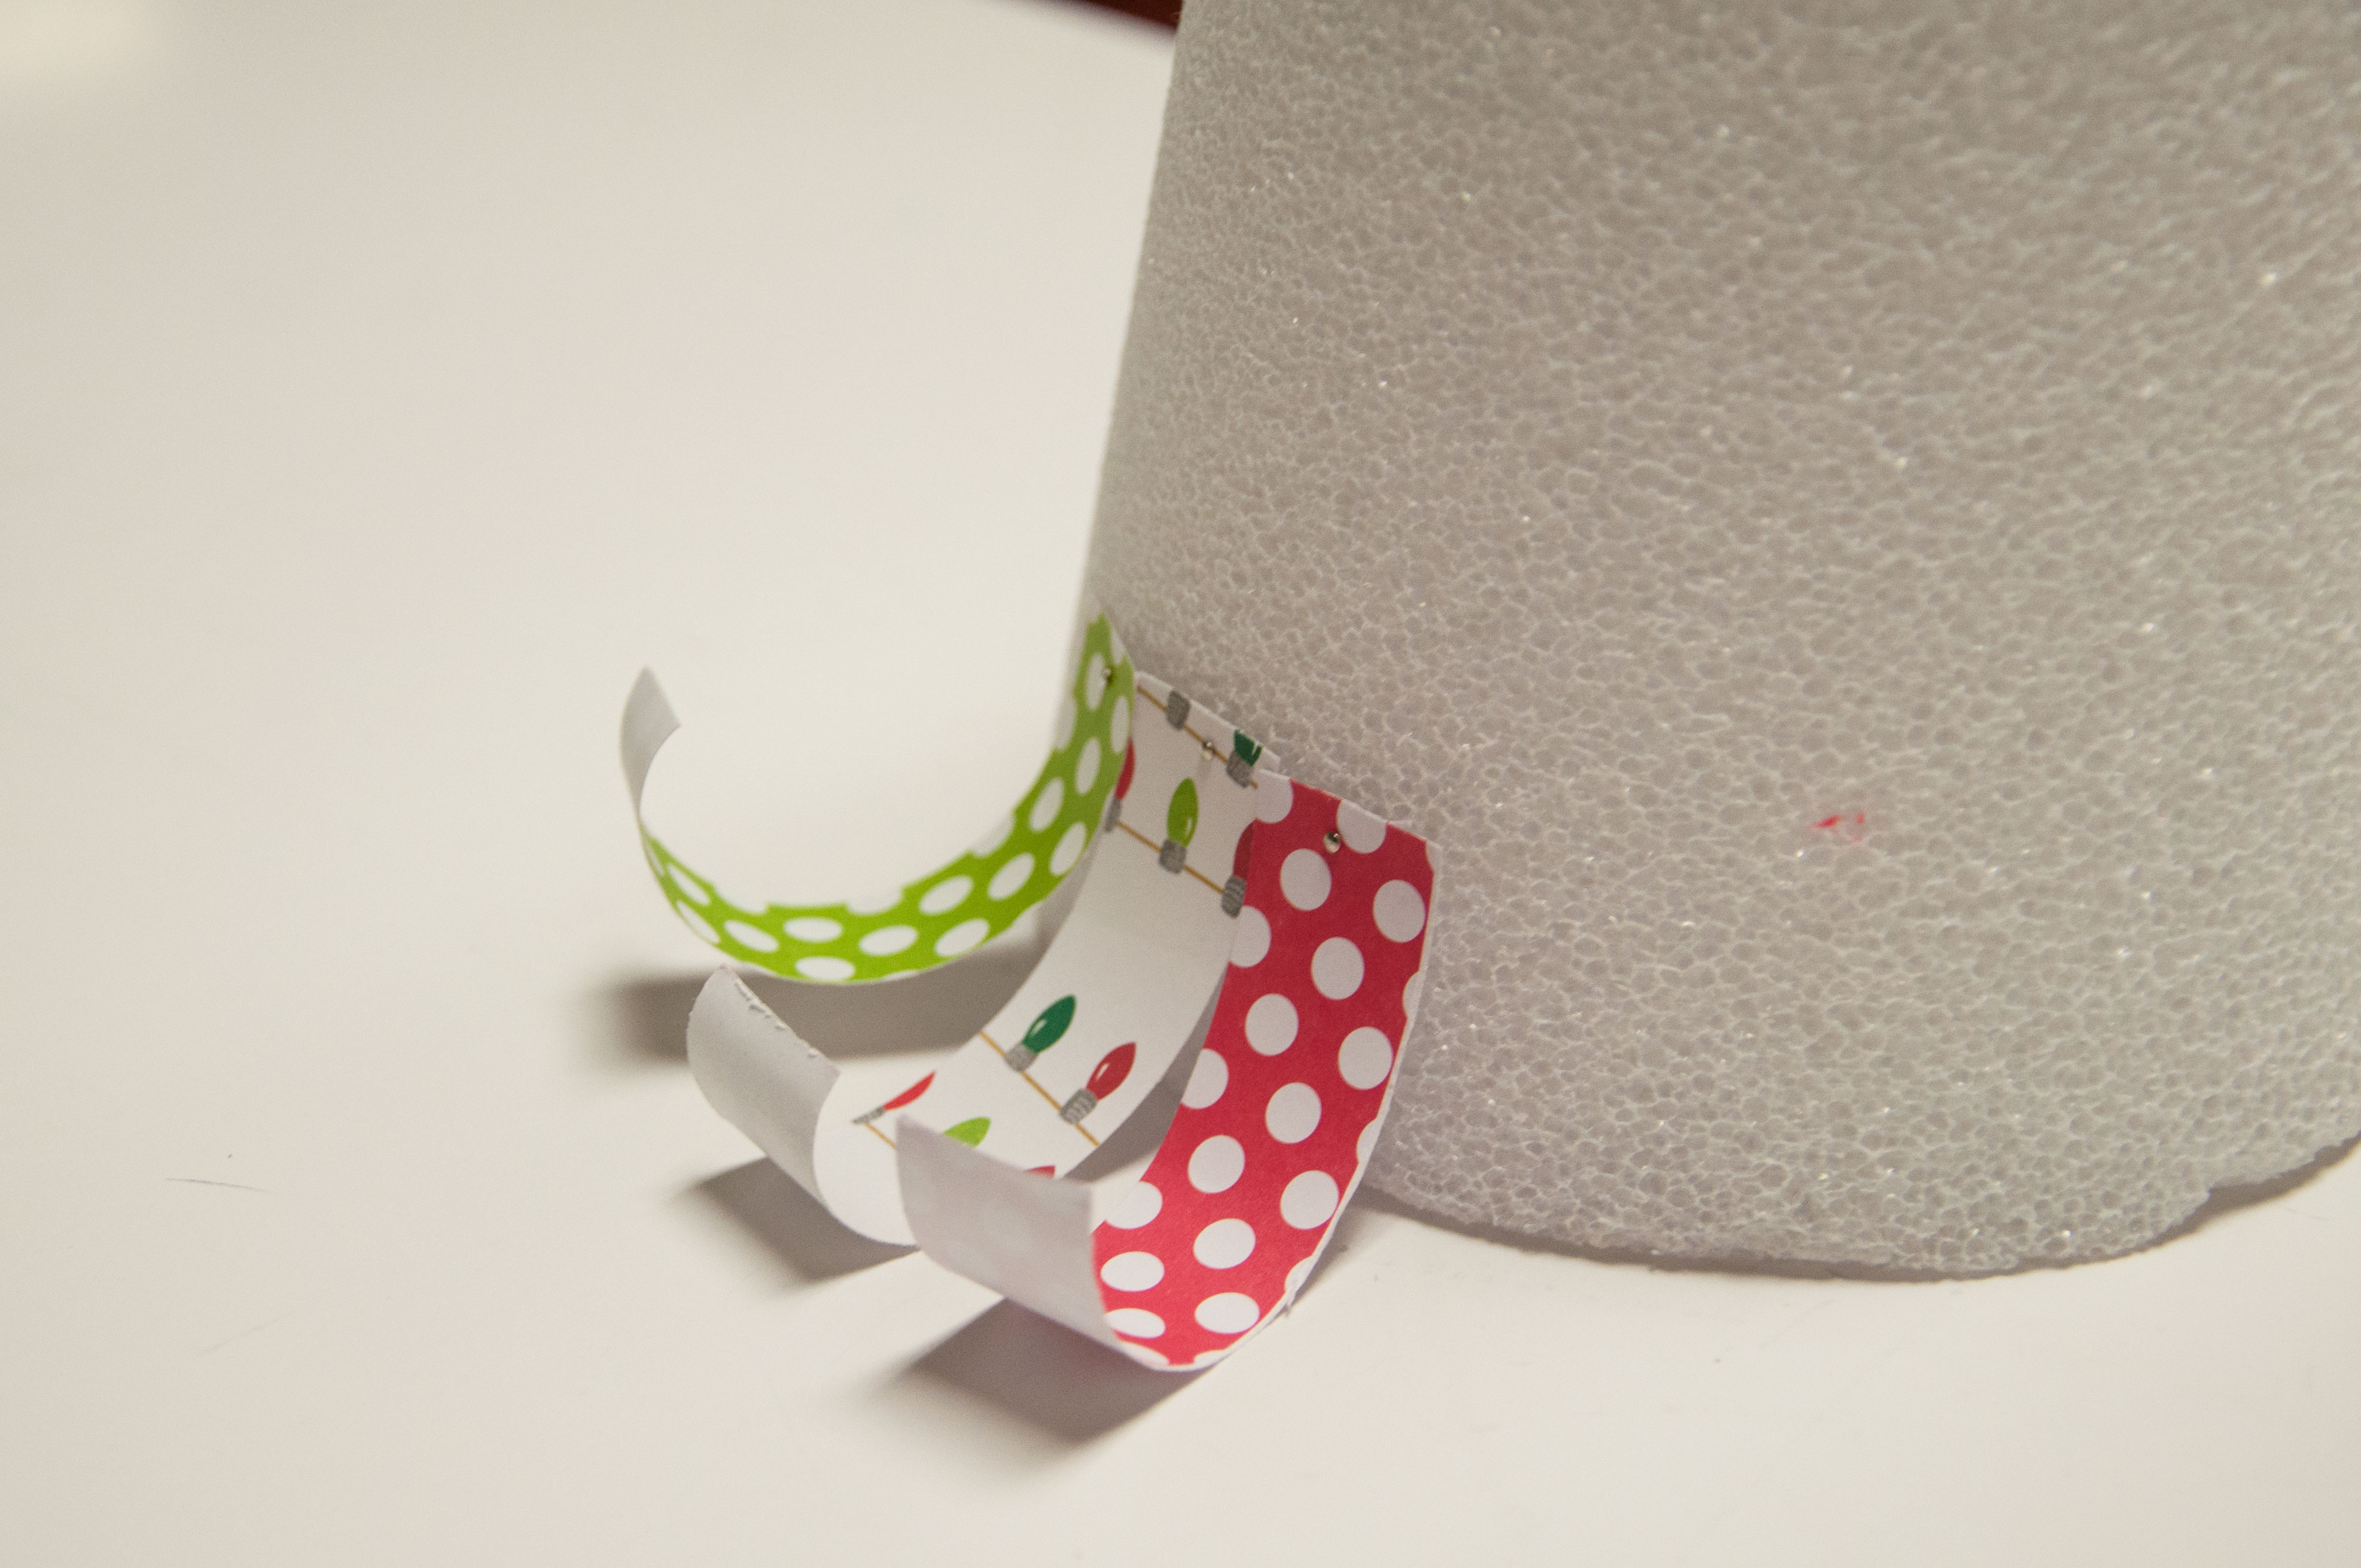
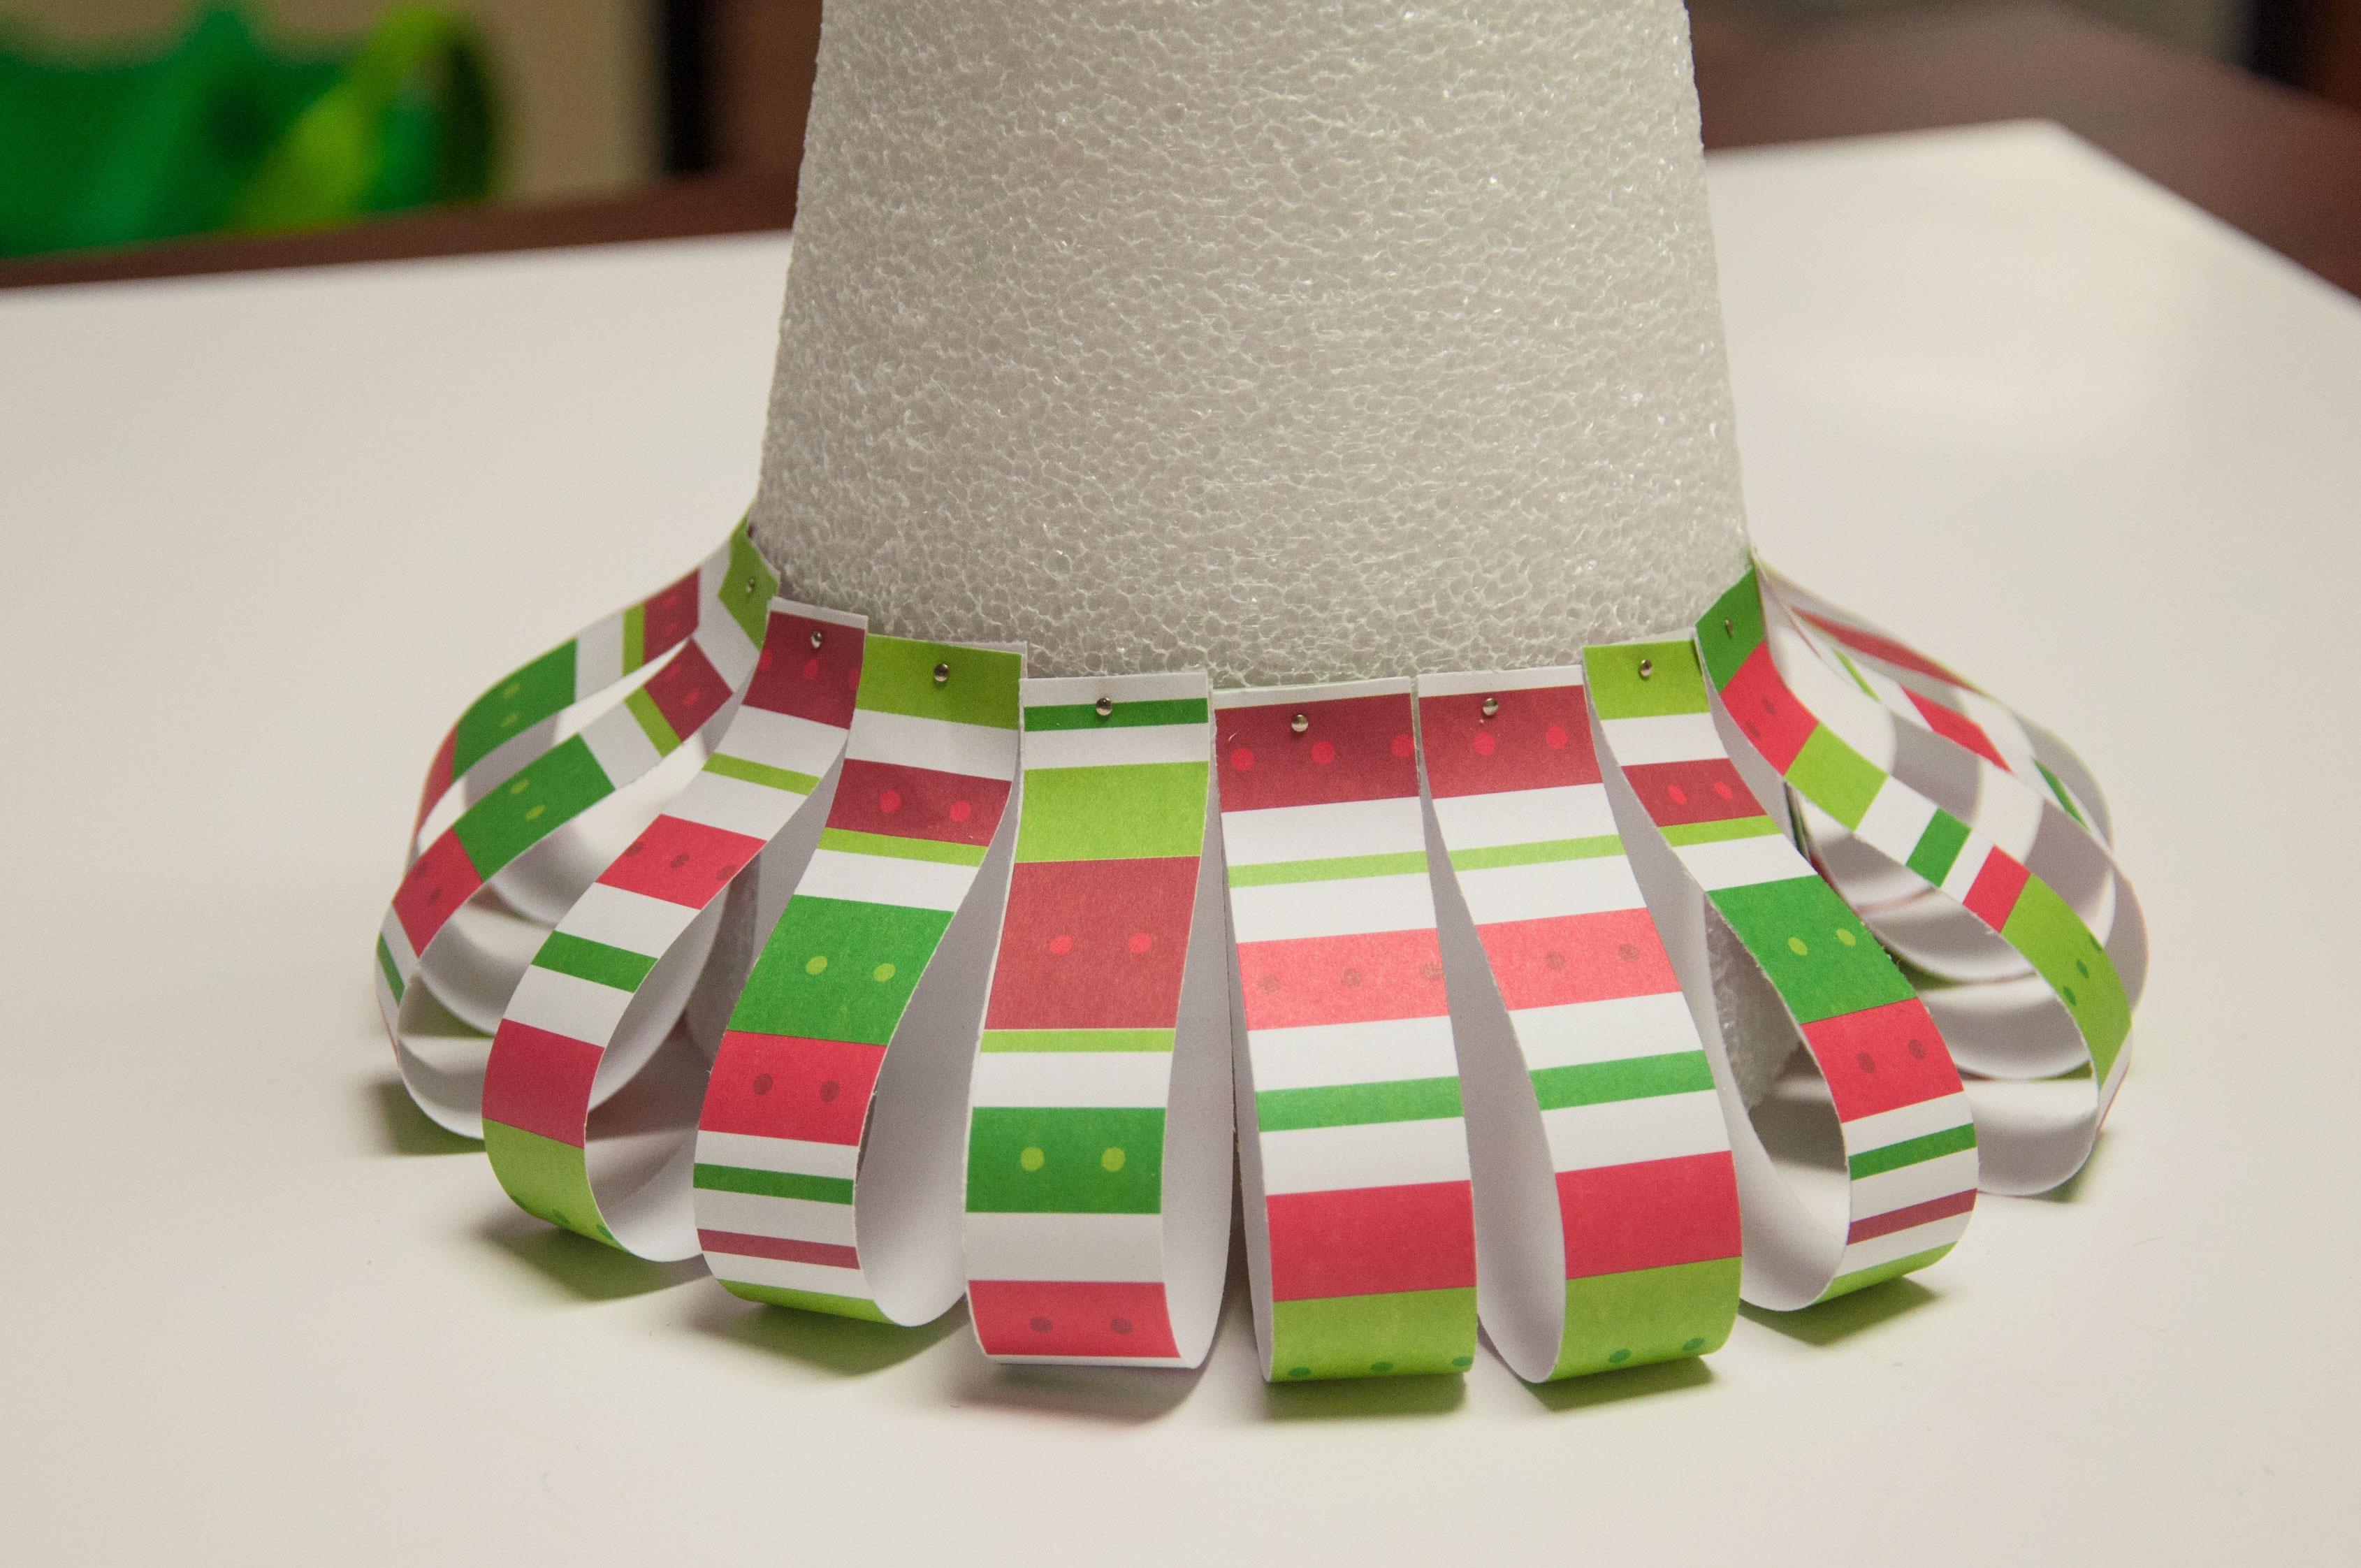
Brush the lighter along the end of the ribbon to stop it from fraying. Then, one by one, hot glue the Scrabble letters on to the ribbon. Before you glue down the last letter, make a loop with the ribbon and hot glue it to itself.
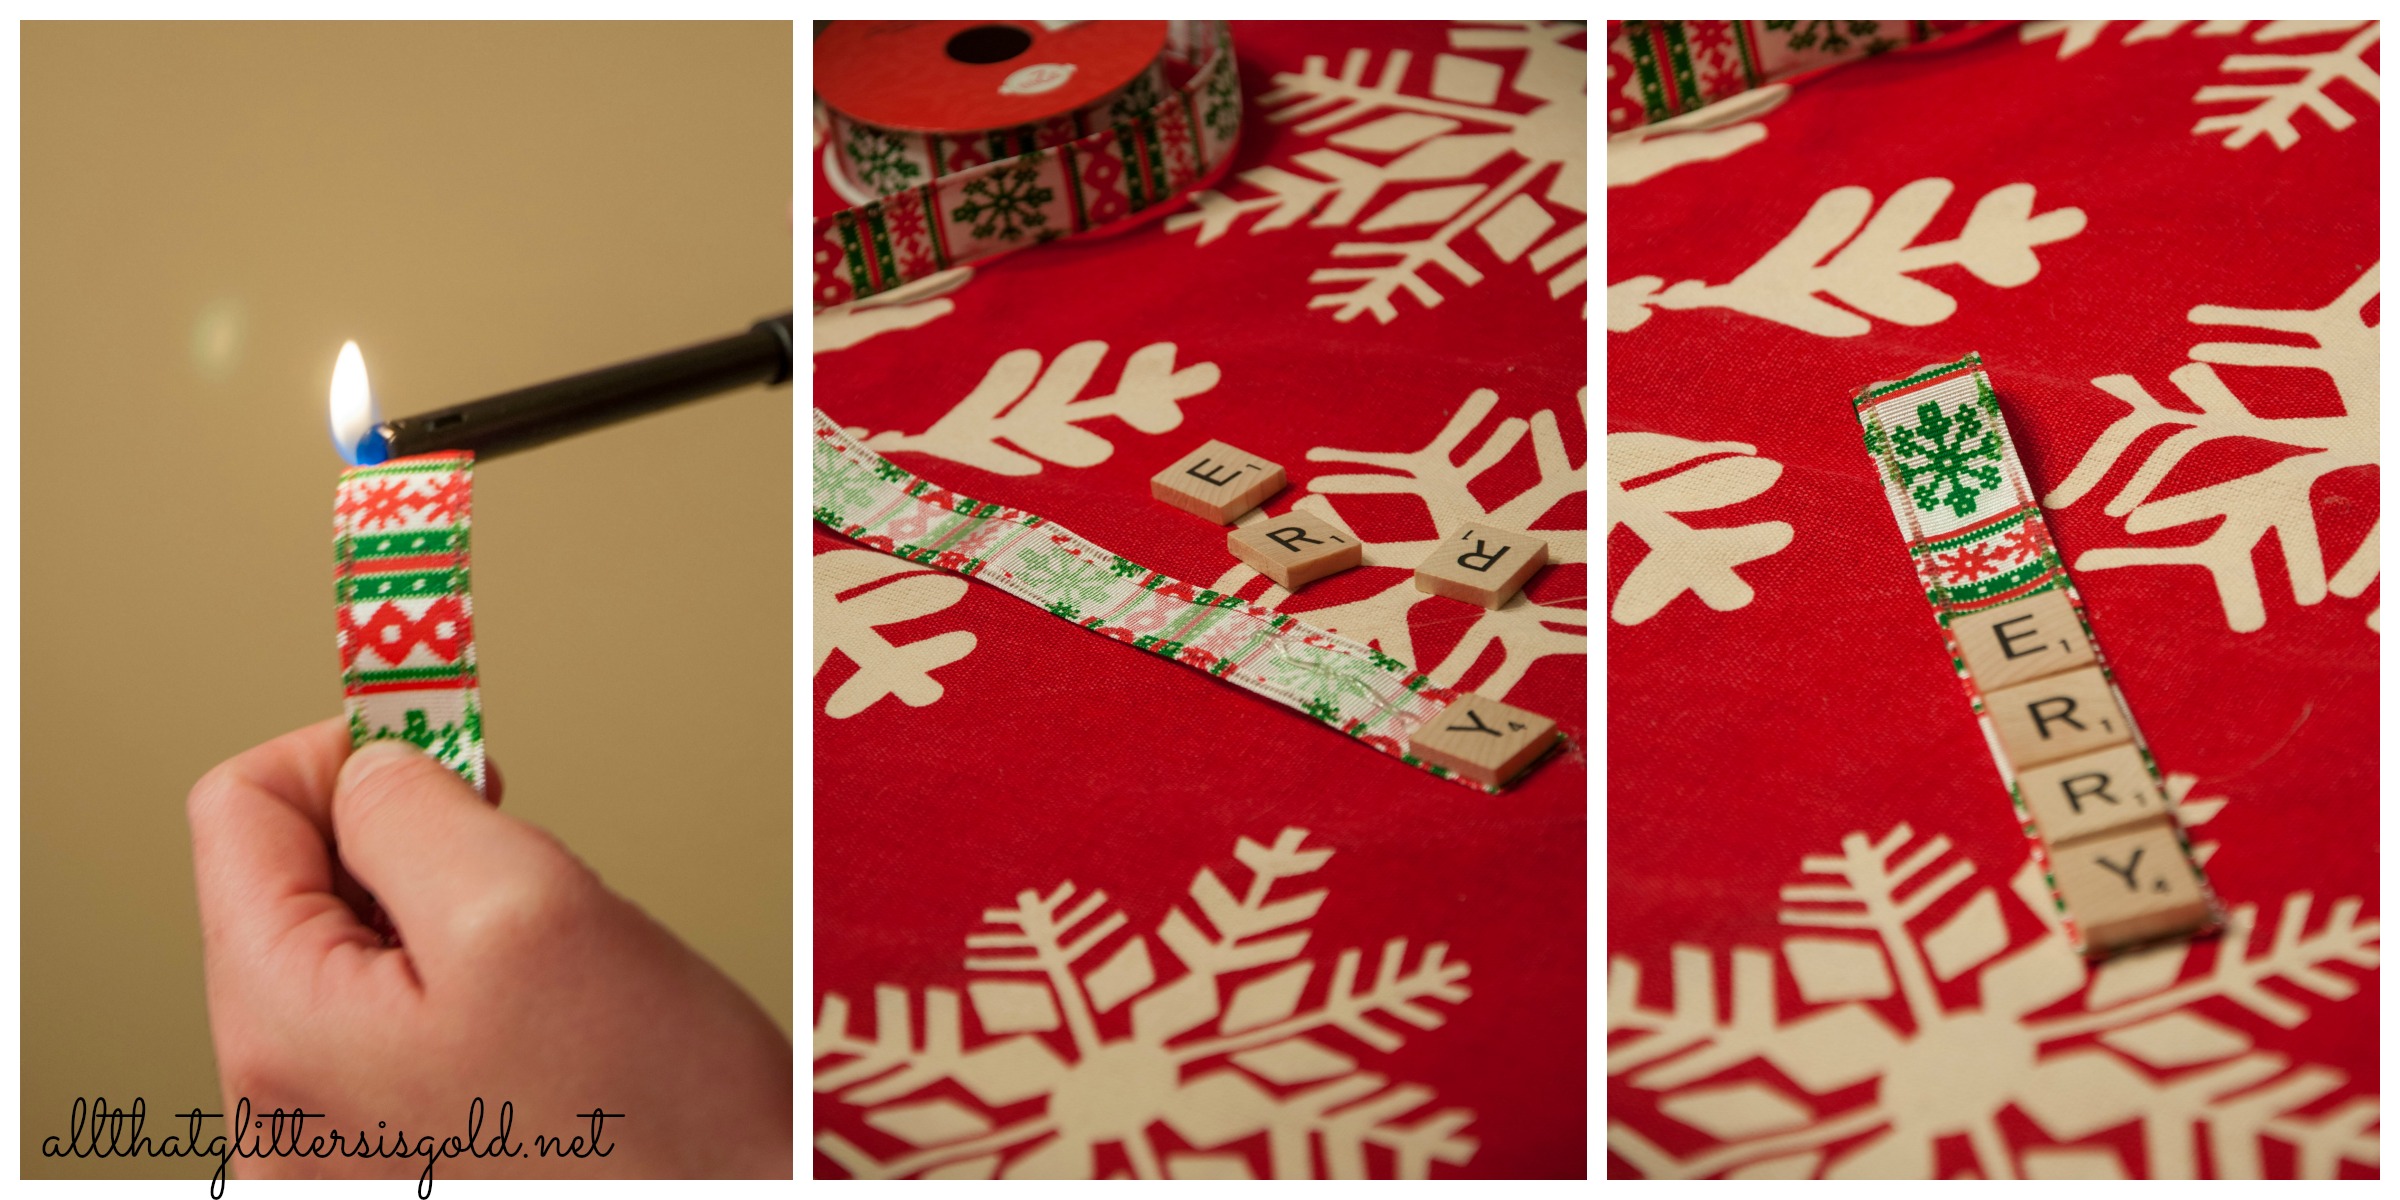
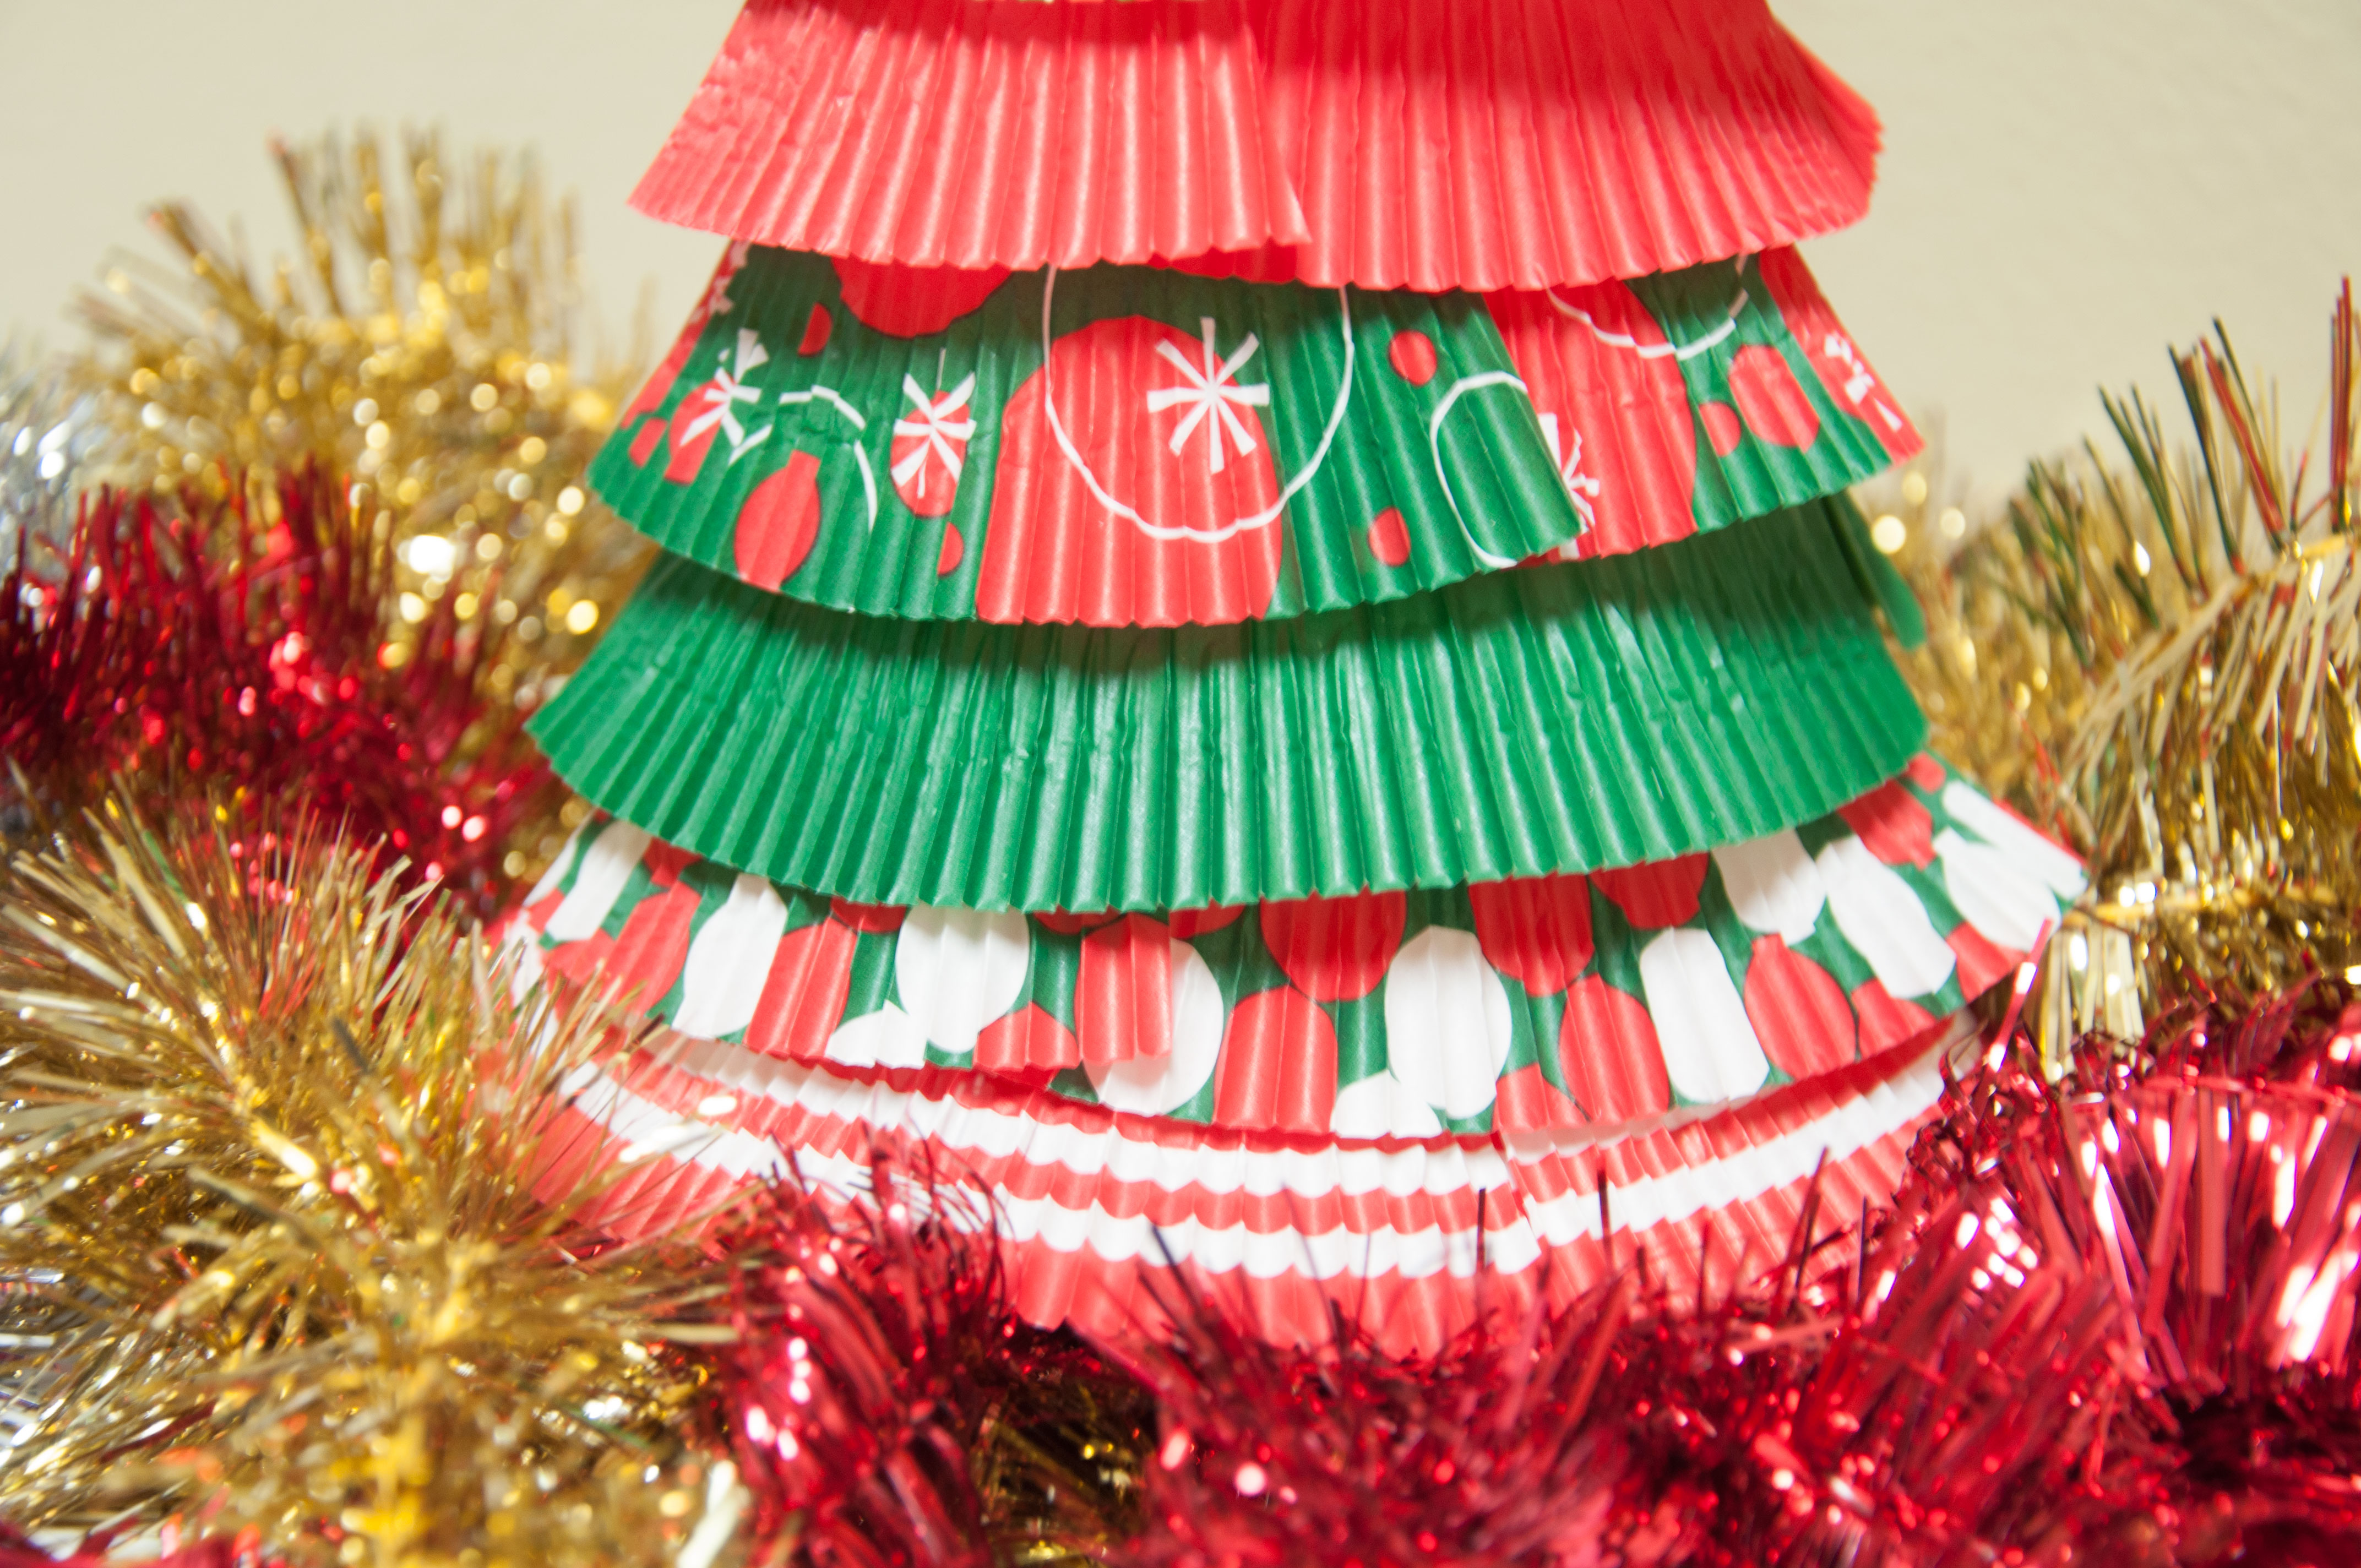
Then place the first letter of the word on top of the looped ribbon.

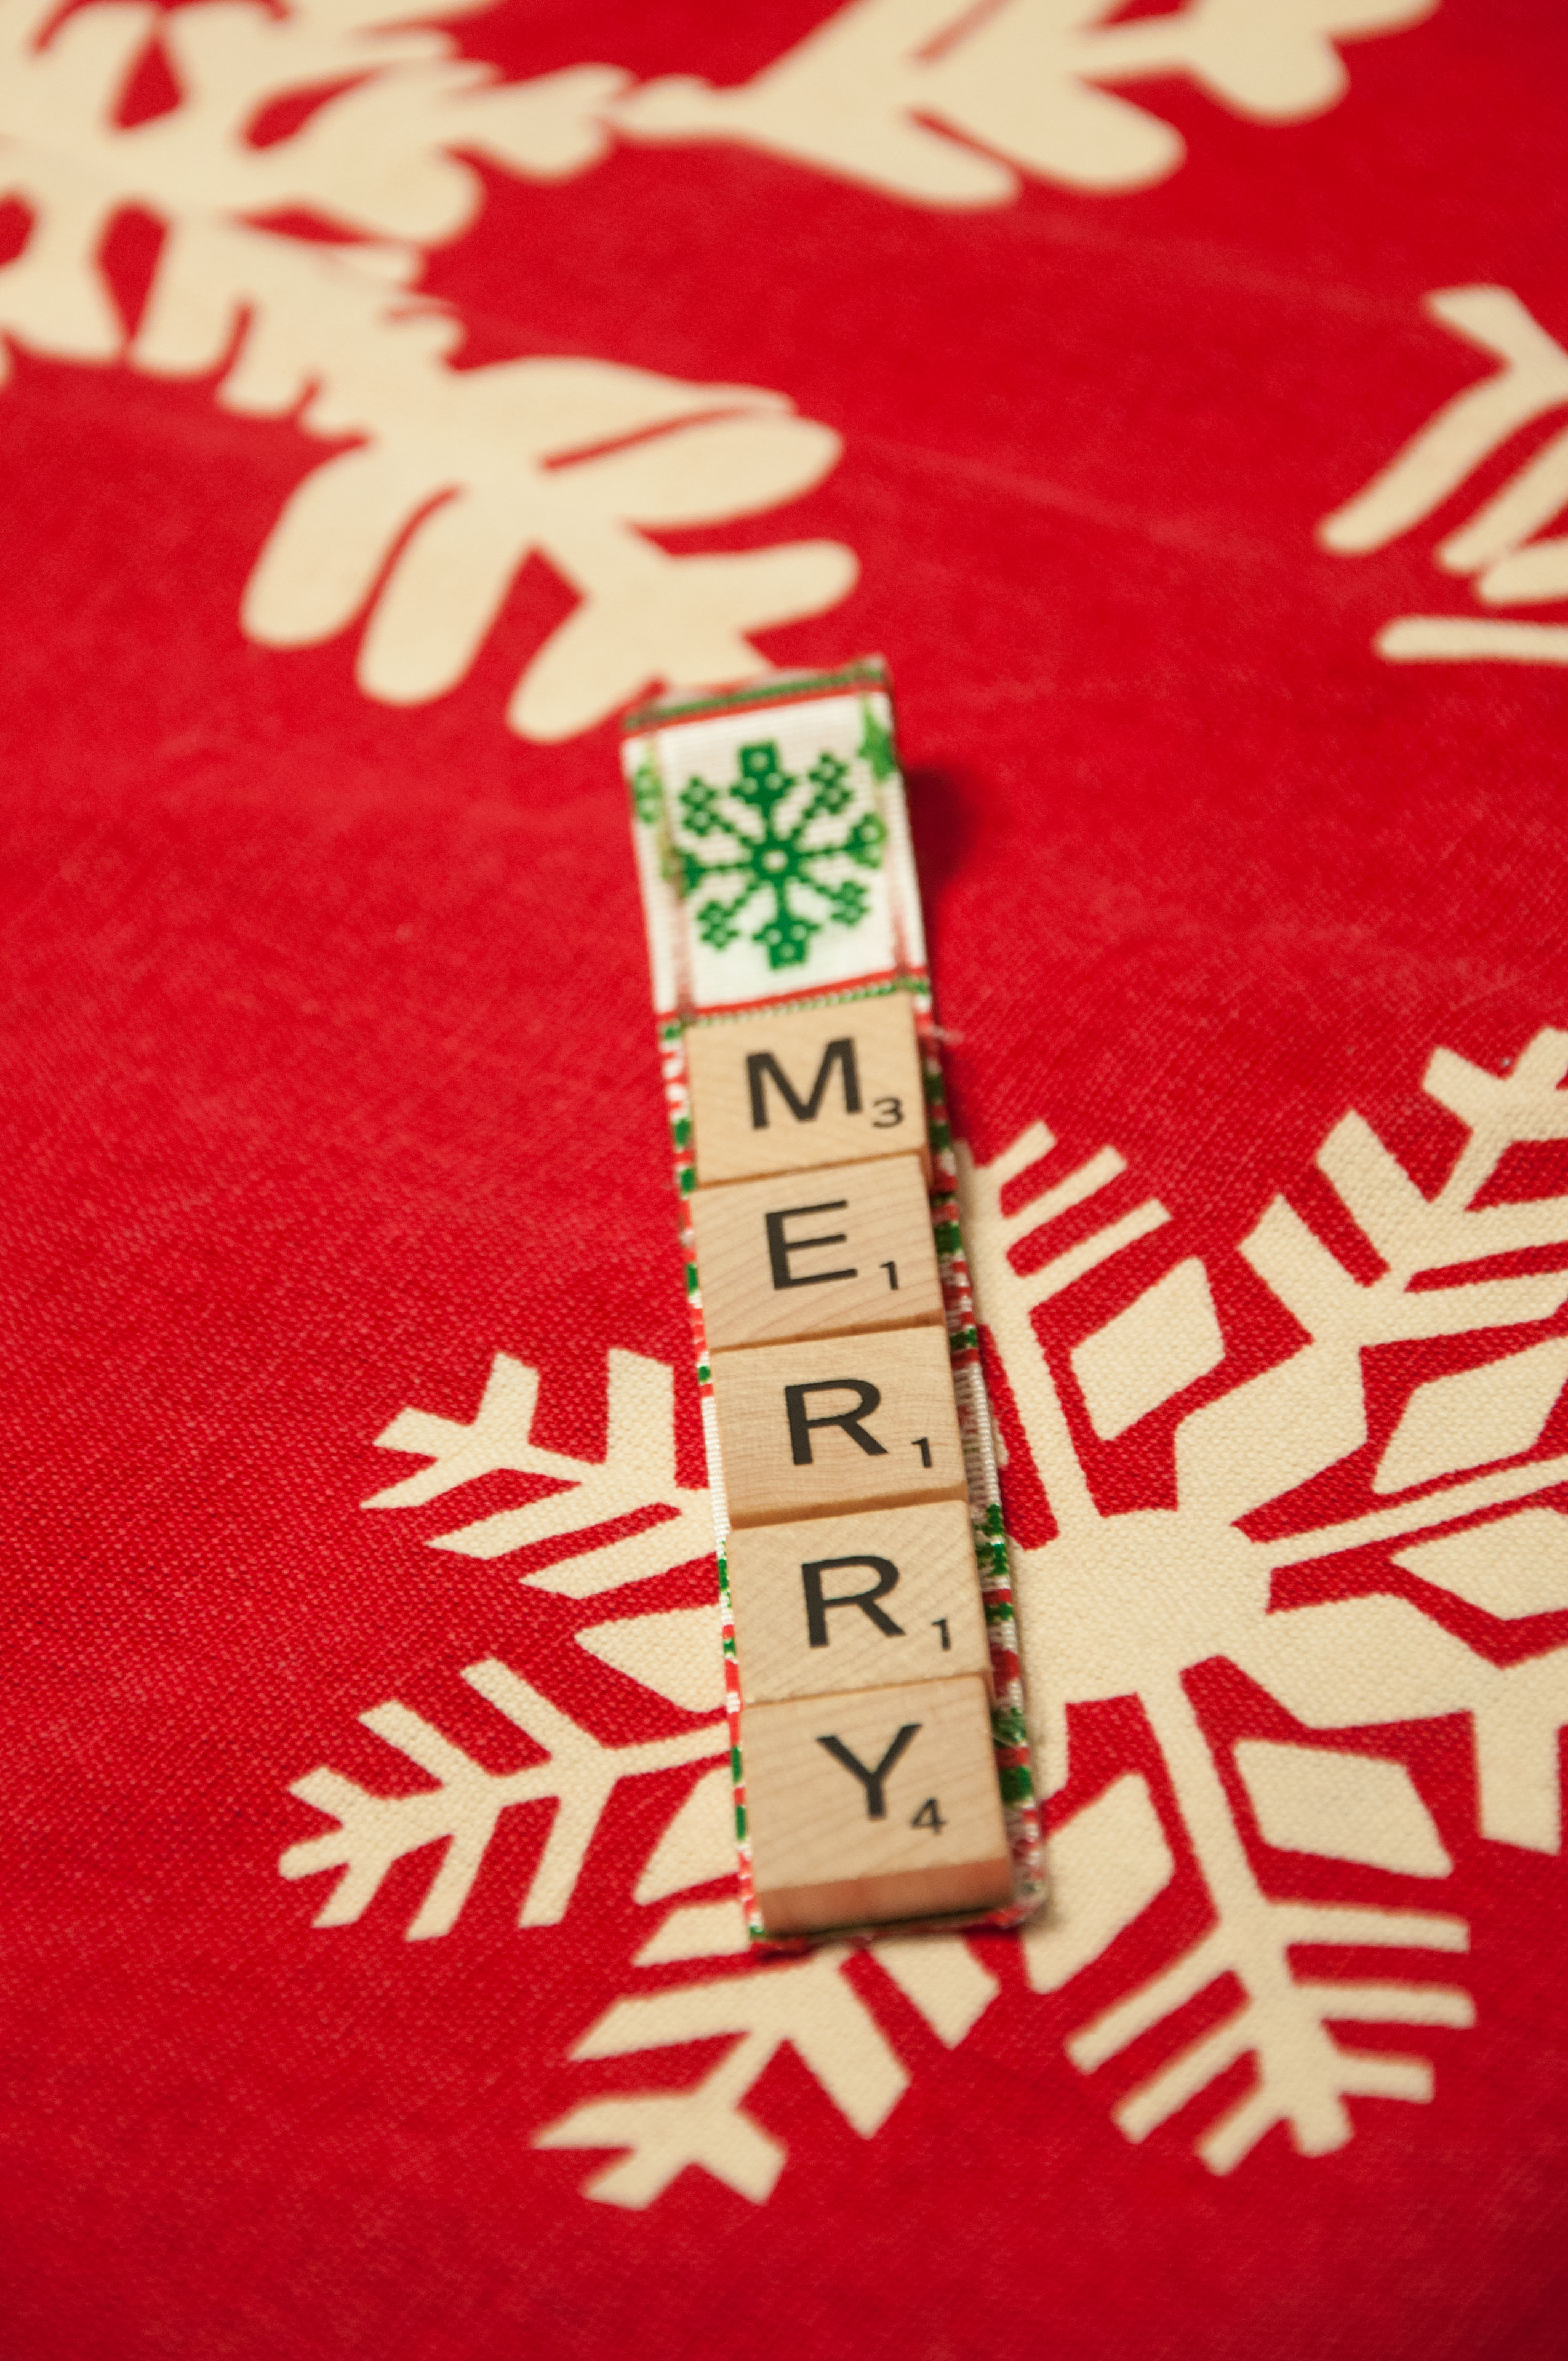
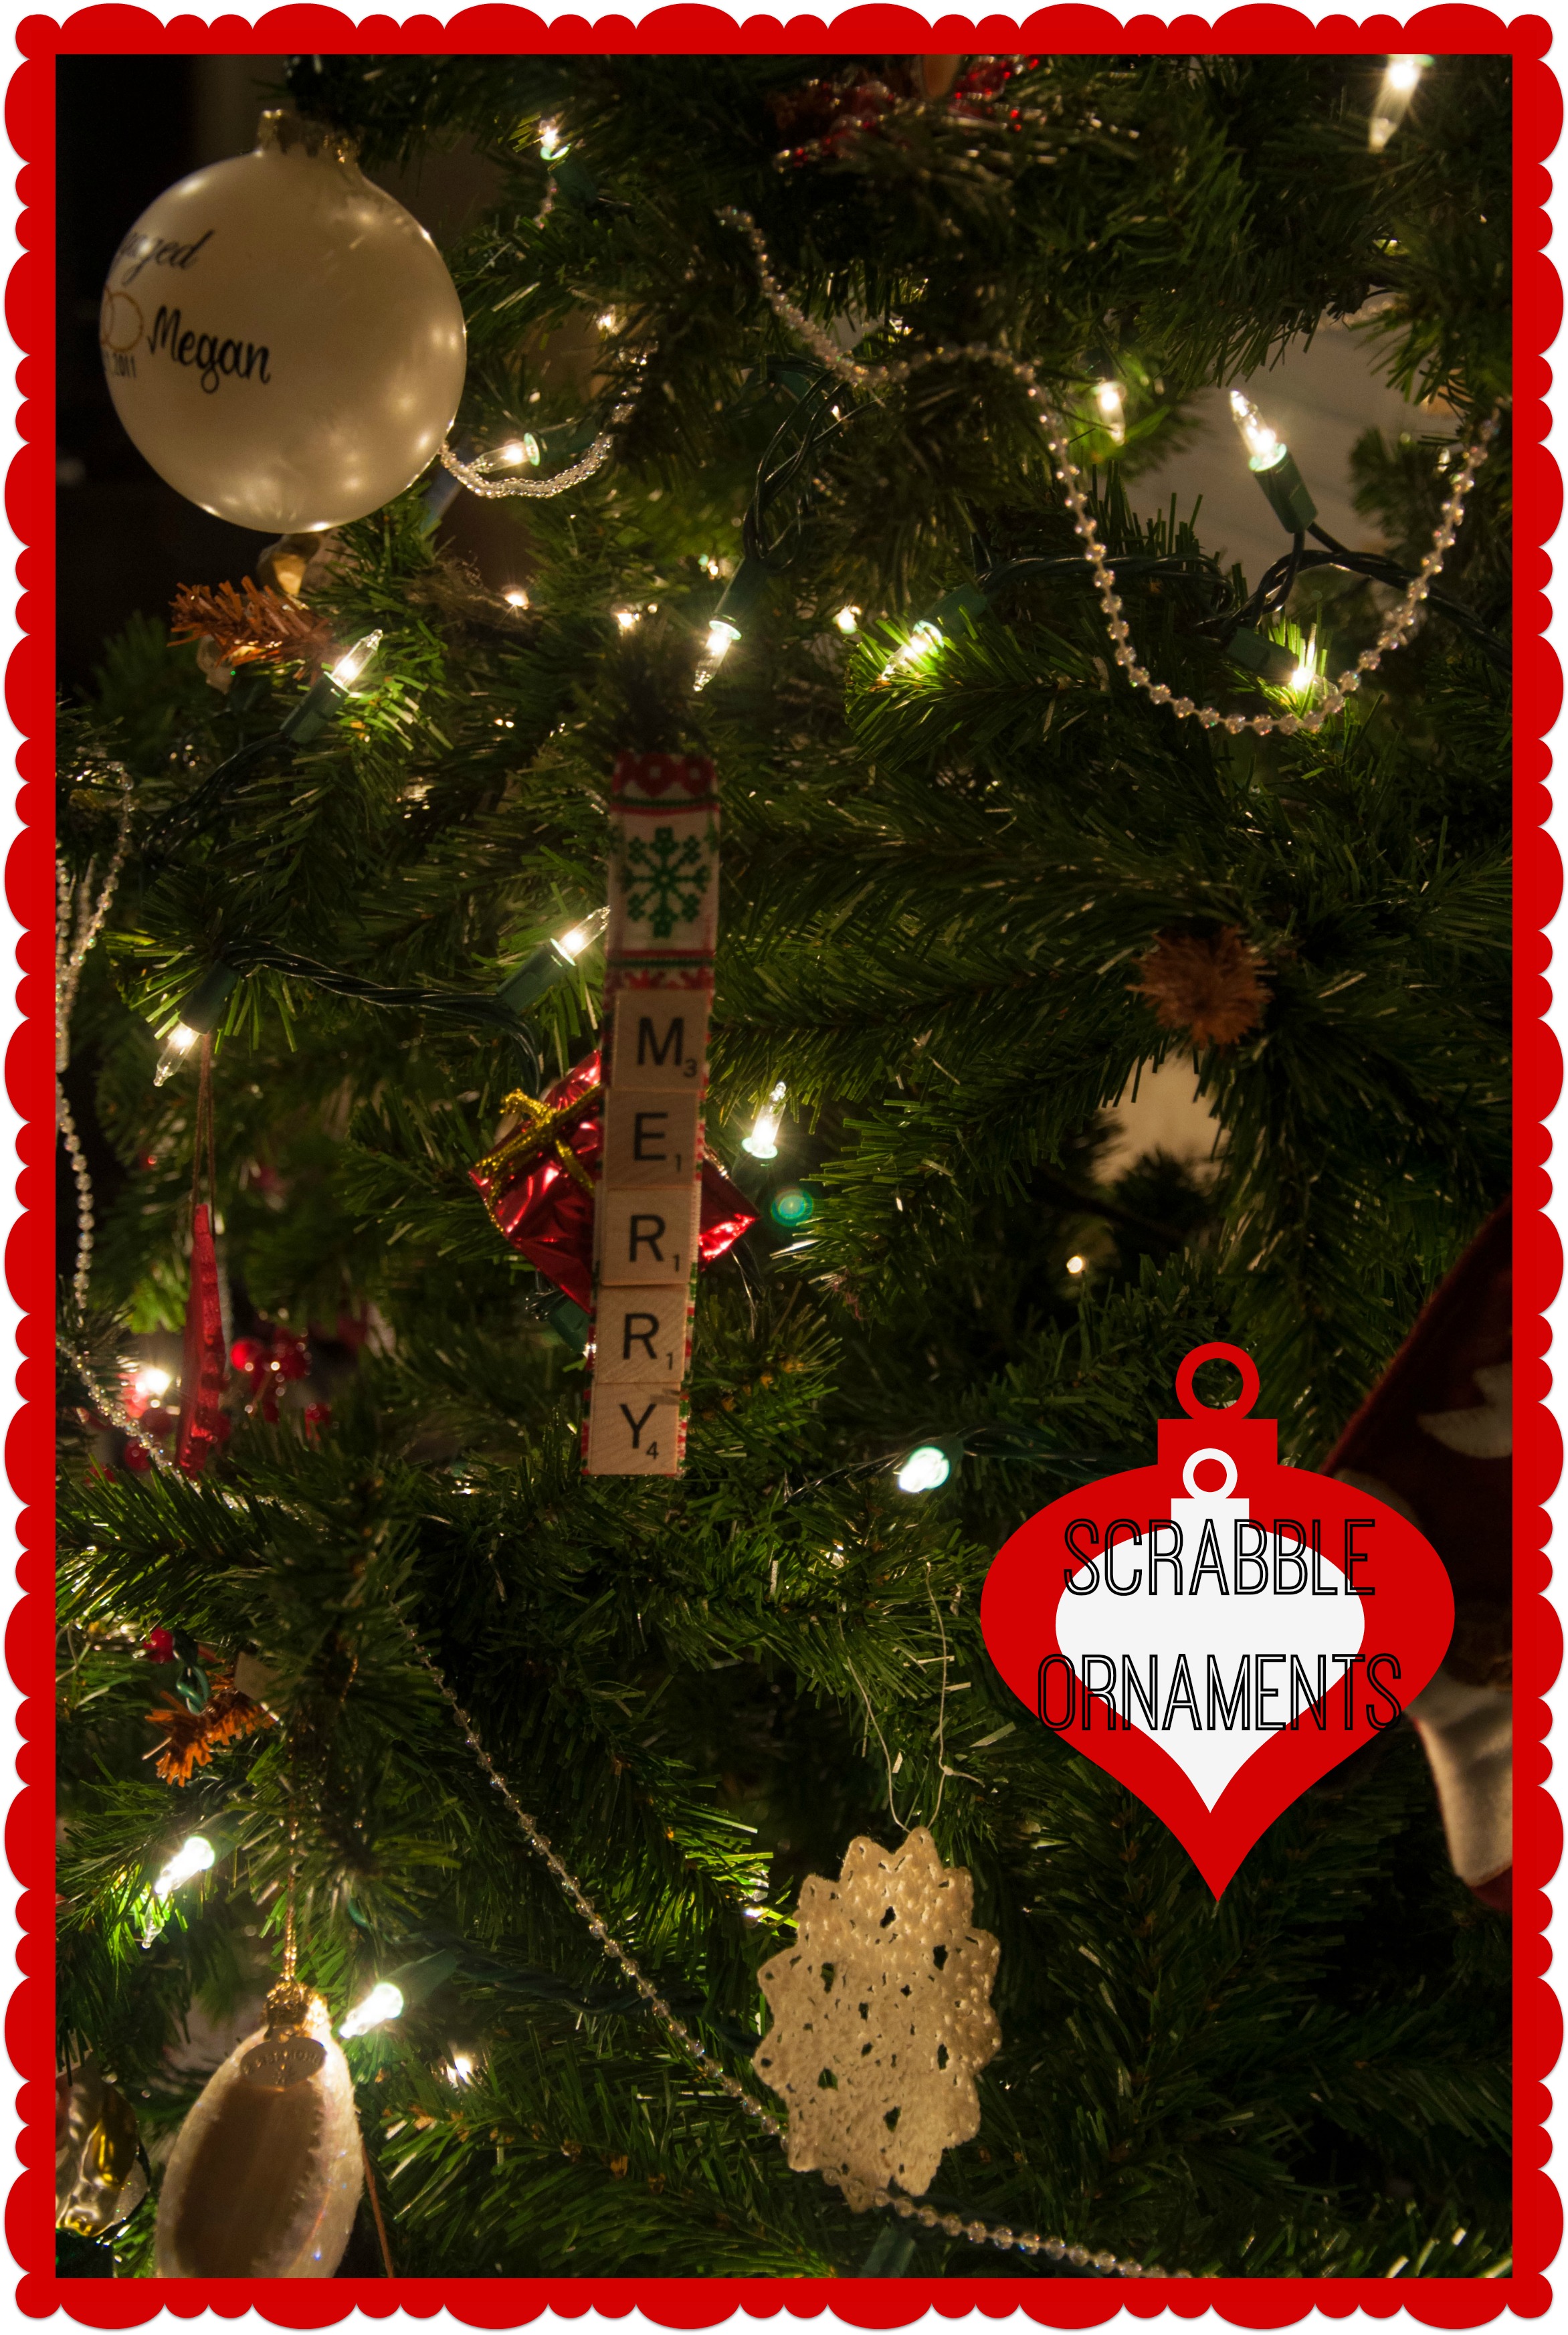
There you have it, Scrabble Christmas ornaments! Easy, fast, fun, and definitely GREAT for the kiddos! Any questions? Ask them below!
Until next time…
xox Megan
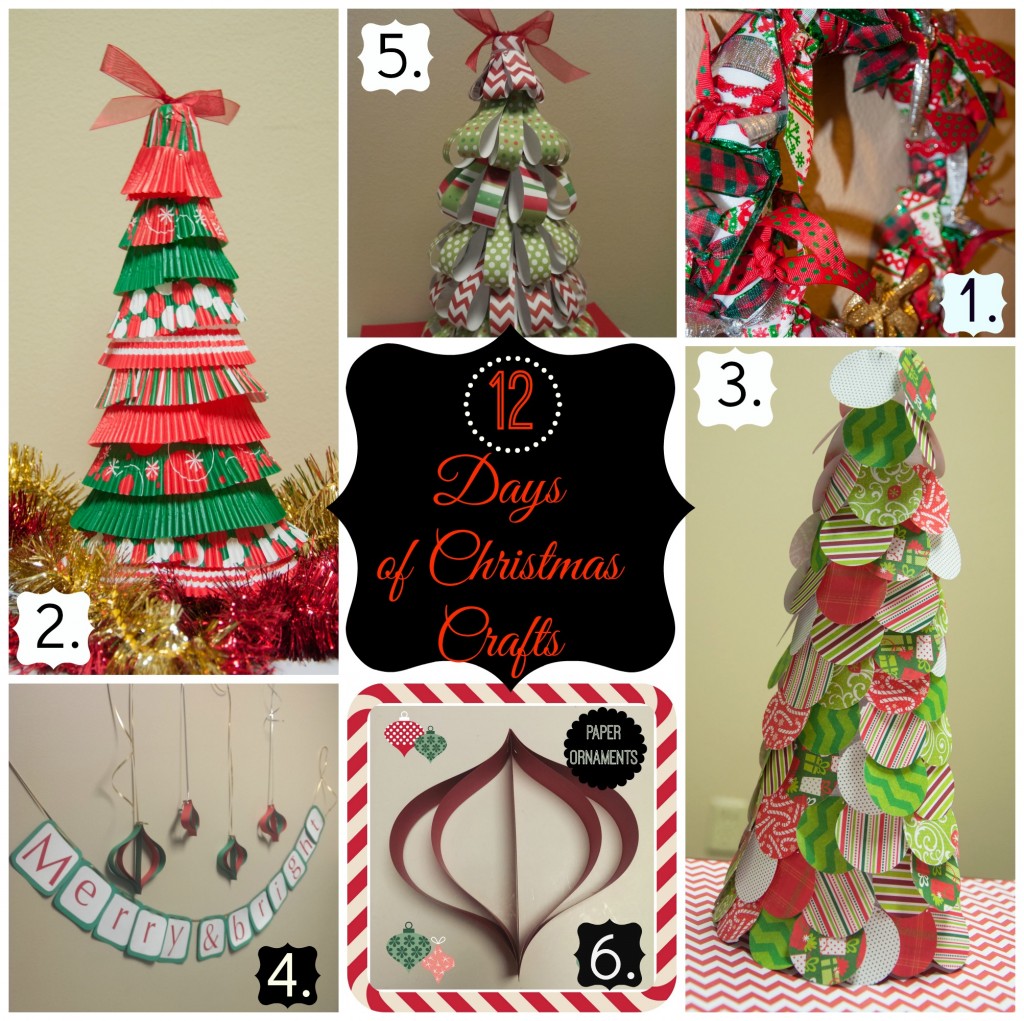
Want to see the other 11 days of Christmas crafts? Here they are:
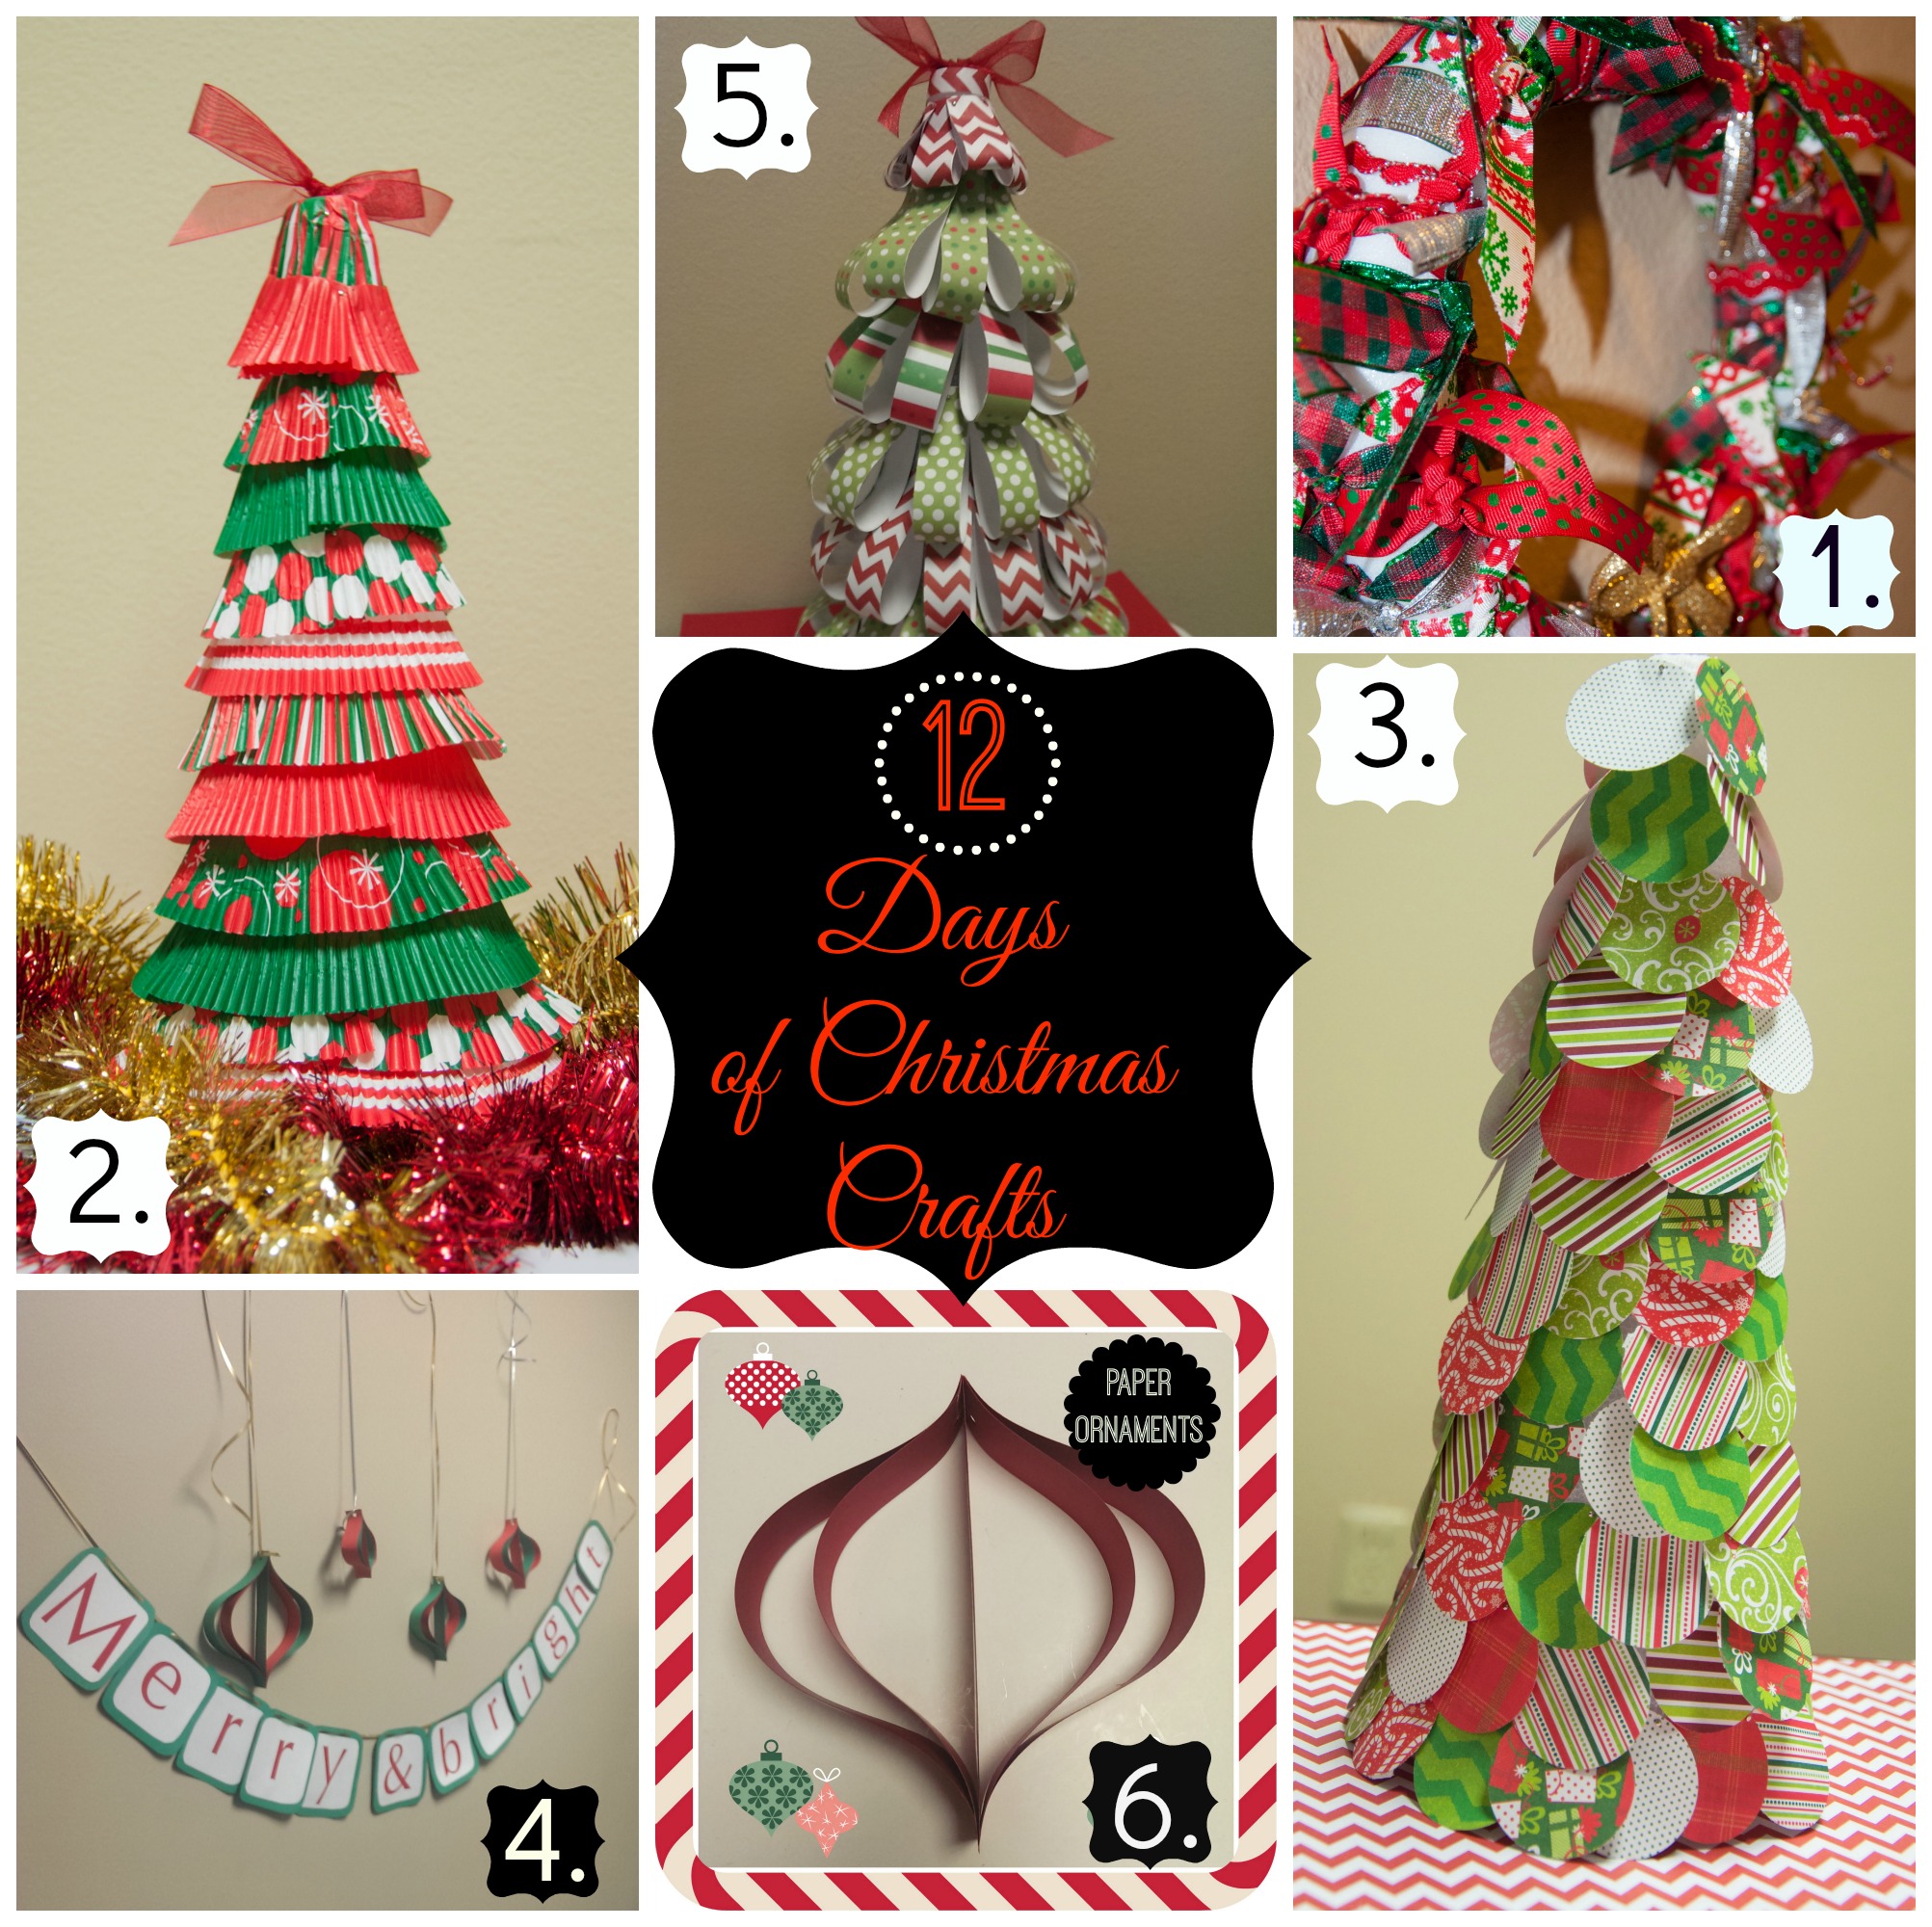
Day 1, Day 2, Day 3, Day 4, Day 5, Day 6, Day 7, Day 8, Day 9, Day 10, Day 11, Day 12

 Day 1
Day 1


