12 Days of Christmas Day 7: Snowy Light Wall

12 Days of Christmas Recipes, Crafts, and Style

I wish I had thought of this idea 10 years ago when I was in high school. Today’s Christmas DIY would have been PERFECT for my high school self’s room. Why? Well, first it is freakin’ cool looking. Second, it’s no mess and won’t tear up your walls, my mother would have ACTUALLY allowed this! High impact, no damage. Who could ask for anything more really? I told my sister that she needs to do this behind my 16 year old niece’s bed, I think it would look amazing as a faux headboard or just behind a regular one!

Snowfall Wall

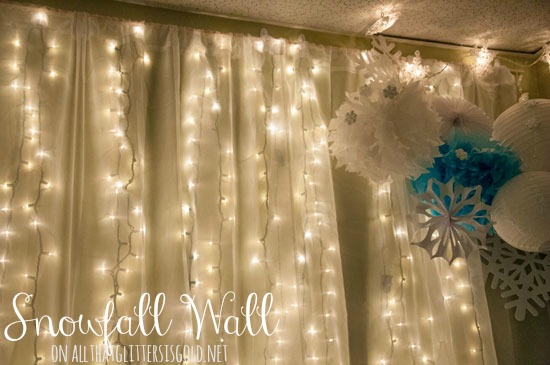
The walls you see in those pictures are from our company holiday party. It looked like glowing snow falling on each end of the room, and it was SO cool! I really want to do this in our dining room for Christmas some day when we finally have Christmas at our own house!

Fabric Light Wall with giant snowflake corner

How do you do it? So easy! You take these sheer curtains from Amazon ($5.99) and put them onto 36″ long wooden dowels (Hobby Lobby). Then you take two command strip hooks and you hang the dowel like you would a curtain rod onto the hooks. Once you have all of your curtains up, you take smaller command strip hooks and place one or two between the bigger hooks that are holding up the dowels. Then take your Christmas lights and string them up and down between the hooks. You can also use the big hooks that the dowels are on so that your lights are closer together and the snowy effect is even greater! For the snowflake cluster at the top, I used tissue pom poms, felt snowflakes (Dollar Tree), white paper lanterns, and made a HUGE snowflake with paper:)Pretty fabric covered light wall

If you have any questions about how this was all put together let me know in the comments below, or email me at allthatglitters810 at gmail.com.

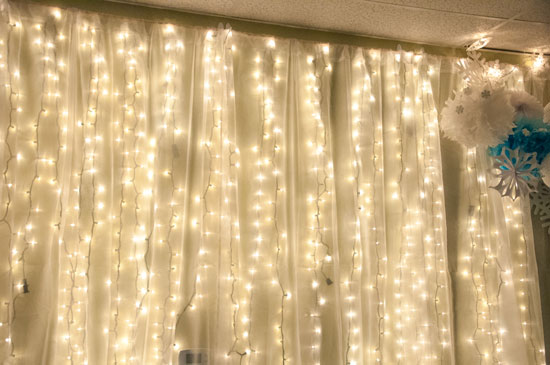
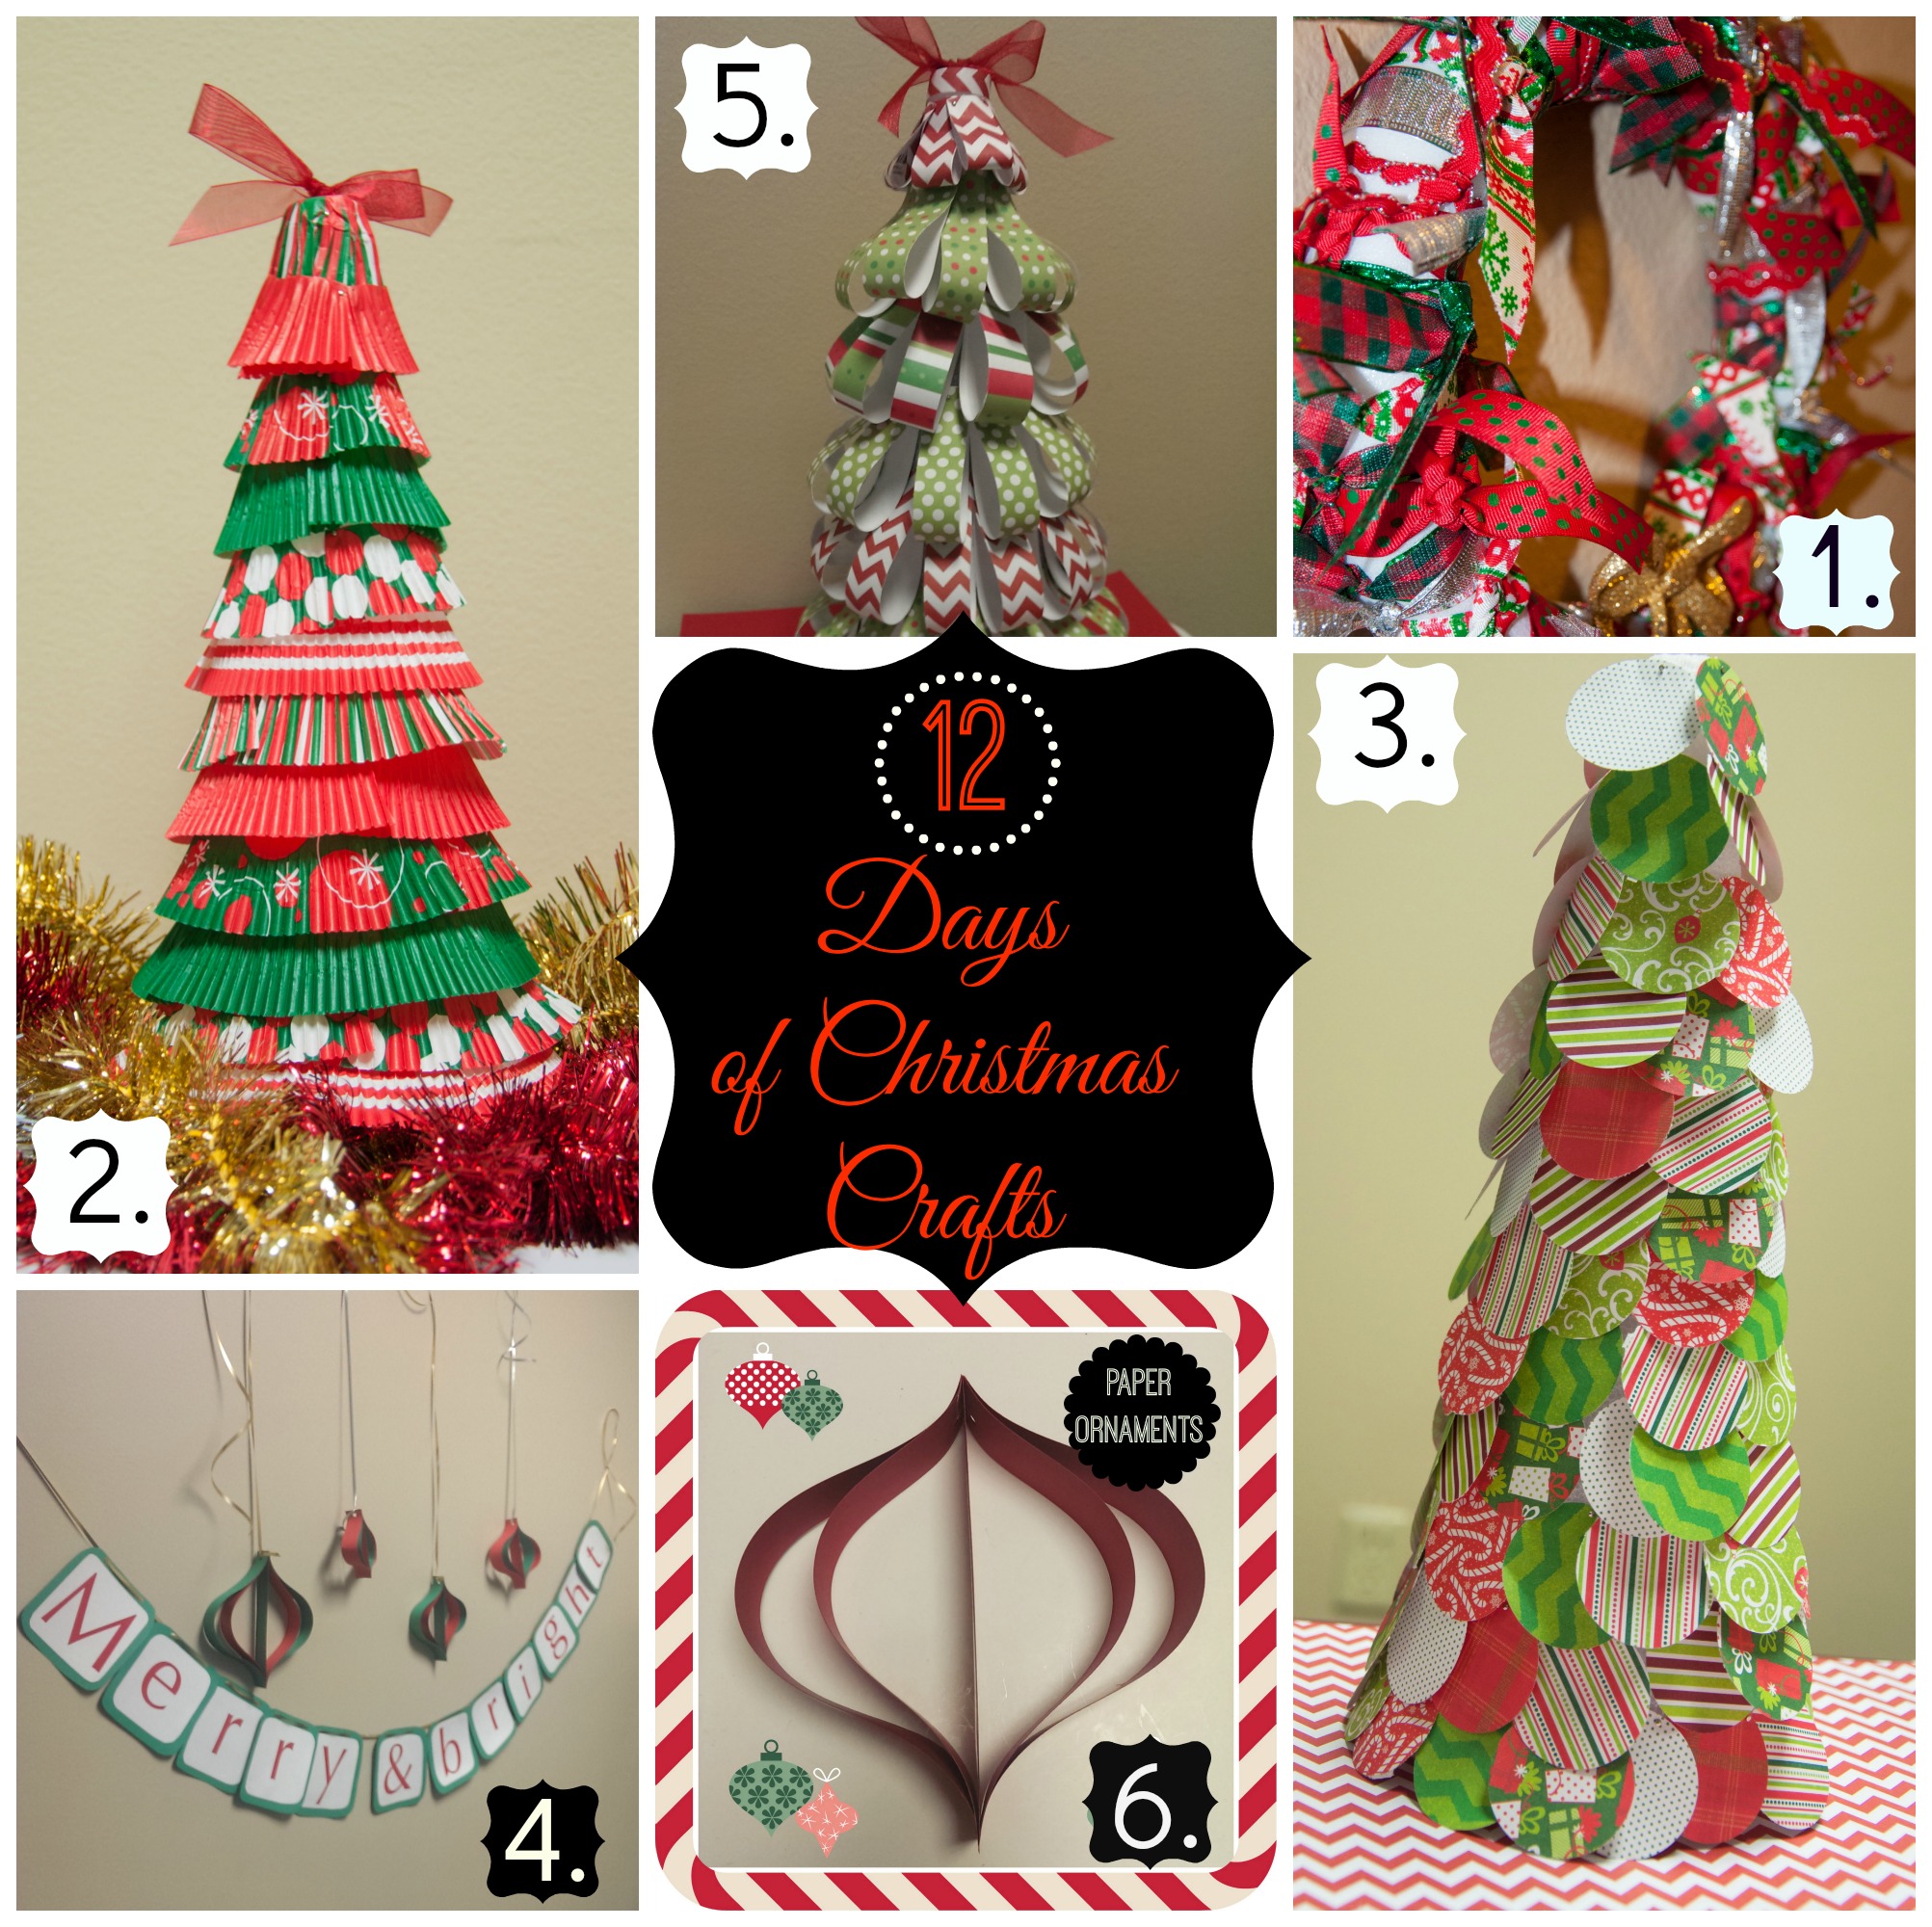
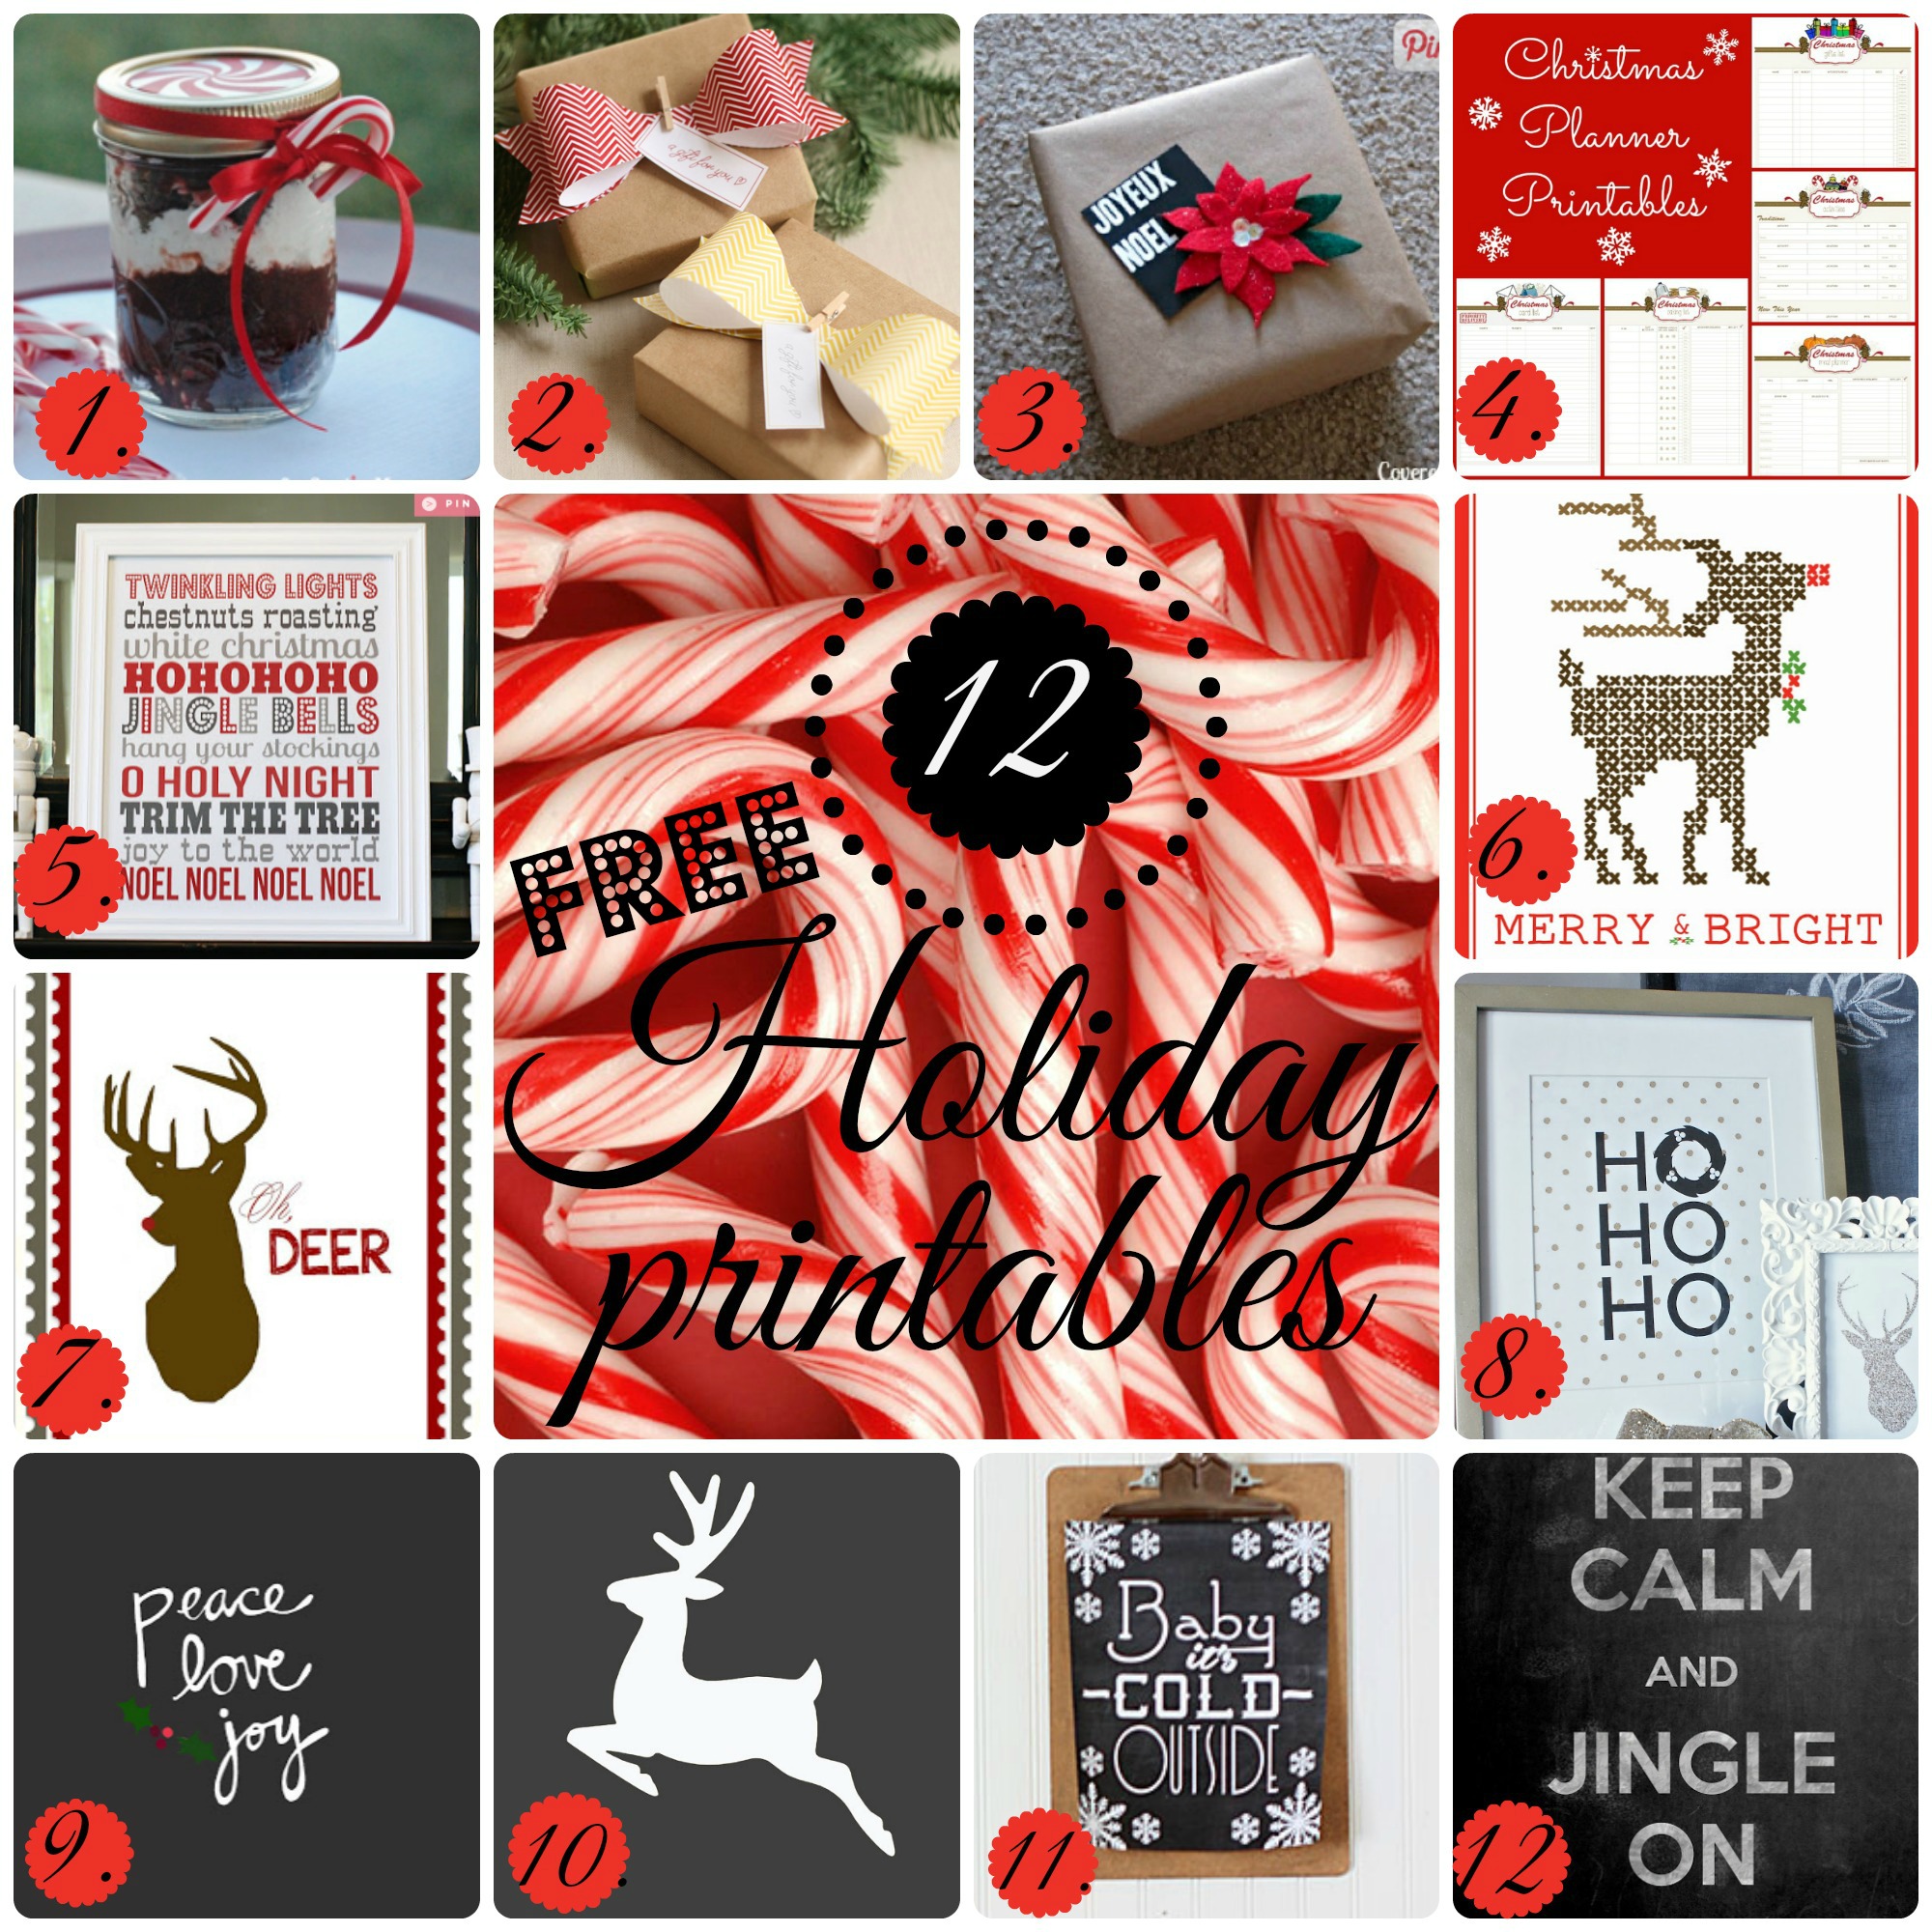
Want to see the other 11 days of Christmas? Check them out here:

12 Days of Christmas- recipes, crafts, and DIY

Day 1  //  Day 2  //  Day 3  //  Day 4  //  Day 5  //  Day 6  //  Day 7  //  Day 8  //  Day 9  //  Day 10  //  Day 11  //  Day 12

All That Glitters Blog

Linking up with: Craft Frenzy 

All 12 Days Of Christmas Crafts

12 days of Christmas Crafts

Hi Lovelies!

I  hope everyone enjoyed the 12 days of Christmas crafts here on All That Glitters! I know it’s not something that you usually see here, being a fashion blog, but I want to thank everyone for all of their support! I love to craft and it was nice to be able to display them here for all of you to see:) I have put together a collage of all 12 crafts and links to them to make theme easier to find! Feel free to pin them, share them, make them, etc. If you do feel the urge to make one, go ahead and put your link in the comments, because I would love to see everyone’s creations! Have a wonderful holiday!

All 12 Days Of Christmas CraftsDay 1, Day 2, Day 3, Day 4, Day 5, Day 6, Day 7, Day 8, Day 9, Day 10, Day 11, Day 12

Merry Christmas! See you Thursday!

xox Megan
Follow on Bloglovin

12 Days Of Christmas Crafts Day 2: Cupcake Liner Christmas Tree

12 days of Christmas CraftsHi Lovelies!

Welcome to Day 2 of the 12 days of Christmas crafts! Today I am going to show you how to make a cupcake liner Christmas tree! To begin you will need a foam cone, cupcake liners, scissors, straight pins, and some ribbon as shown below:

Cupcake Christmas Tree

To begin you will need to cut the bottoms off of the cupcake liners as shown:

Cupcake Wrapper Christmas Tree

Next, take the bottomless cupcake liners and stretch them around the base of the foam cone. Pin them into place. You will need more than one liner per layer at the bottom of the tree, and progressively less as you move upwards.

Cupcake Craft Christmas Tree

You can alternate patterns as you go up, or use the same design the entire way! Evenly space the liners so that the patterns on each layer show, but the pins do not.

Cupcake liner Christmas Tree Base

Before you make it to the very top, you will want to take an uncut cupcake liner and cover the point. Pin it into place. Then cover those pins with the last liner layer. I then tied a ribbon and pinned it in to place on the very top. You could also glue a paper star to a toothpick and stick this into the top!

There you have it, a cupcake liner Christmas tree!

Cupcake liner Christmas Trees

Have questions? Ask them below! Stay tuned tomorrow for Day 3 of Christmas crafts!

Until next time…

xox Megan

Want to see the other 11 days of Christmas crafts? Here they are:

12 Days of Christmas Crafts Day 1, Day 2, Day 3, Day 4, Day 5, Day 6, Day 7, Day 8, Day 9, Day 10, Day 11, Day 12

Linking up with: Craft Frenzy Friday

Follow on Bloglovin

12 Free Holiday Printables

Hi Lovelies!

One of my favorite ways to decorate/prepare for the holiday season is with printables, so today I am going to show you some really great ones that I have found this year! All of the ones I picked are free which is always nice, and they are just cute as can be!

12 Holiday Printables1. Peppermint Mason jar lids from One Creative Mommy
2. Paper Bows from Elli
3. Chalkboard Printable Tags from The Grant Life
4. Christmas Planner from Growing Up Gabel
5. Subway Art from Eighteen 25
6. Merry & Bright from the Linley House
7. Oh, Deer from Oh Boy, Oh Joy
8. Ho Ho Ho from The Social Home
9. Peace Love and Joy from Lovely Little Whimsy
10. Reindeer Silhouette from Entirely Eventful Day
11. Baby, it’s cold outside by The Shabby Creek Cottage
12. Keep calm and Jingle on by Serenity Now blog

Speaking of printables…one of my blogging buddies, Jenne, owns this cute Etsy shop, Pumpkin Beans. She has agreed to give away a free download for one of her adorable, printable Christmas cards to one of my readers! If you win, you can pick whichever one you would like from her shop:) Enter in the rafflecopter below! Good luck!

Christmas Card Giveawaya Rafflecopter giveaway

Until tomorrow…

xox Megan

Linking up with the Craft Dictator!

Follow on Bloglovin