
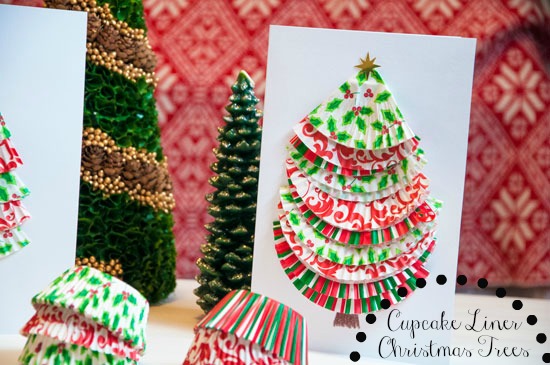
I love, love, LOVE today’s craft! They turned out so well and I am SO excited to give them to my family next week on Christmas. I made a cupcake liner Christmas tree with a foam cone last year, here, and I thought it would be cute to make a smaller version this year. These are so easy and I have shown two different types today with the instructions below! Enjoy!

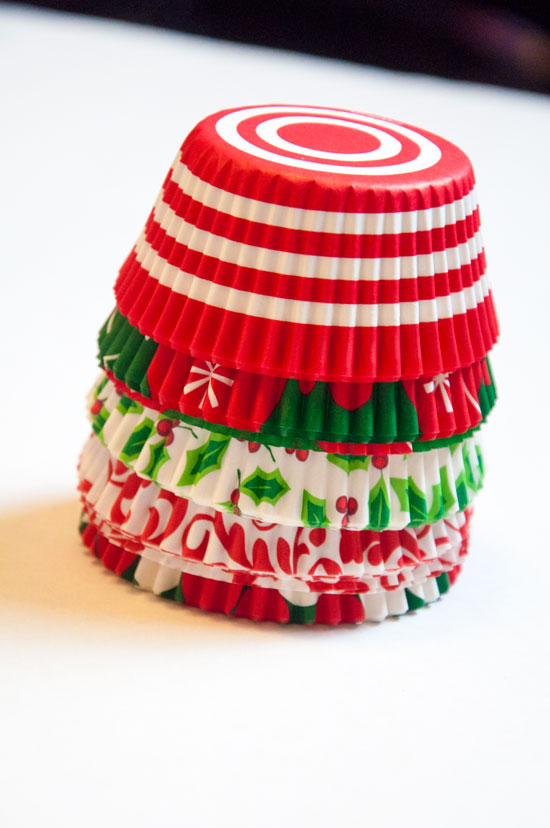
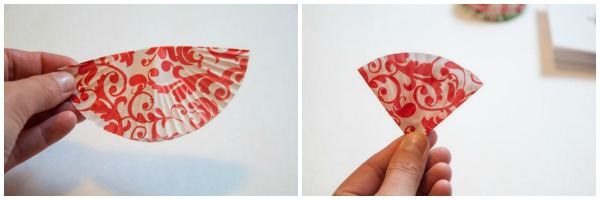
First things first, start with as many different patterns of cupcake liners as you want. To make the smaller of the two trees, begin by folding your liners in half and then in half again. You will have that little pie slice you see below on the right!
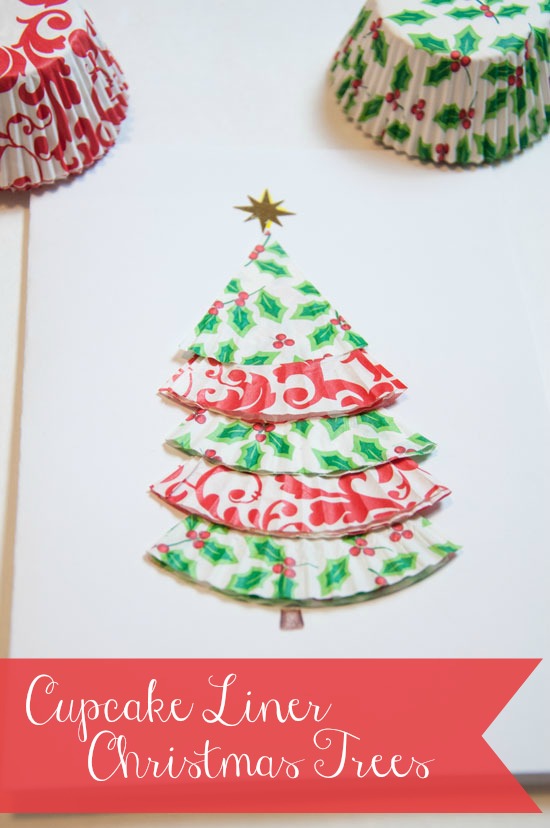
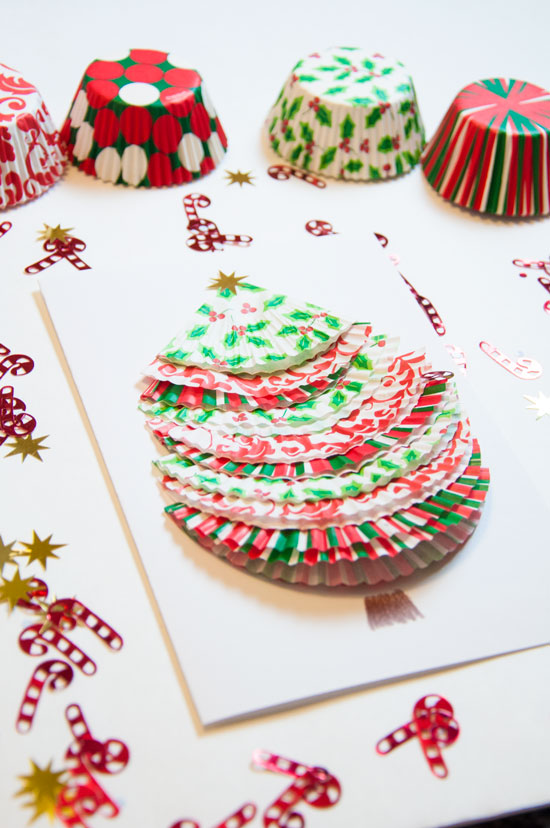
As you move further up the tree, you fold a little bit extra underneath so that the pieces become just a little bit smaller each time. I used a glue stick to attach everything together. Then I glued the tree on to a piece of white card stock. For the star I used a piece of confetti that looks like the north star, and the trunk is just colored pencil. This should get you the below result!
For the larger of the Christmas trees, I folded all of the liners in half. As I went up the tree, I cut a small piece off of the end. Cut the piece a bit bigger each time so that the pieces become smaller. For the top of the tree fold your liner in half once more like you did in the first tree to create quarters. Finally, glue a star on the top and draw on your tree trunk!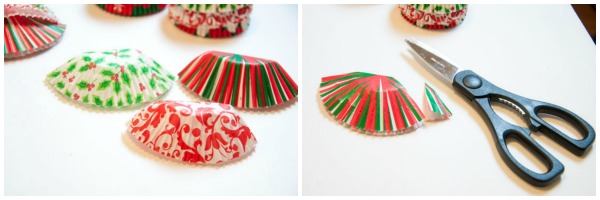

Want to see the other 11 days of Christmas? Check them out here:
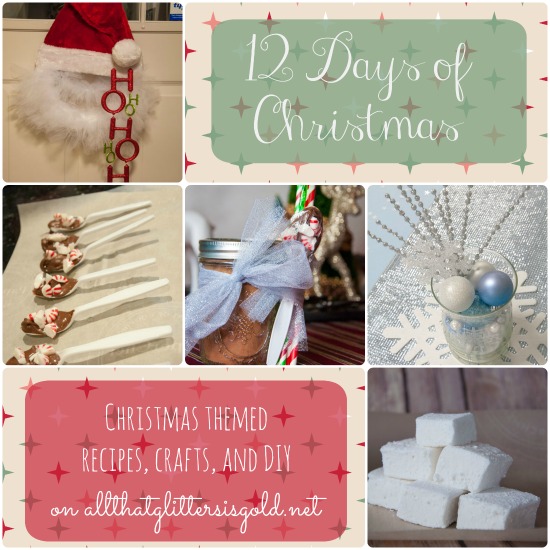
Day 1 // Day 2 // Day 3 // Day 4 // Day 5 // Day 6 // Day 7 // Day 8 // Day 9 // Day 10 // Day 11 // Day 12
 Linking up with: Be. You. Tiful