
Hi Lovelies!
I know it’s a little bit late tonight, but here is the 3rd day of Christmas crafts! I love this paper Christmas tree and it was SO easy to make!
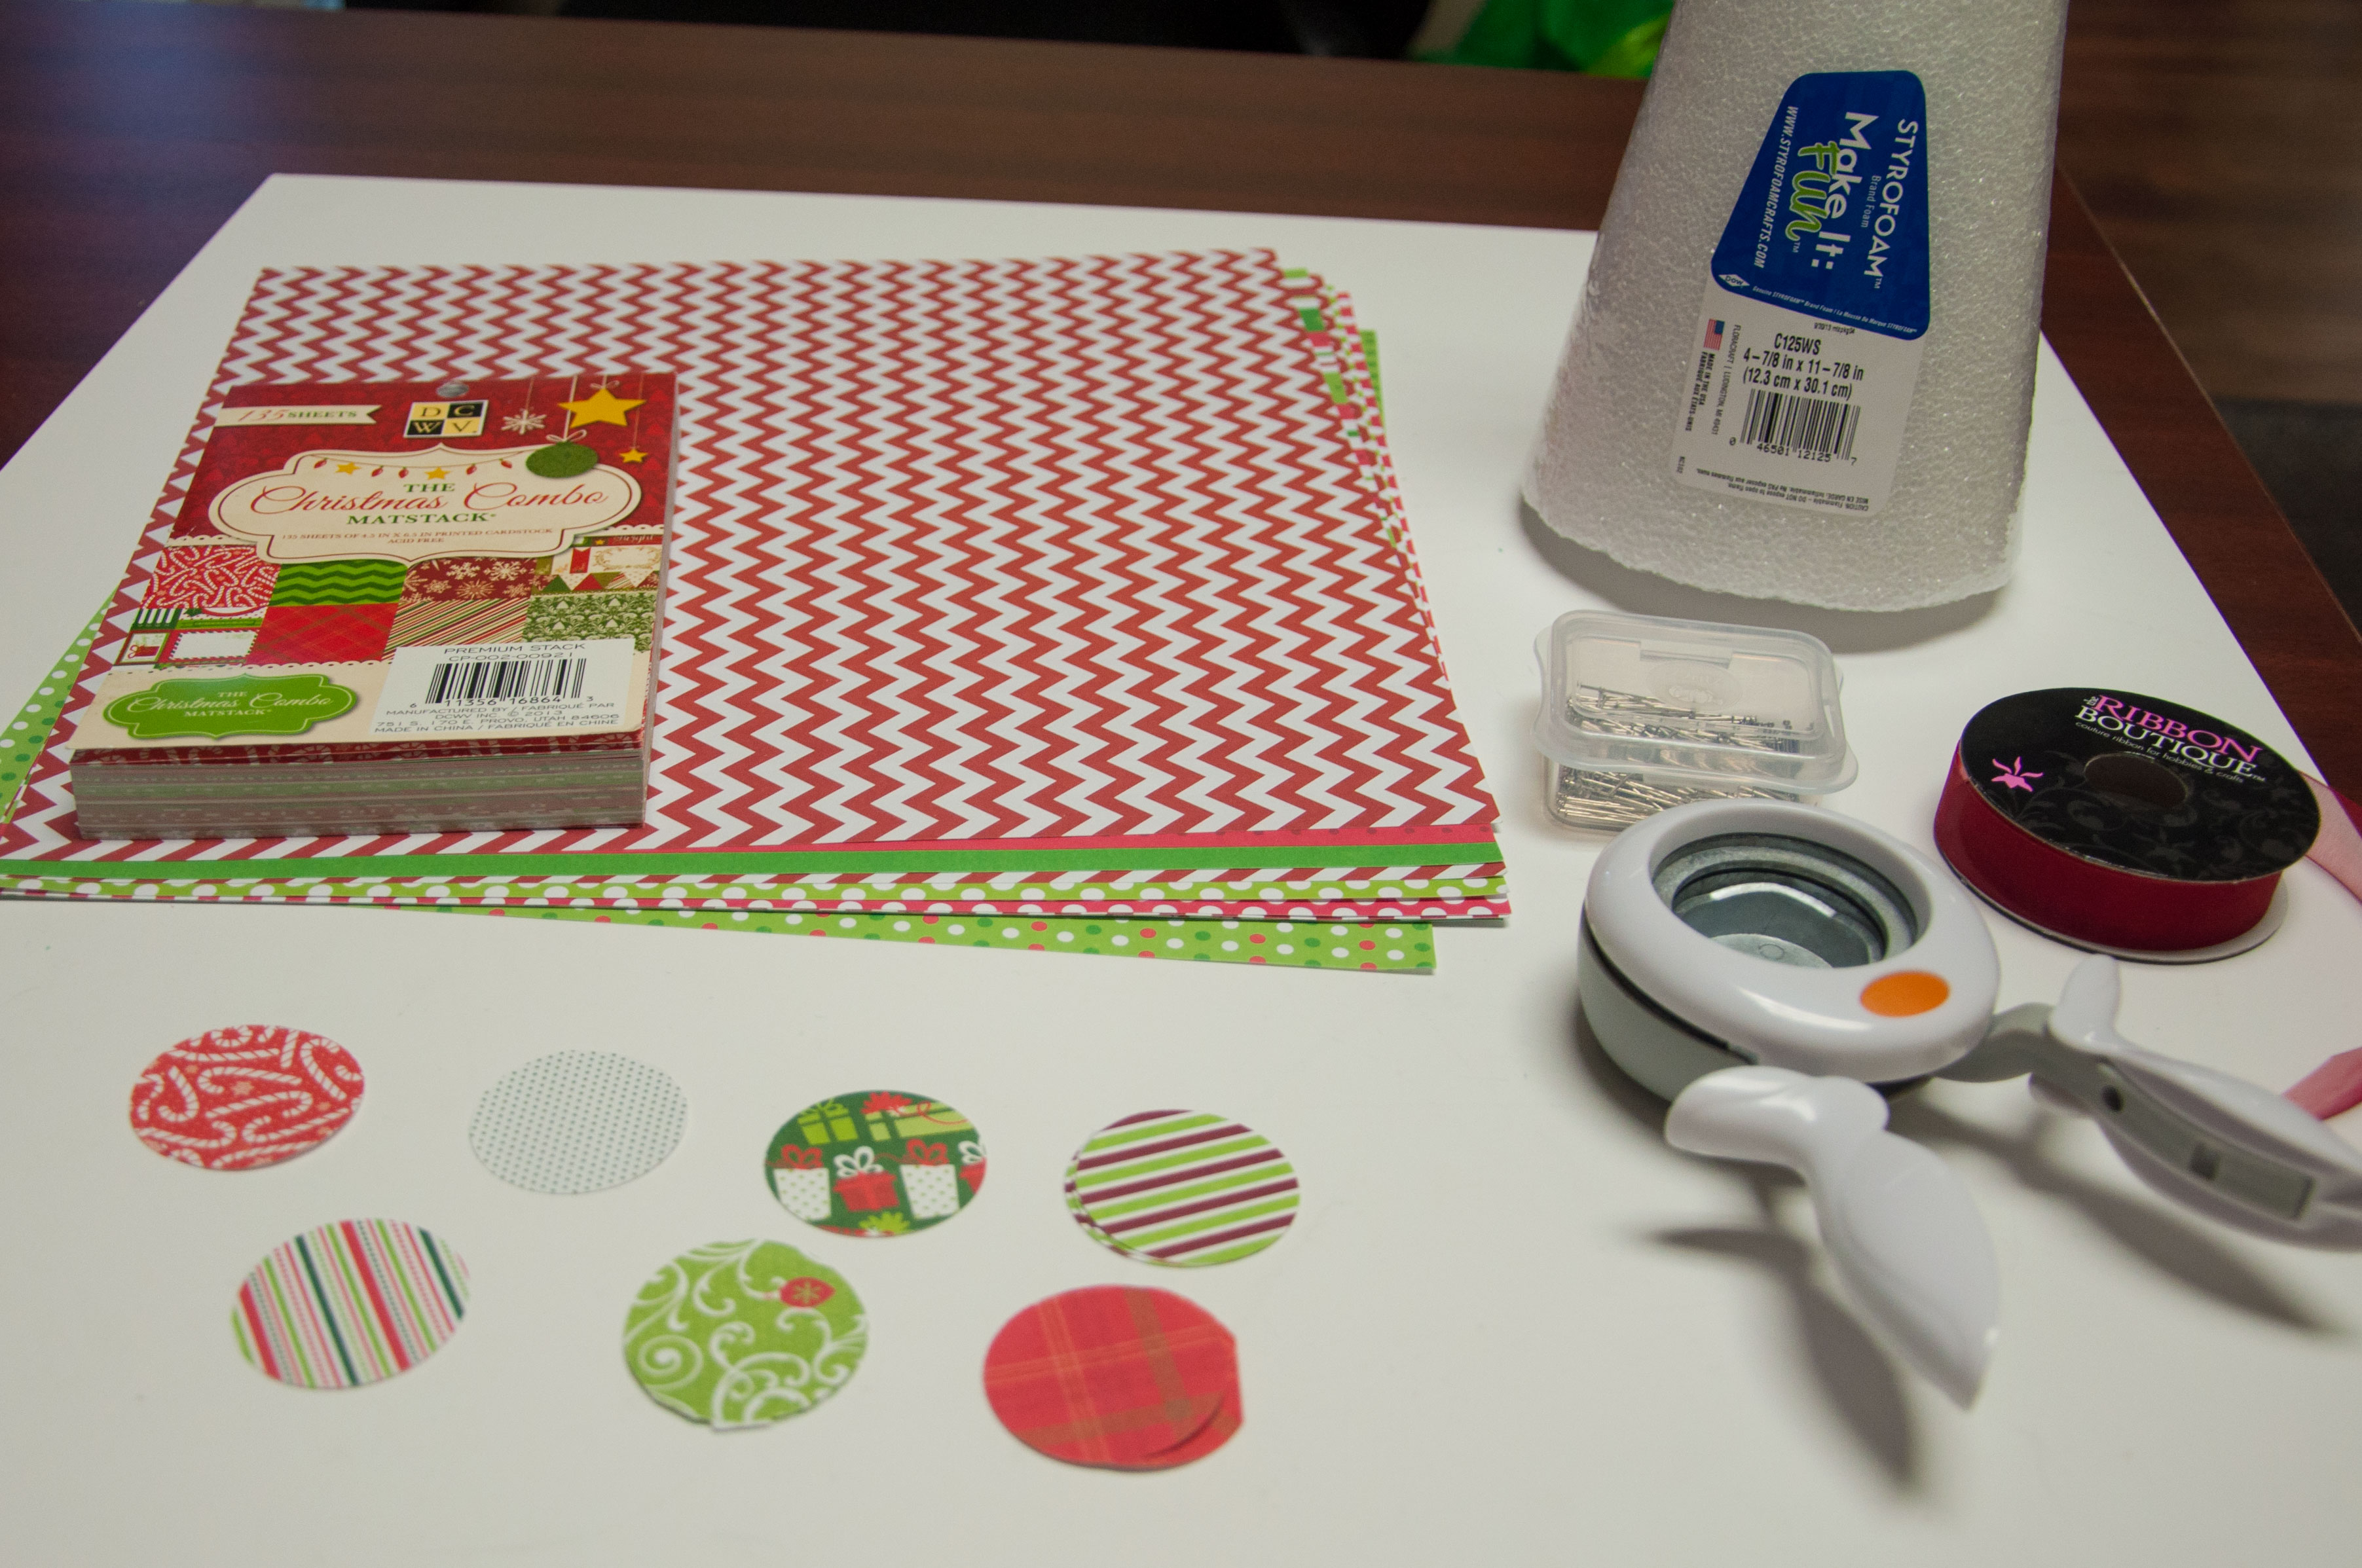
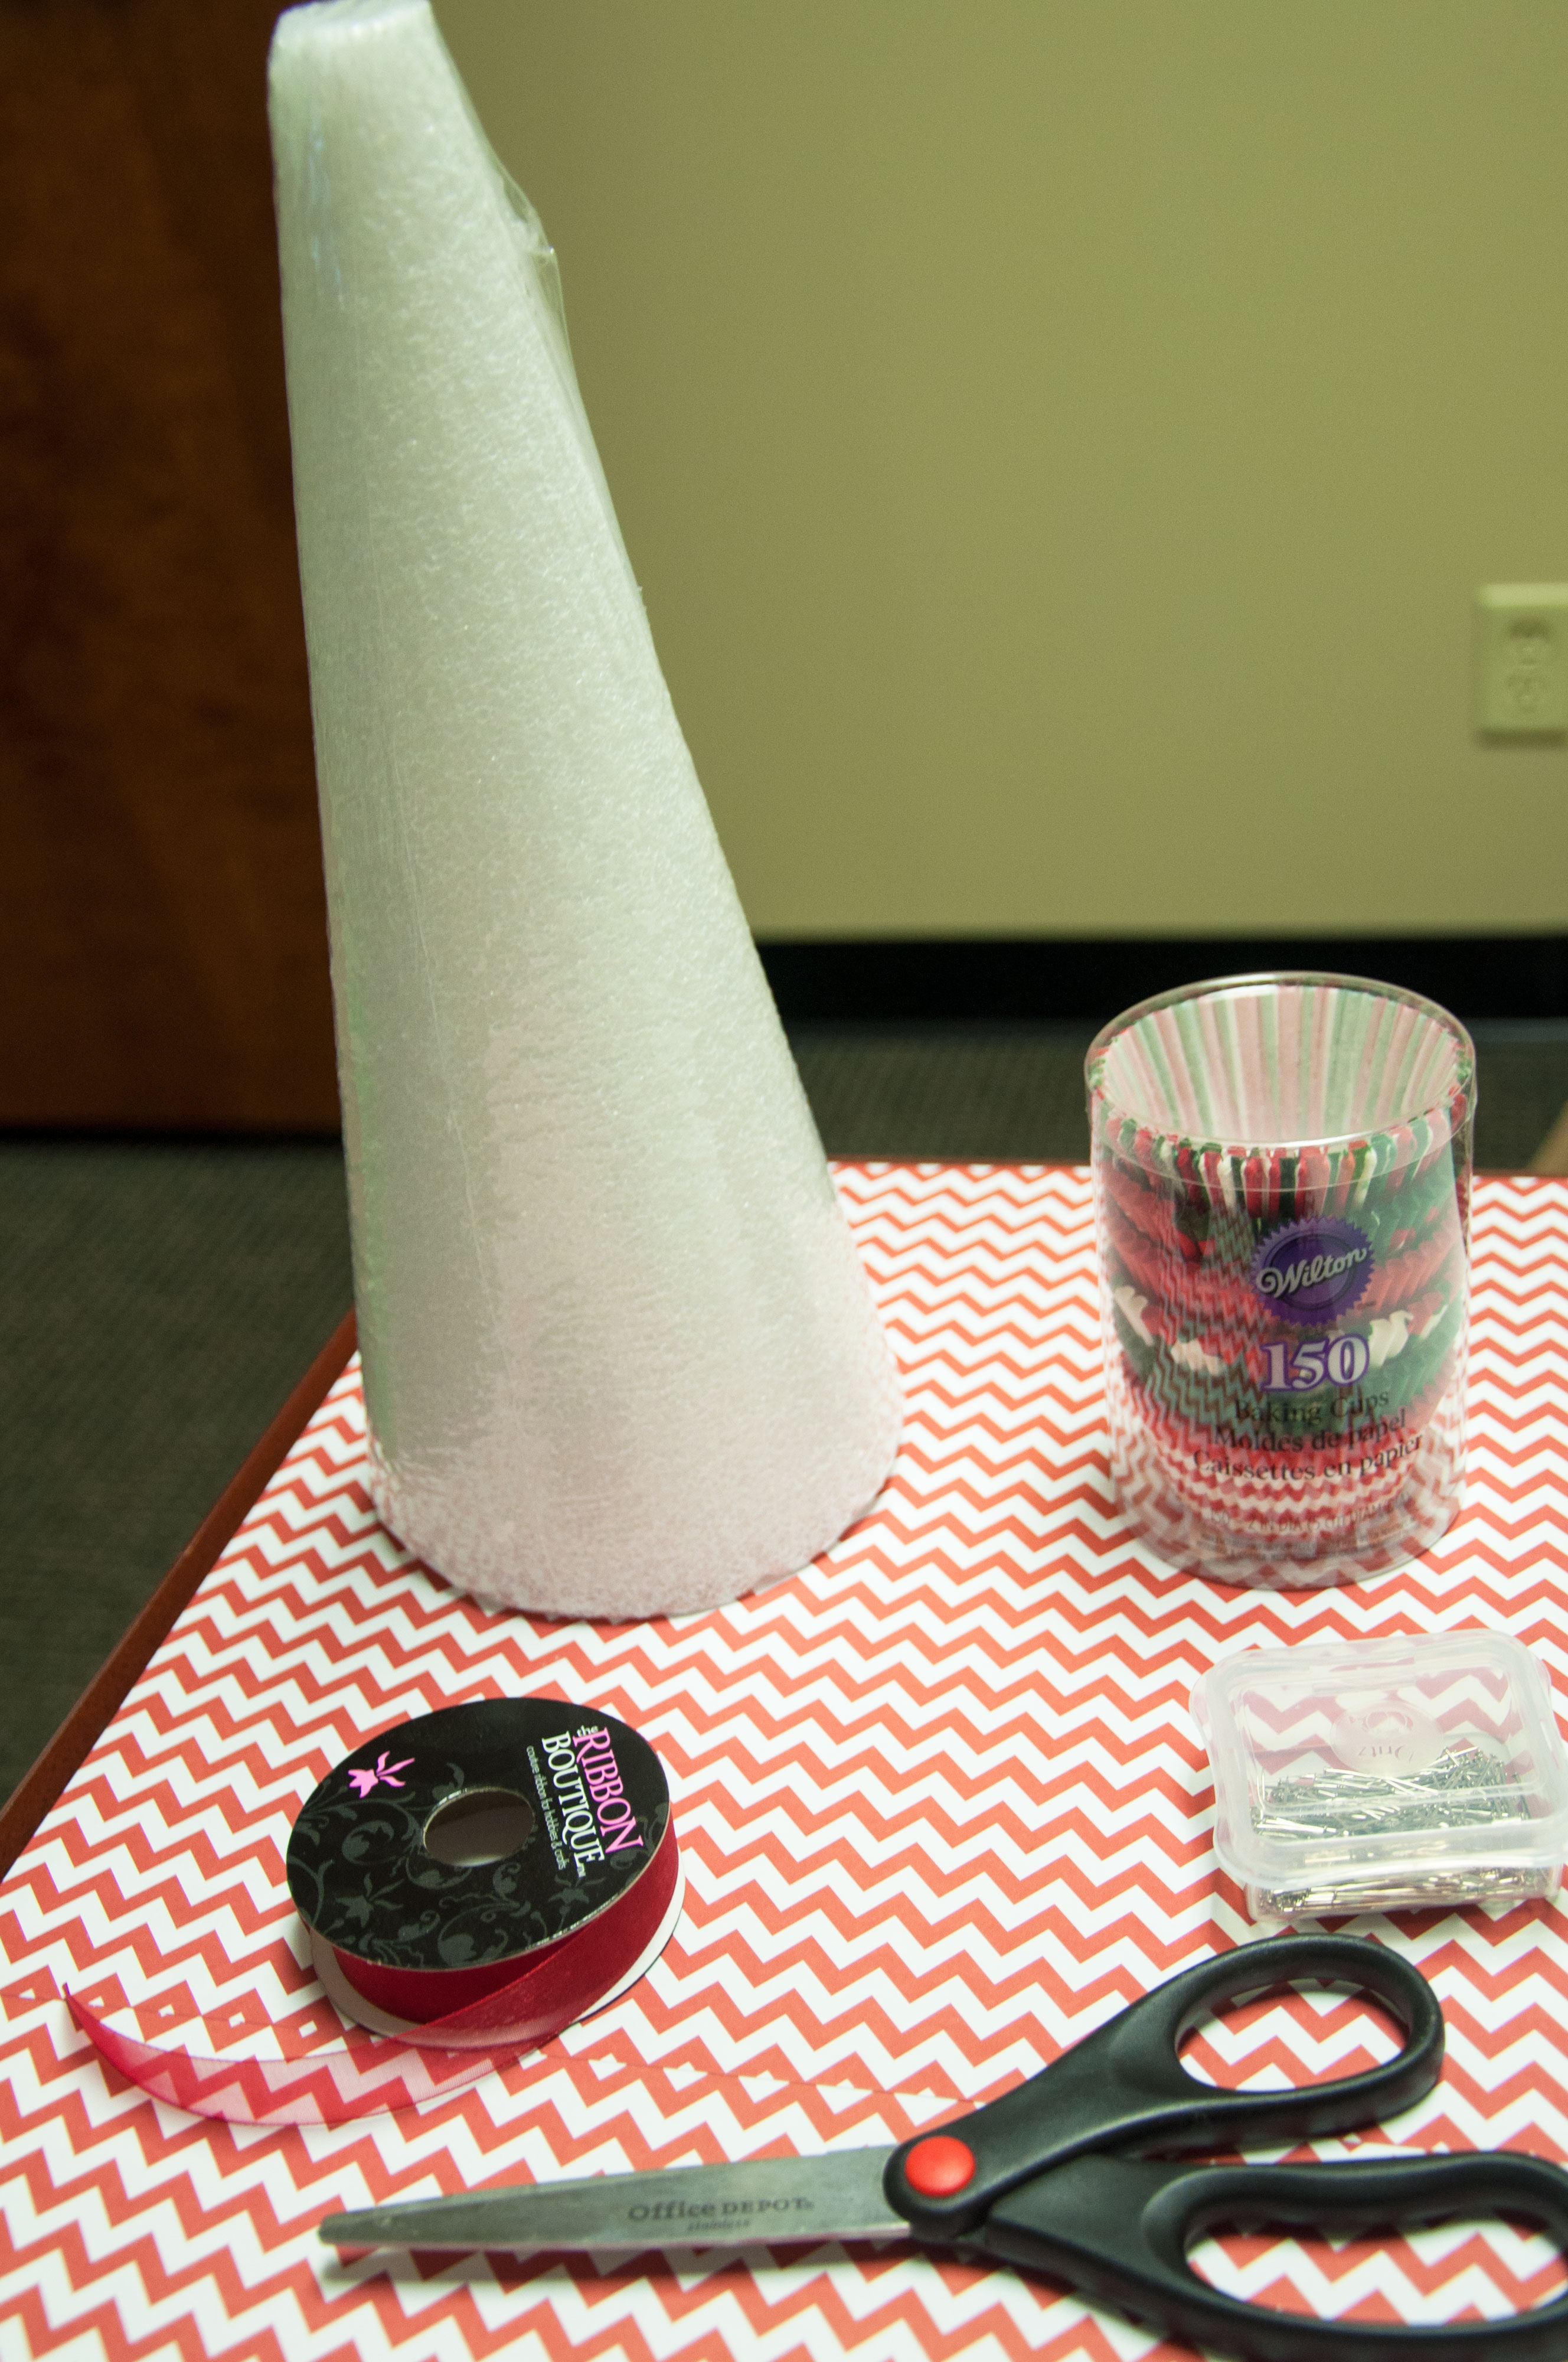
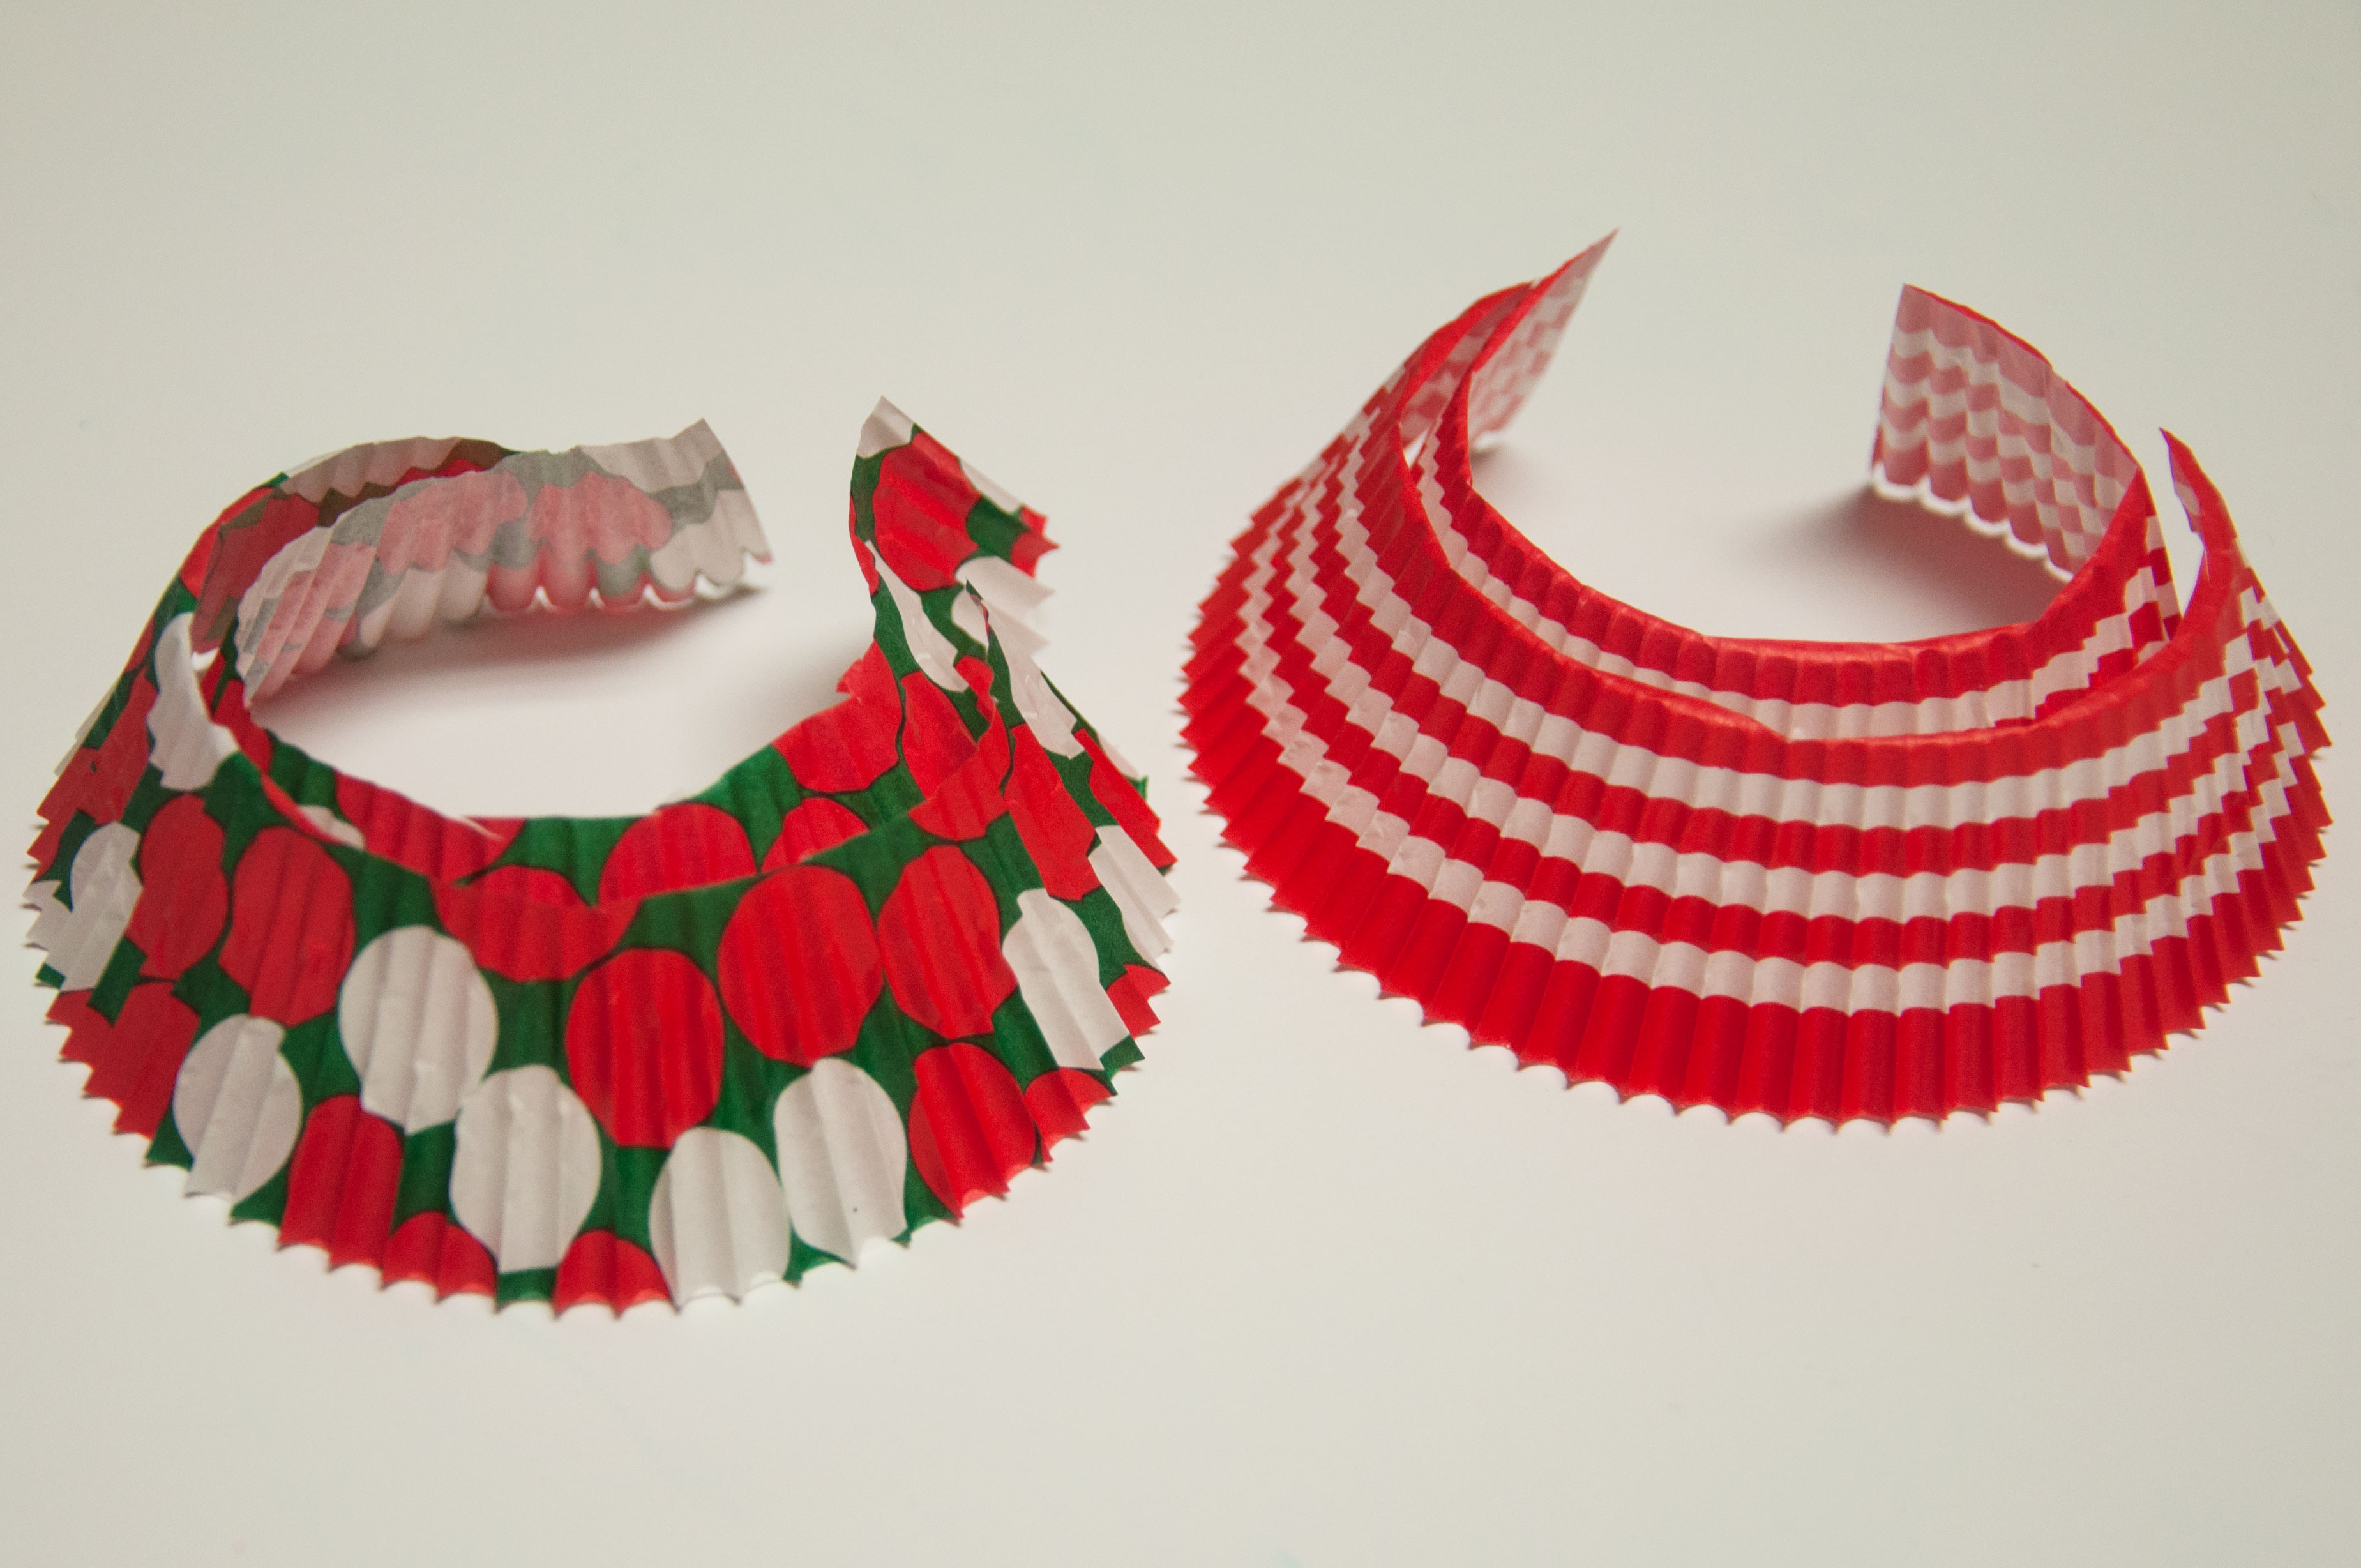
First you need the supplies shown below: Festive paper, a styrofoam cone, straight pins, ribbon, and a giant hole punch. You will first need to cut the paper into circles using the giant hold punch.
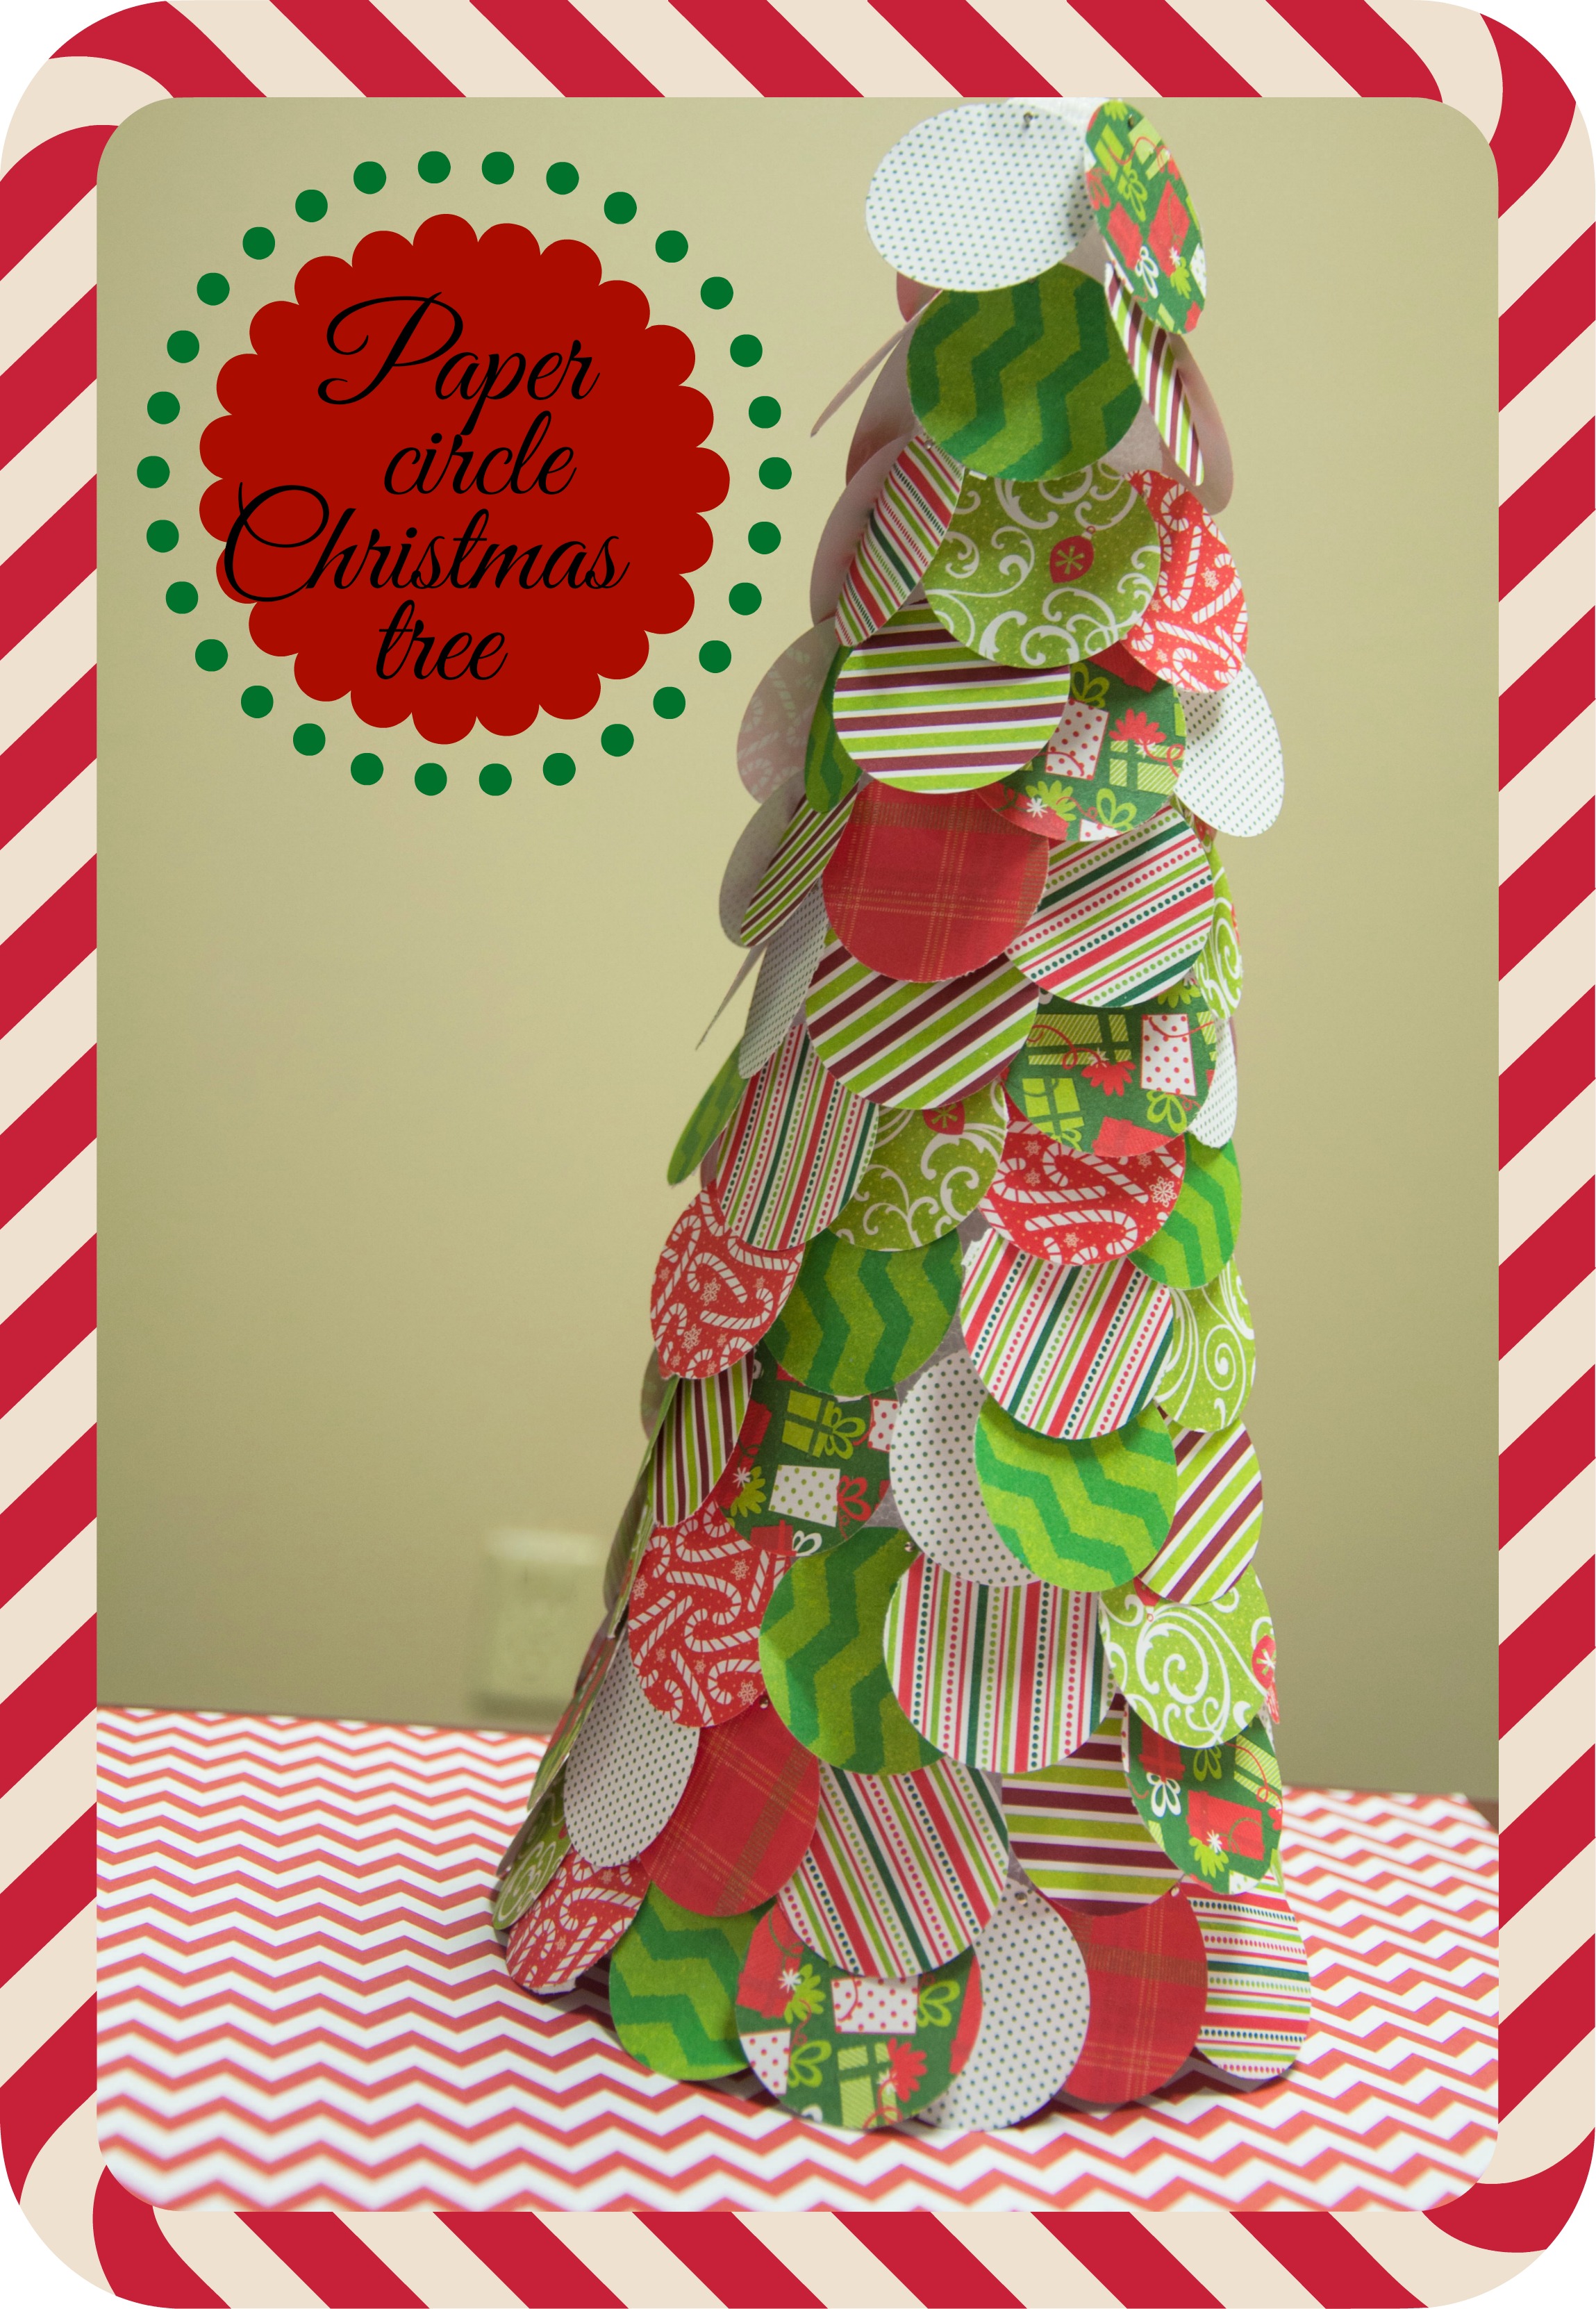
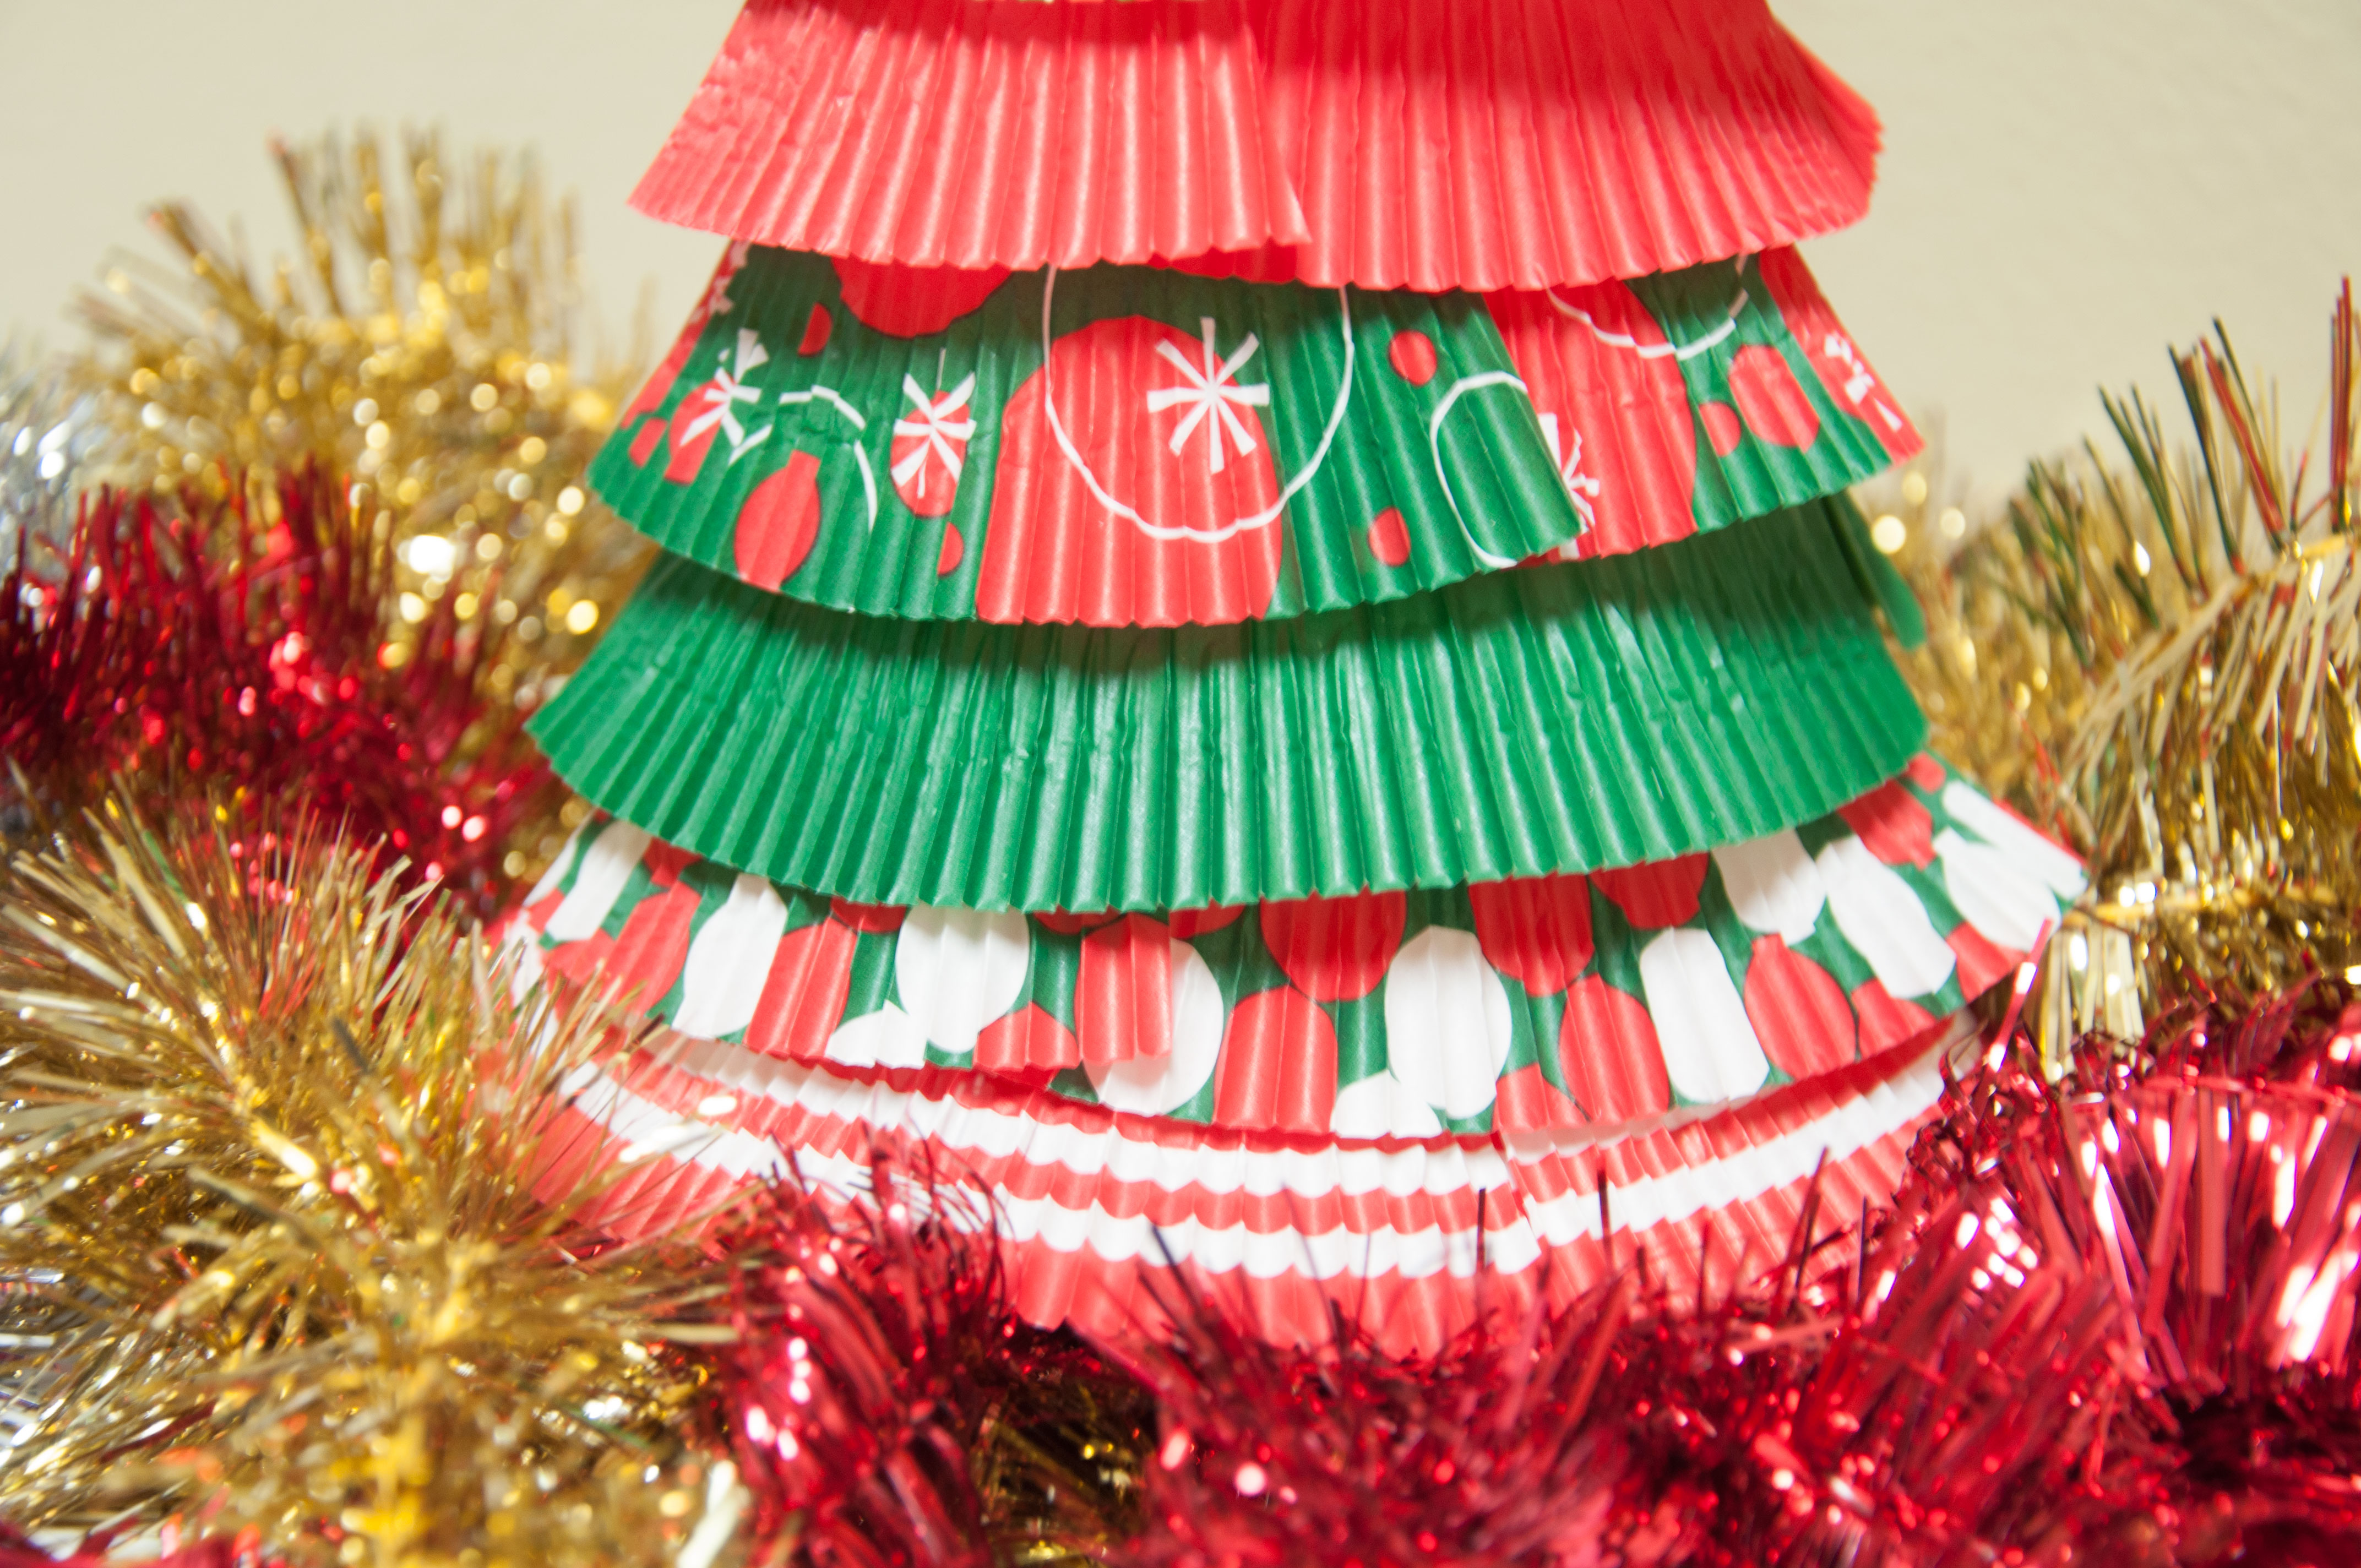
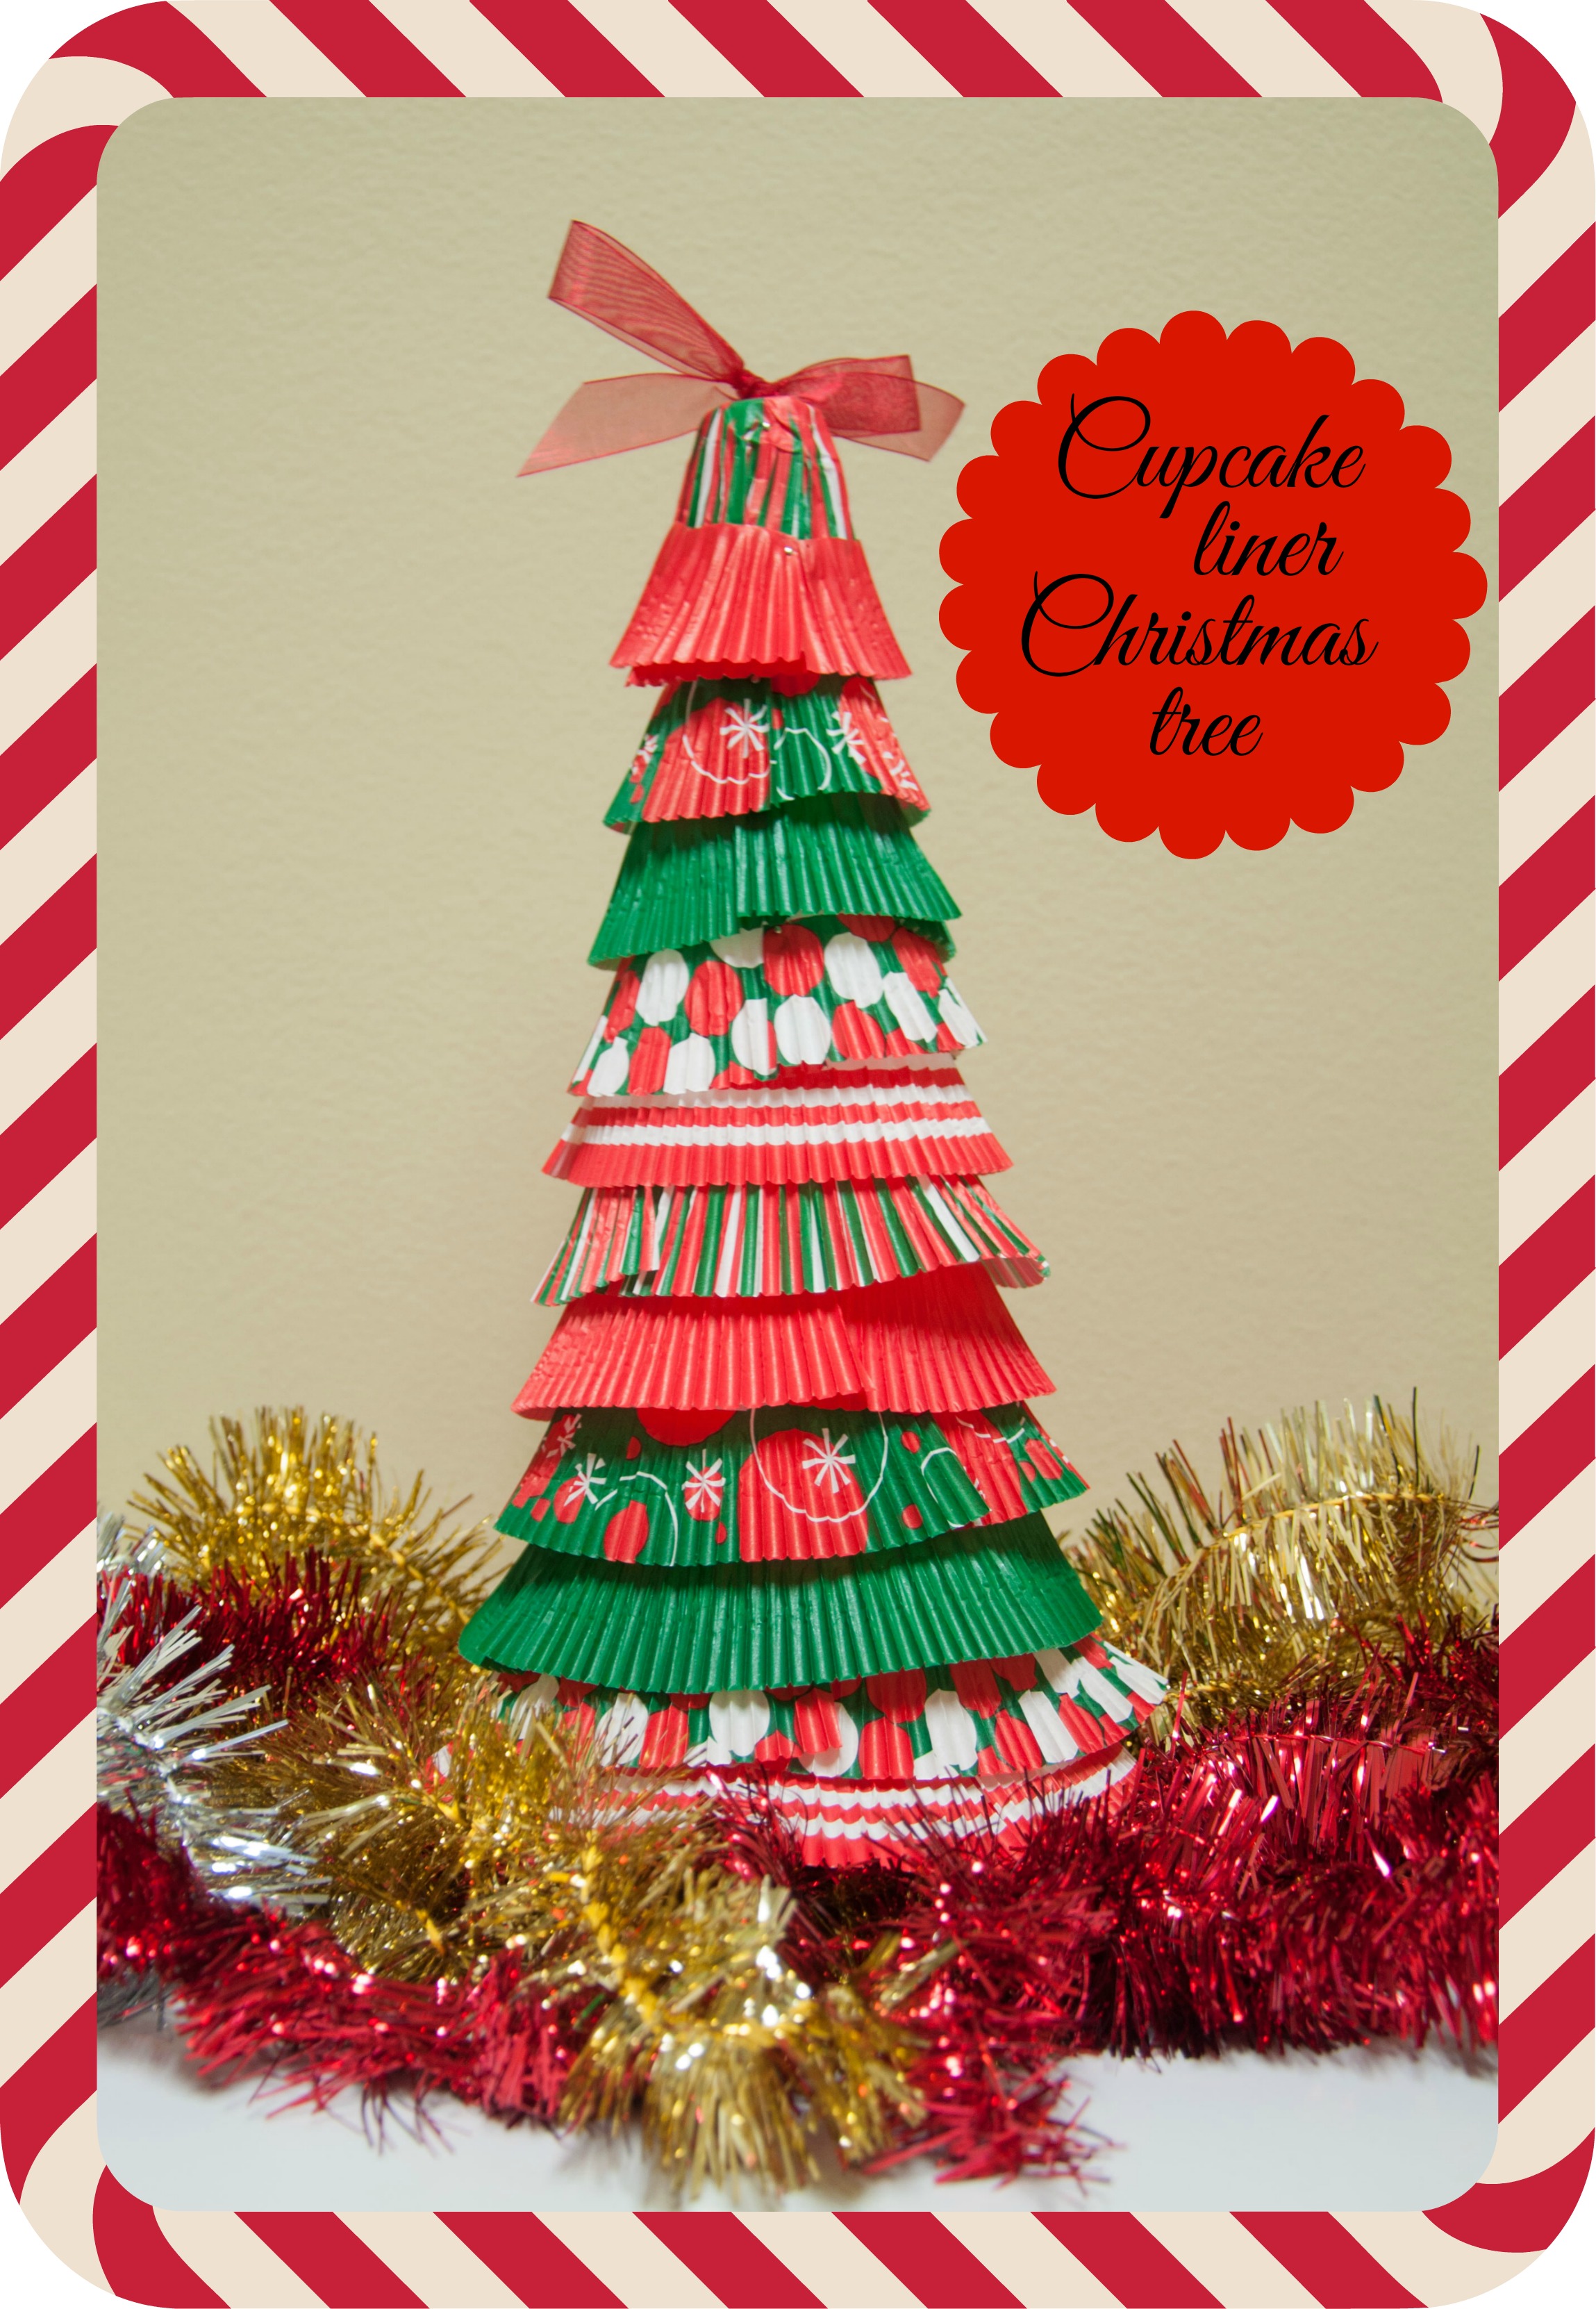
Once you have all of your circles you will start at the bottom and pin each circle into the styrofoam. Overlap the circles in each row enough to cover the foam and overlap the rows enough to cover the pins in the layer below! When you get to the top tie a bow with the ribbon and pin it to the foam point!

Ta da! You have a beautiful paper craft Christmas tree! I used this for a centerpiece at our Holiday party last night and everyone loved them!
Hope you all enjoyed! Let me know in the comments if you have any questions about any of the steps!
Until next time…
xox Megan
Linking up with: Crafty Thursday
Want to see the other 11 days of Christmas crafts? Here they are:
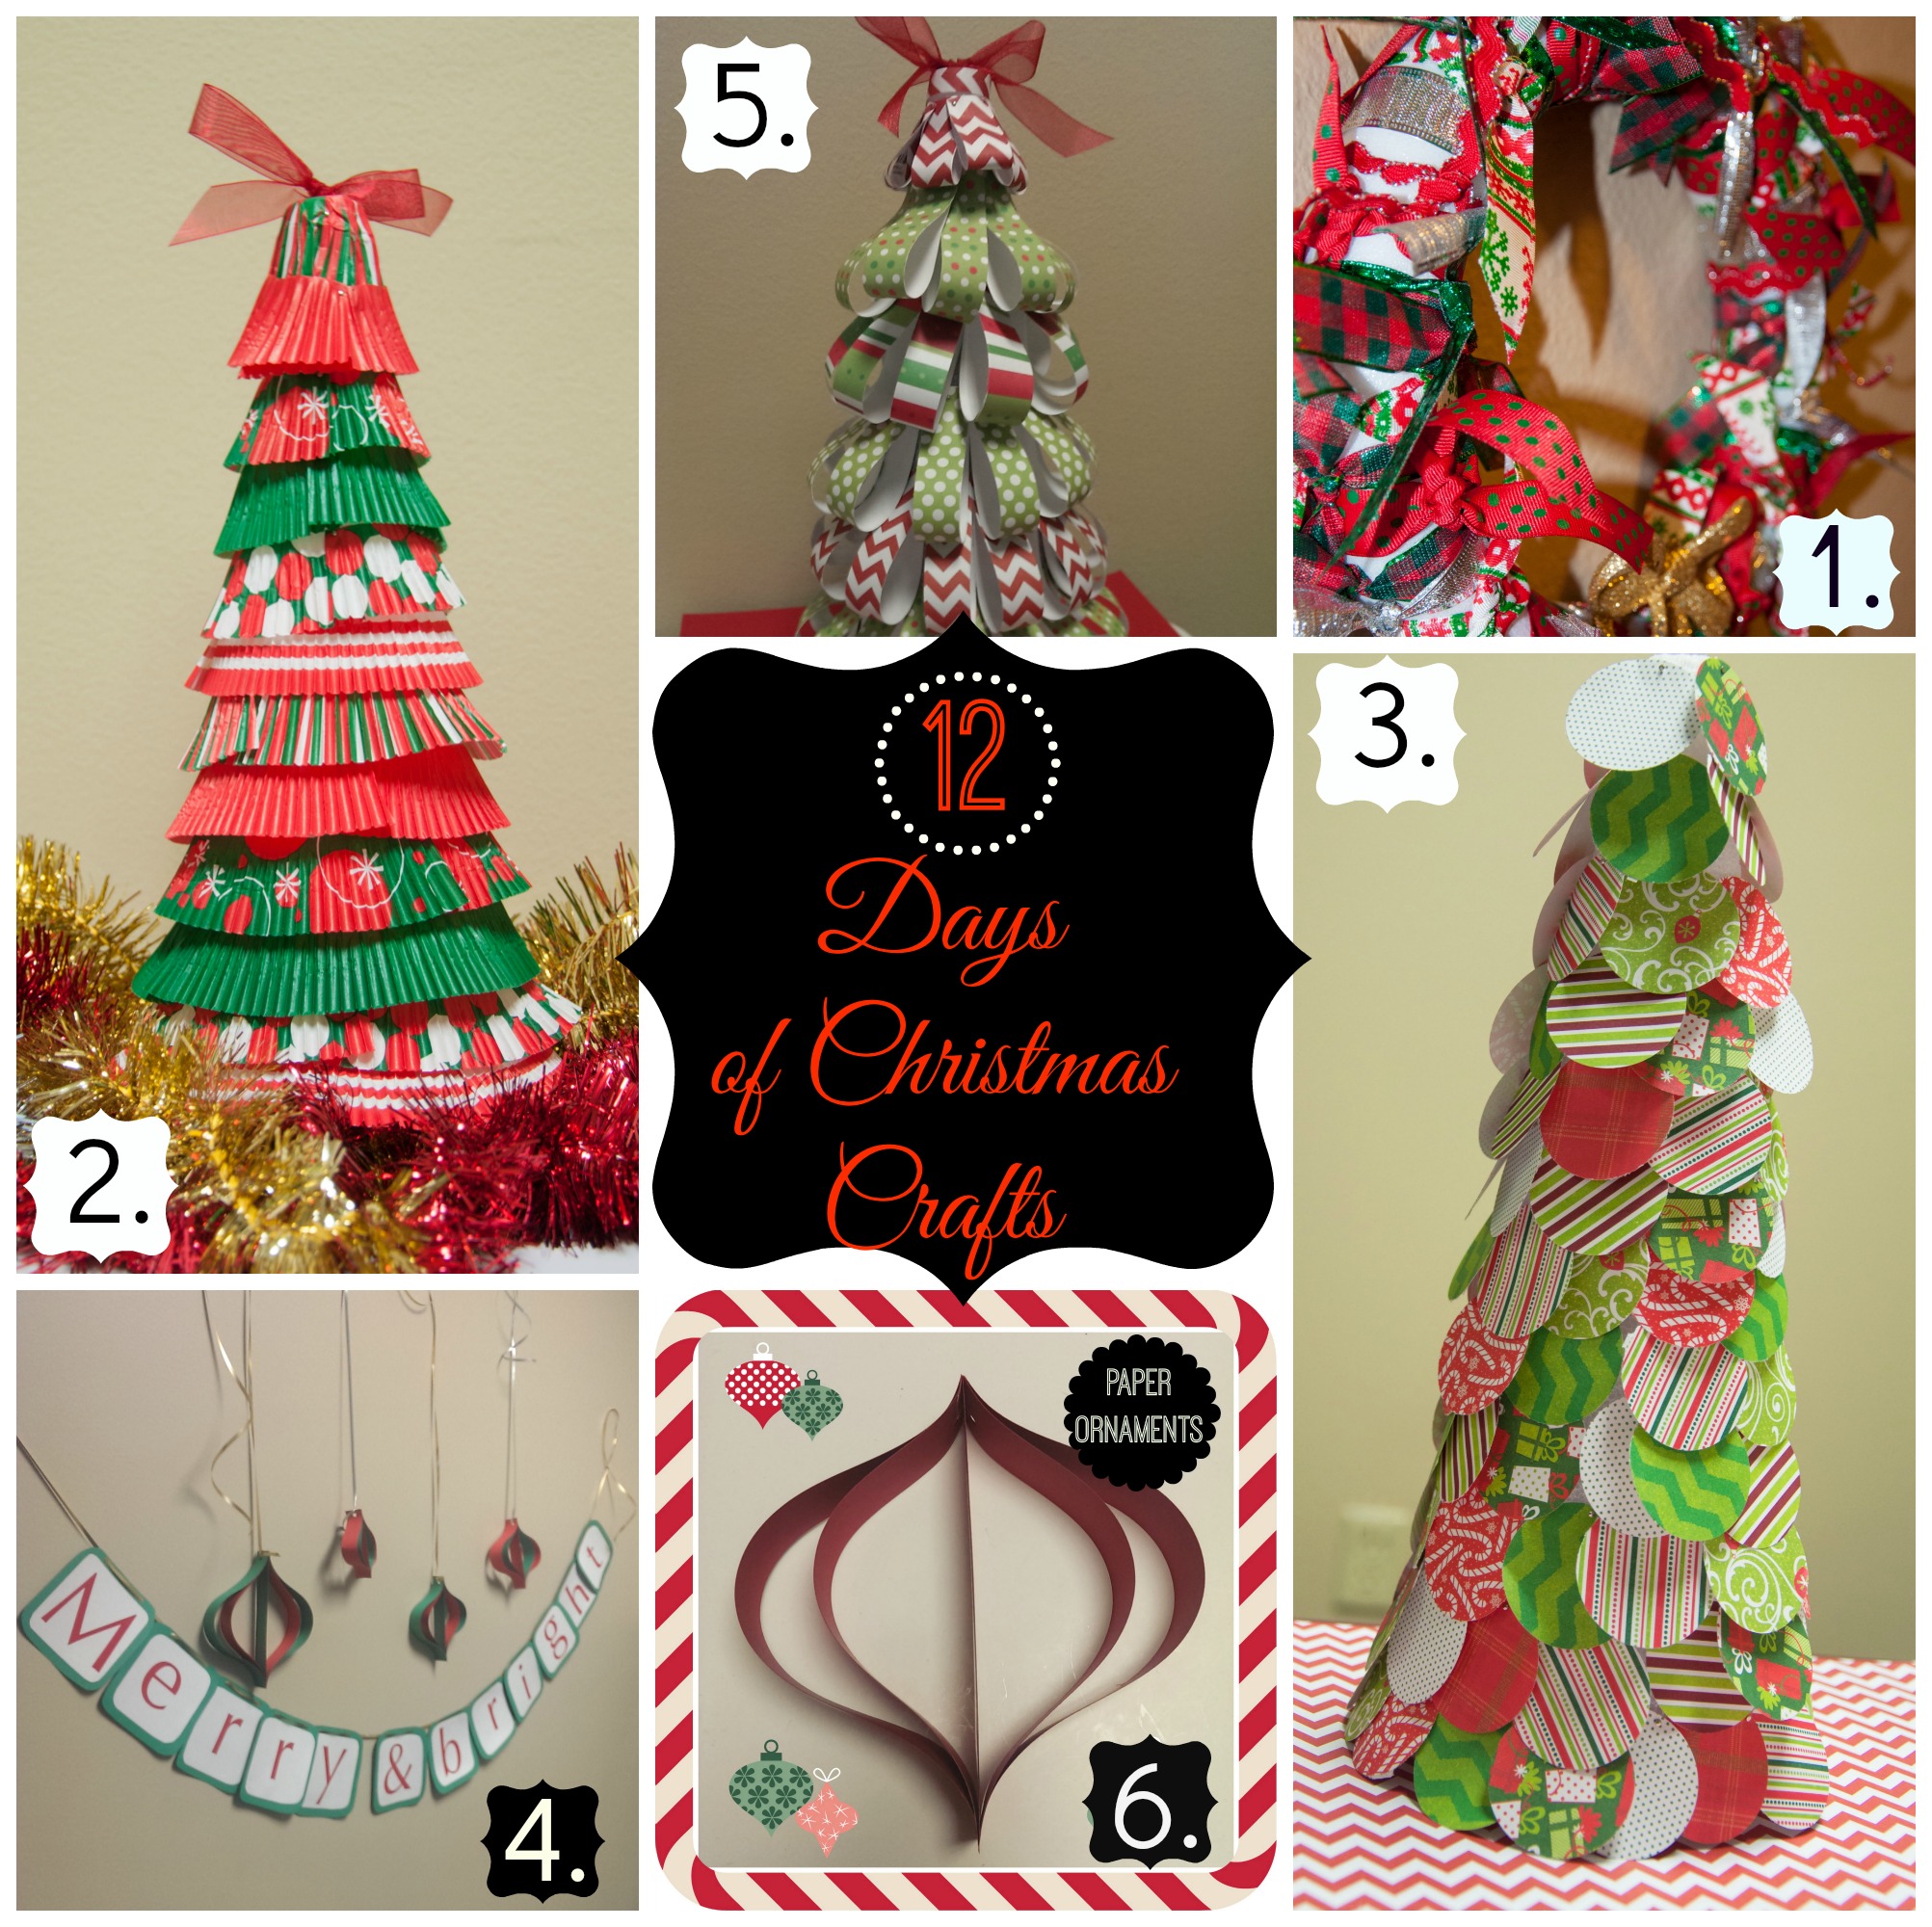 Day 1, Day 2, Day 3, Day 4, Day 5, Day 6, Day 7, Day 8, Day 9, Day 10, Day 11, Day 12

