

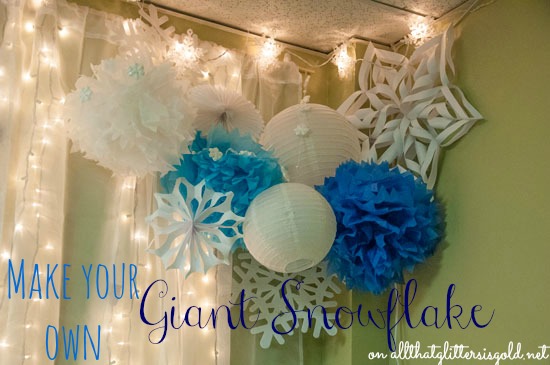
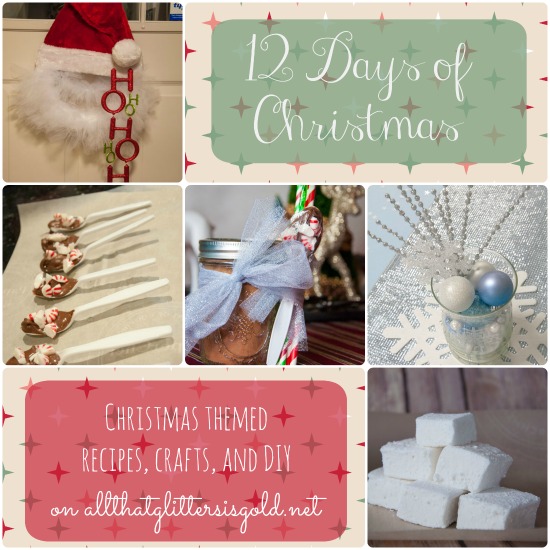
Today’s craft is a giant paper snowflake. They are super easy to make which means that it’s GREAT for the kiddos! I used my giant snowflake in this display at our Christmas party a few weeks ago. How awesome does that look?
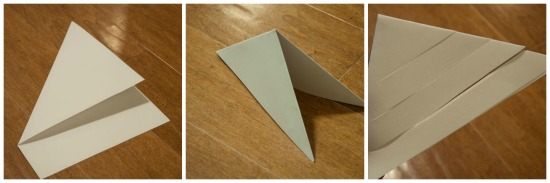
Step One. Take a piece of card stock and make a square out of it by folding like you see in the first photo below. Cut the strip on the bottom off. You should now have a square.
Step Two. Fold the square back in to the triangle from before and then again into a smaller triangle.
Step Three. Cut 3 lines in the triangle like you see in the third photo. Try to get the cut pretty close to the end without cutting through the whole piece of paper.
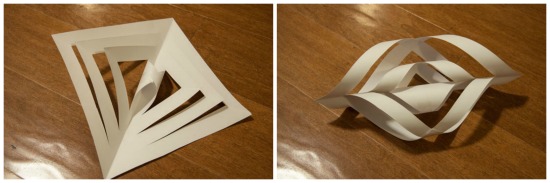
Step Four. Open your paper back up and spread it out flat. Curl the two center pieces together and tape as you see below.
Step Five. Take the next two pieces and curl them the opposite direction, then tape. Continue out until the layers are all curled out, rotating between sides.
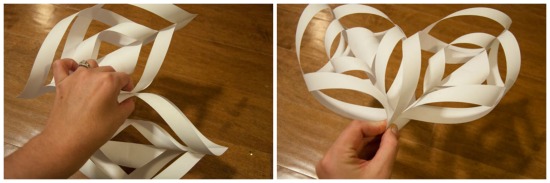
Step Six. Repeat steps 1-5 five more times.
Step Seven. Staple your snowflake arms together in the center and at the bottom like you see below. Ta da! There you have it, a giant paper snowflake!
Want to see the other 11 days of Christmas? Check them out here:
Day 1 // Day 2 // Day 3 // Day 4 // Day 5 // Day 6 // Day 7 // Day 8 // Day 9 // Day 10 // Day 11 // Day 12
