
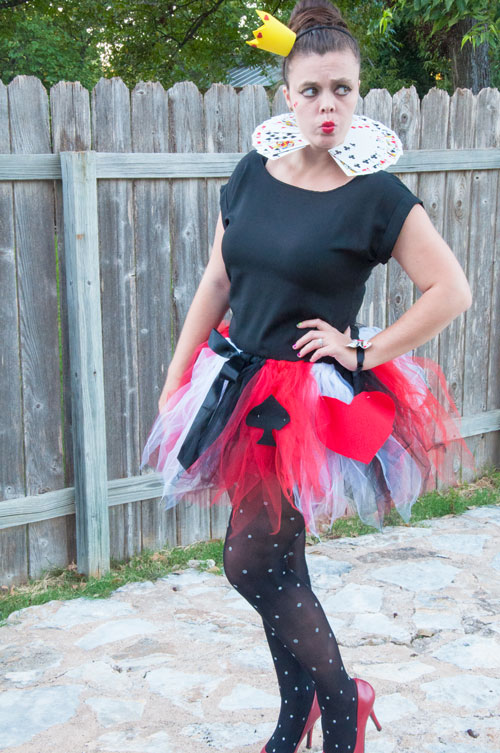
It’s finally here! My Halloween costume reveal! I worked on this all last week and am SO excited to show it to you! I’m all about do it yourself costumes! Nothing makes me more mad than going to a Halloween store and paying an arm and a leg for something I will wear only once or something that makes me look like a baby prostitute. I’m just going to be honest, I once liked those skimpy little costumes they sell…but really? A sexy Crayon….really? No thanks, I will stick with my DIY kind that I can make, reuse parts of, and be proud of when it’s all said and done! So here you have her…..the Queen of Hearts!
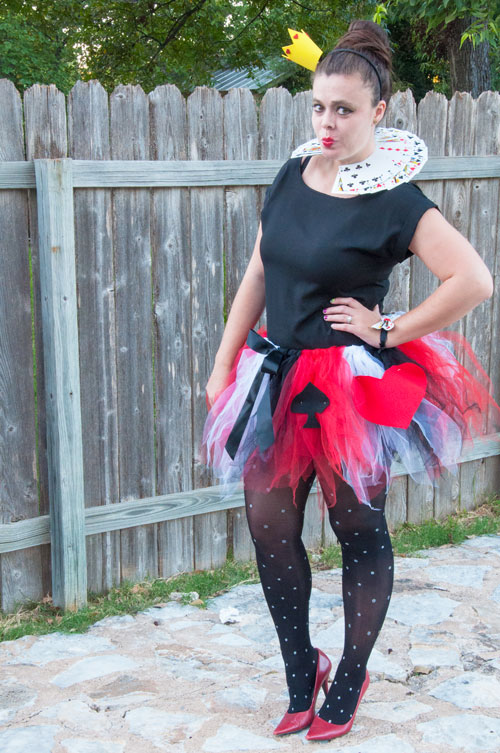
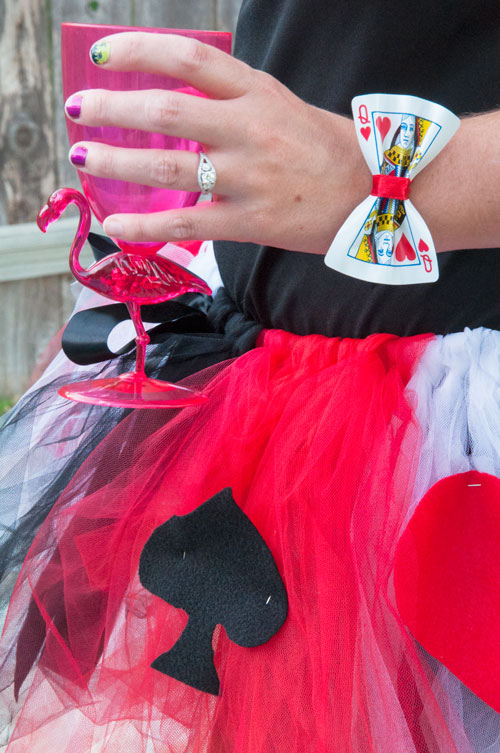
I owned almost everything for this costume, which left it at a mere $5! I’m pretty sure that is an all time low! The tutu skirt is reused from last year’s Minnie Mouse costume, I just added a little bit more red tulle to it and cut out the hearts and spades from felt I got from Joann’s (30 cents per sheet). I wore black spandex shorts that I owned underneath though you could wear any black shorts, or just black leggings. The glittery dot tights were from Target last year and you can still get them here. The red heels are from Aldo about 5 years ago, but you could wear black or silver/gold if you don’t have red.
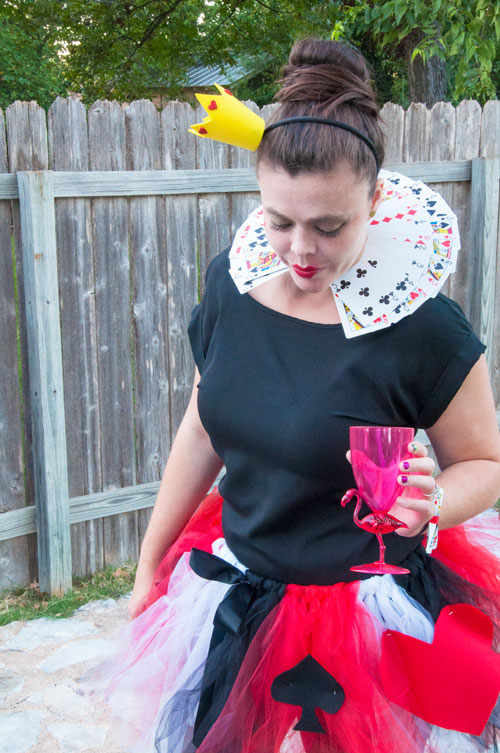
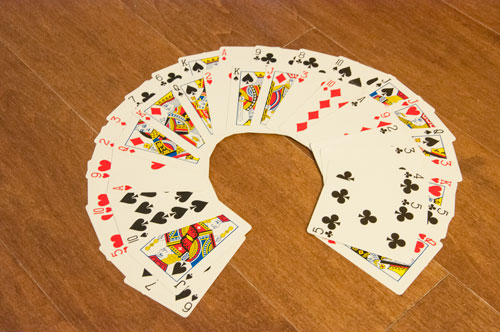
The card collar was probably the most intense part of the costume. I used photo squares that I have for scrapbooking to hold the cards together initially just to get the shape correct. I placed them where they wouldn’t be seen and then once they were all in place I taped the cards together more permanently with clear packing tape, once again, where you couldn’t see it. I then put a layer of modge podge on the cards to make them a little more stiff and heavy duty. If you cut out a piece of paper in the shape and size of your neck and follow along with the shape of it, it should fit and stay perfectly around your neck without help! 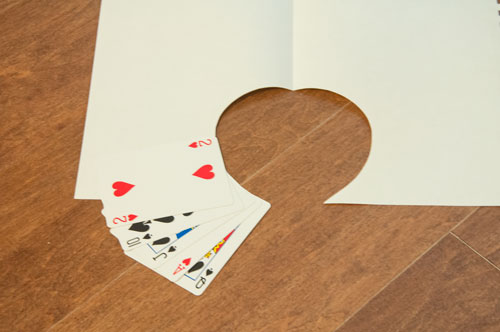
The crown was made out of yellow craft foam I got from the children’s section of Joann’s. I cut the shape of the crown and then stapled it together in the back. The glittery foam hearts on it are also from the same section. They have sticky stuff on them already and I used them all around the crown AND to cover the staples on the back. Then, I attached it to a black headband.
My favorite detail is the playing card bracelet. I saw one of Etsy for $10 and I knew it would be easy to make. I made a few folds in the center of the card and then tied a red ribbon around it to make the bow shape. Then I cut a piece of black ribbon and tied it around my wrist with that! Oh, and who could forget the flamingos! The Queen of Hearts played croquet with flamingos, so I plan to use my summery flamingo cups from Party City when we have friends over on Halloween. 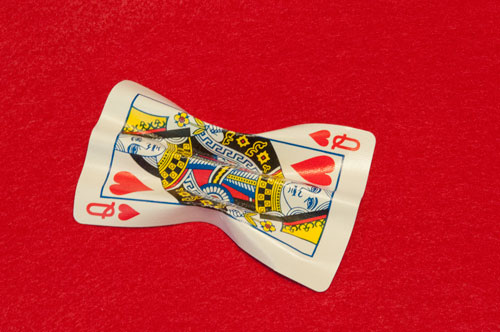
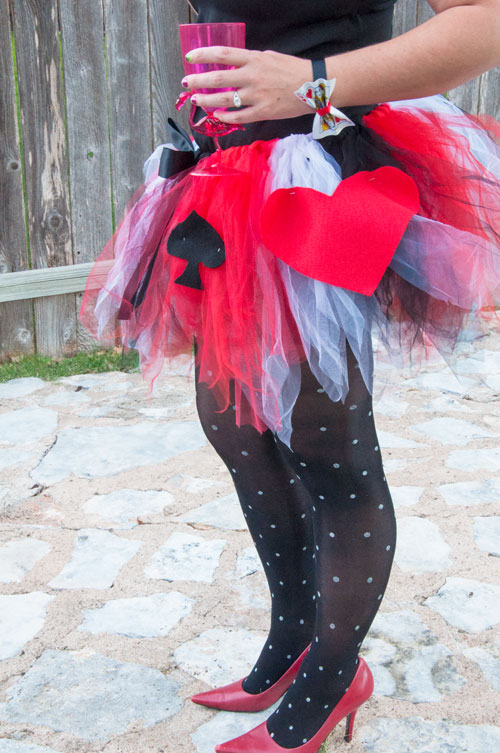
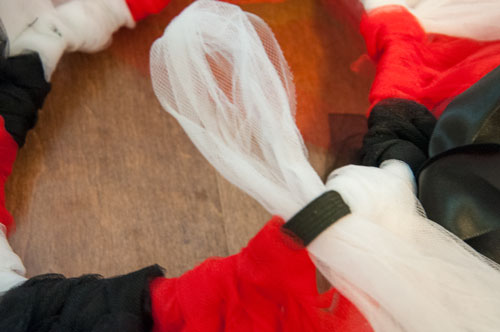
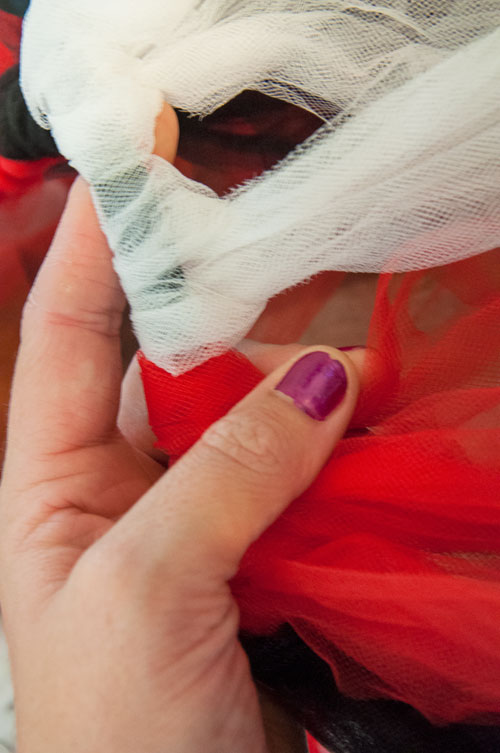
This tutu was from under my Minnie Mouse costume last year. I bought it on clearance at Joann’s for pretty cheap because I didn’t want to stand in monstrous fabric cutting line. This year I moved the tulle pieces on it around so that there were chunks of colors instead of every other strand being different. I also added a little bit of extra red tulle. If you are not sure how to make a tulle tutu it’s super easy. You take a piece of elastic the size of your waist and tie or sew it into a circle. You then cute pieces of tulle twice the length you want the skirt to be and loop tie them around the elastic like shown in the photos below!
There you have it! My Queen of Hearts costume for Halloween 2014! Have fun making your own! If you have an awesome Halloween costume post, shoot me an email at allthatglitters810 (at) gmail.com with the link and I might feature it here on the blog this week!
