
Hi Lovelies!
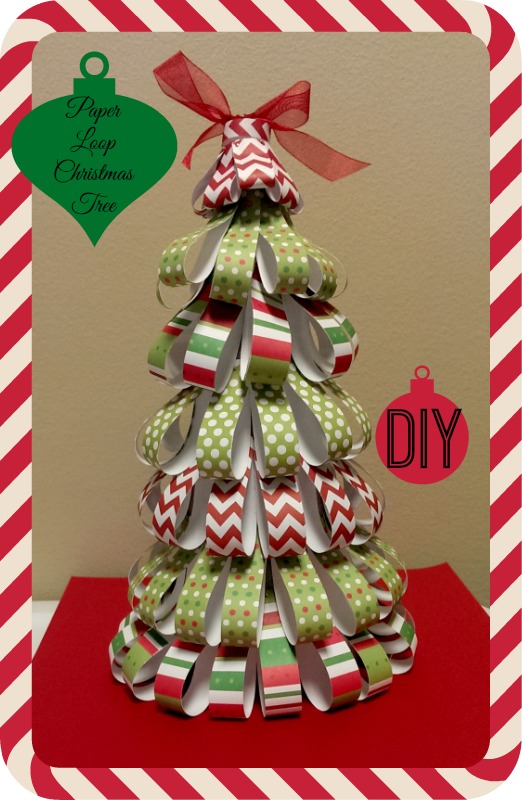
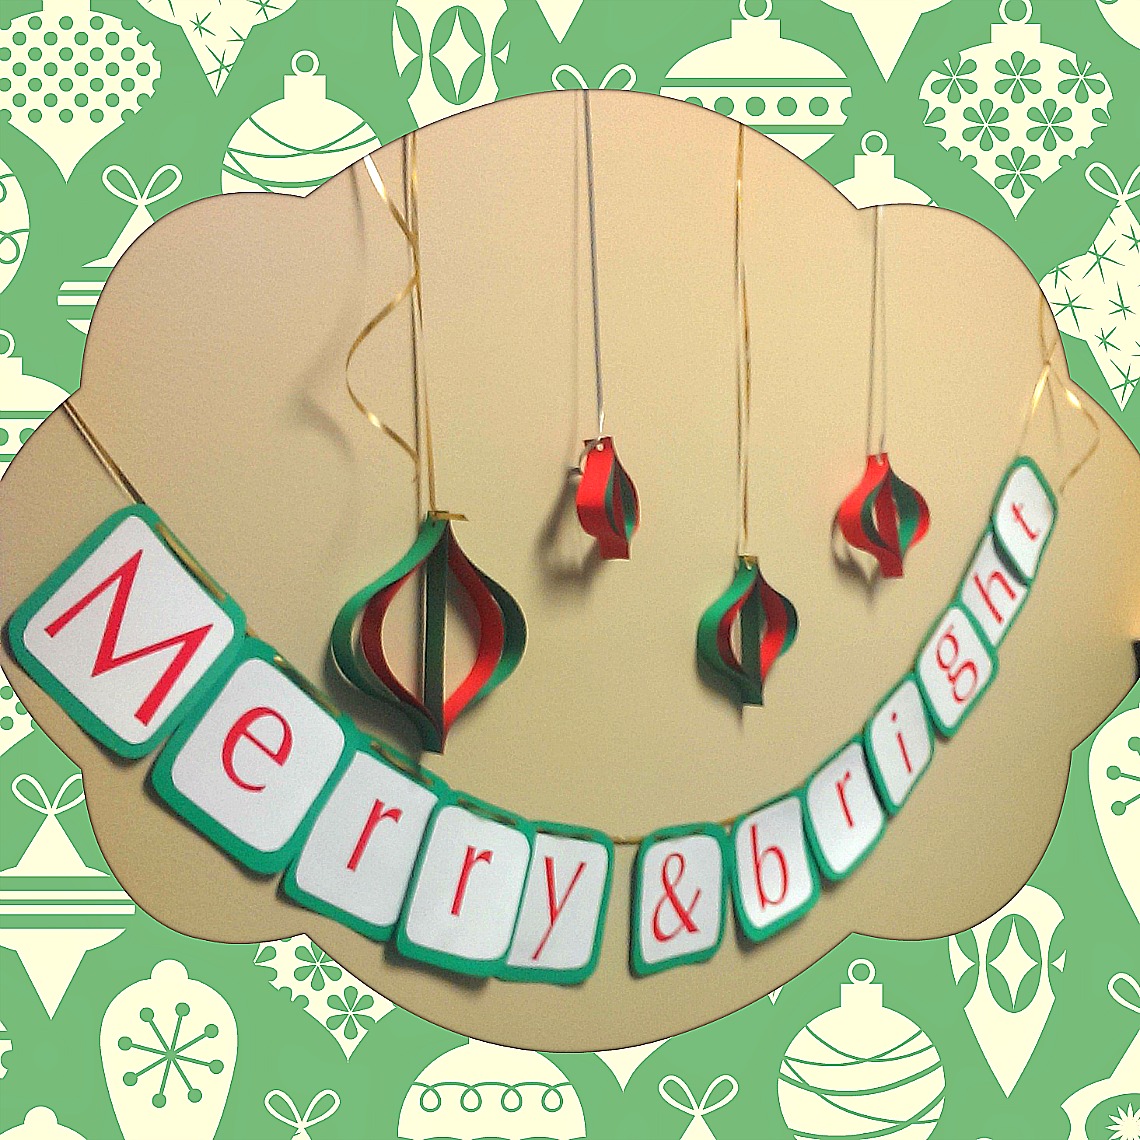
Today’s Christmas craft is a paper ornament! I found these guys on Pinterest and thought they were absolutely ADORABLE! They make great party decor, or you can actually hang them on your Christmas tree!
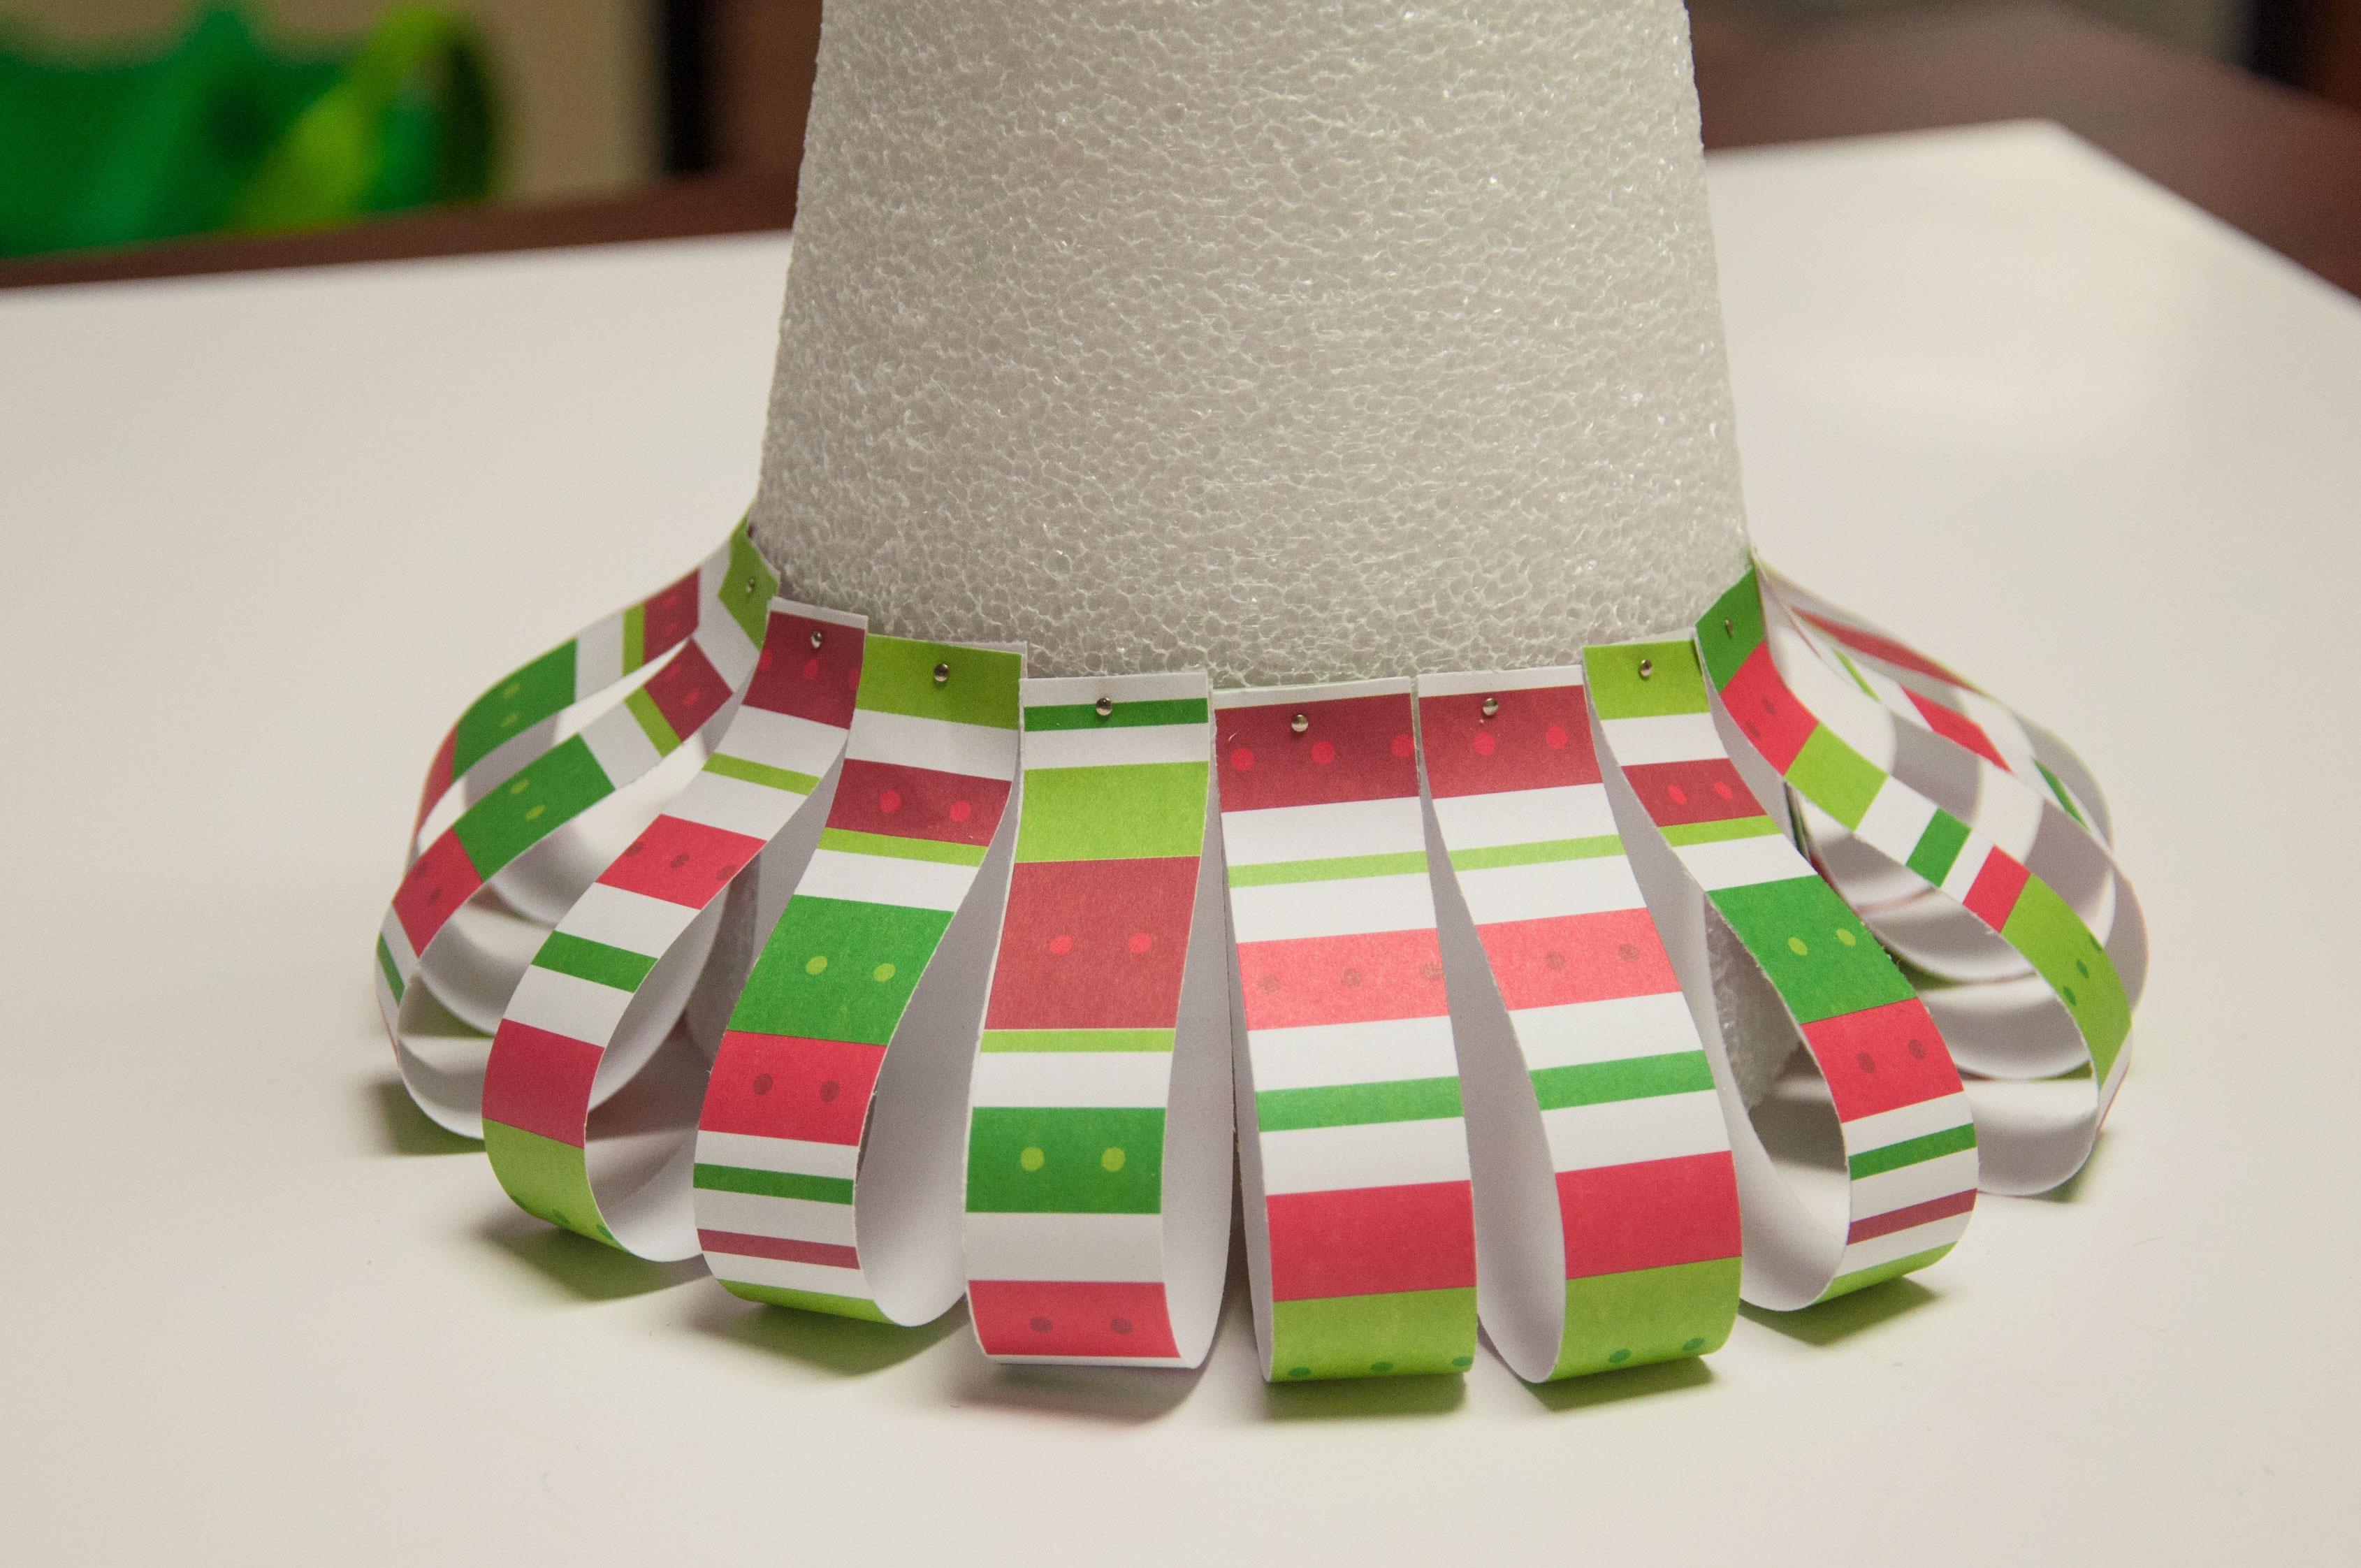
To start get a 12×12 piece of card stock. Cut the card stock into 5 even strips, then line them up and staple the ends together. 
Take a hole punch and directly below the staple make one hole. Now, take the middle 3 layers of paper and cut them about an inch or two down, depending on how wide you want your ornament to be, keeping in mind that the more you cut off the wider it will be. Then take the middle piece and cut it down an inch or two further.
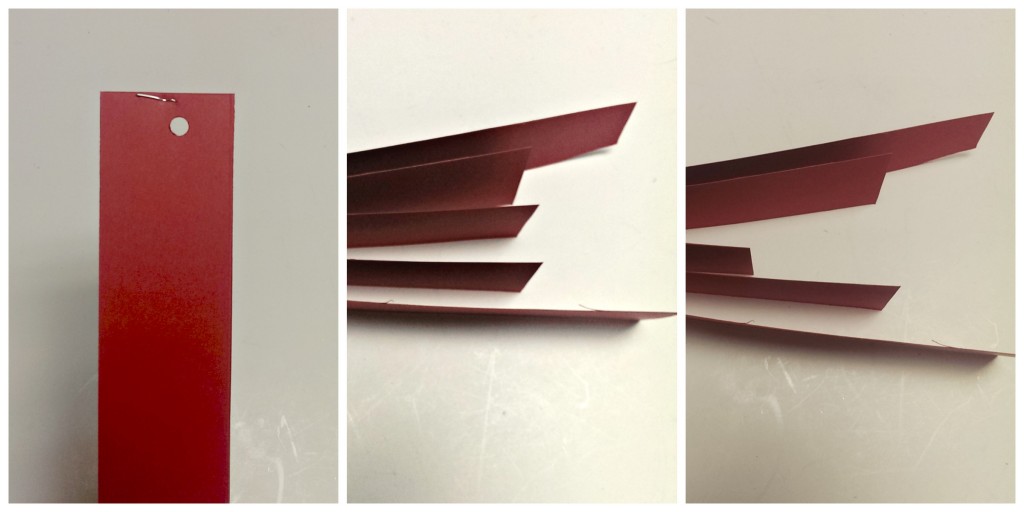
Take the five ends and join them together, staple in place. Once your ornament is done you will string a piece of ribbon or rope through the hole you punched at the top. You can alternate colors or patterned papers as well if you want to get fancy!

Aren’t they just the sweetest?! Any questions about how to put them together? Let me know below!
Until next time….
xox Megan
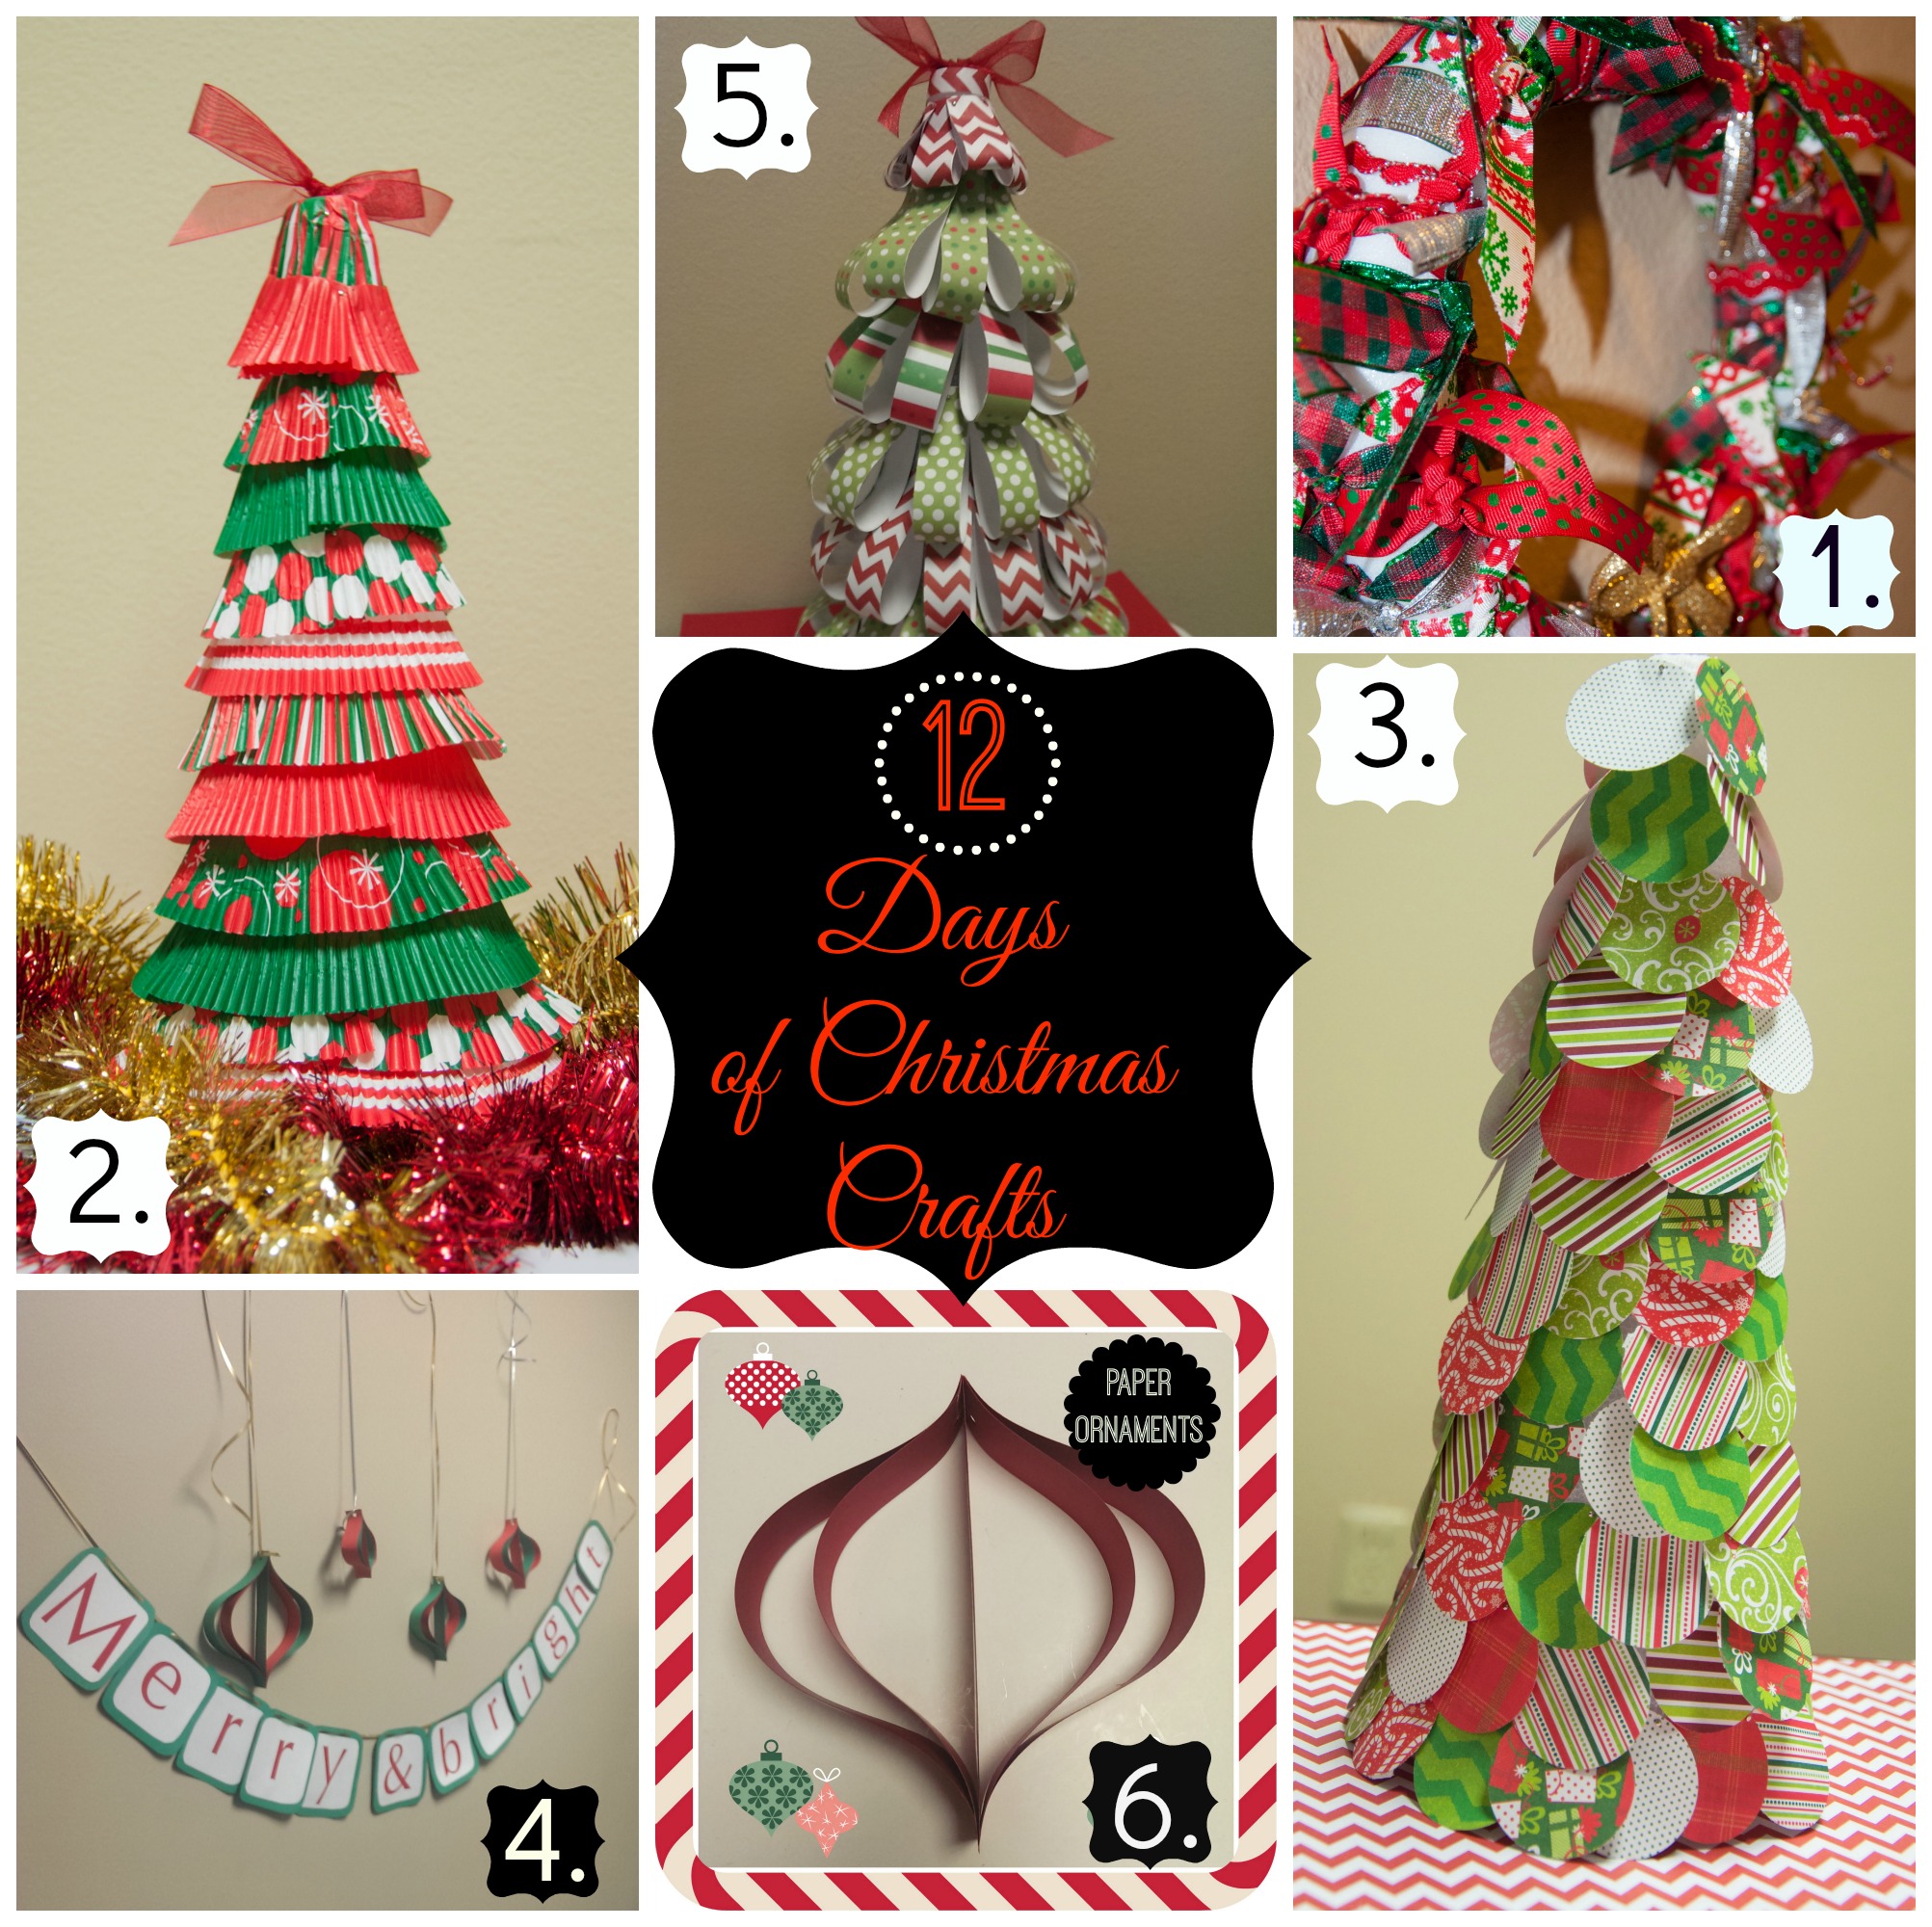
Want to see the other 11 days of Christmas crafts? Here they are:
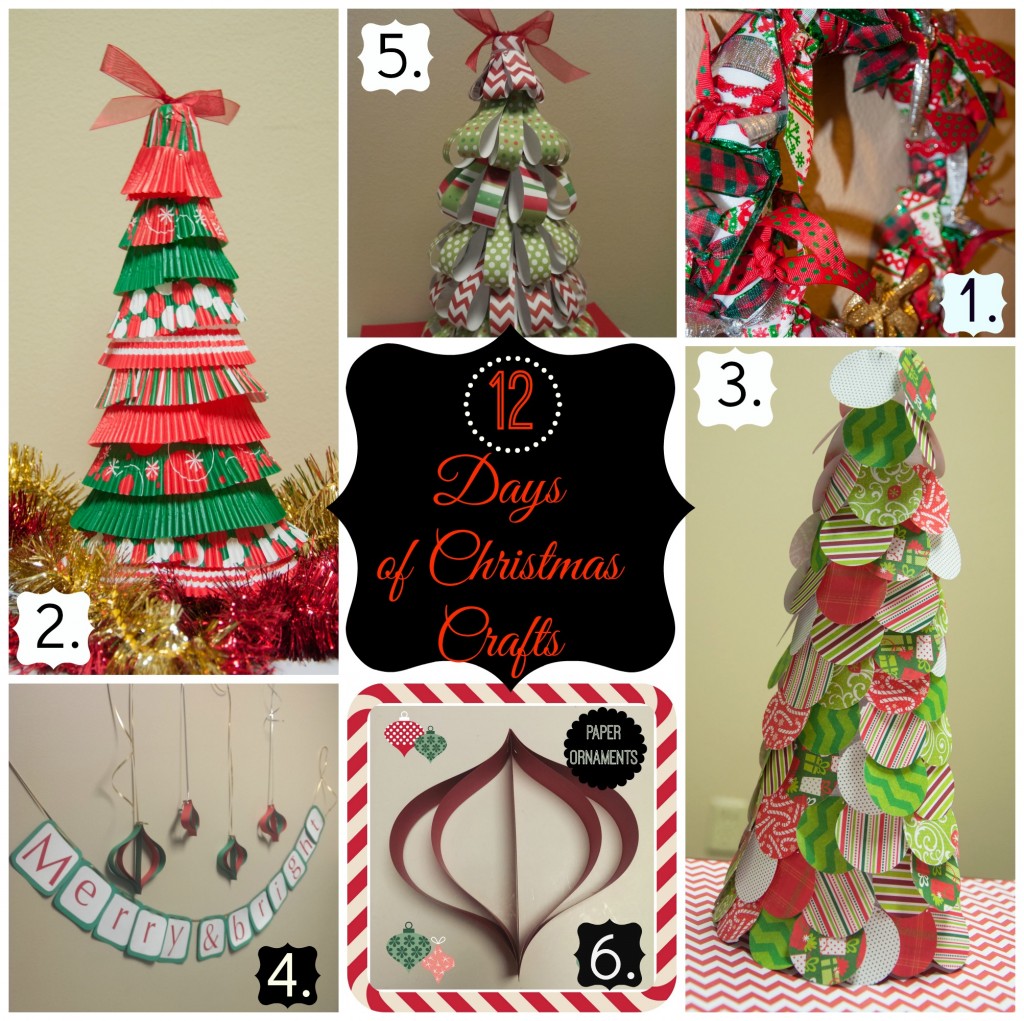 Day 1, Day 2, Day 3, Day 4, Day 5, Day 6, Day 7, Day 8, Day 9, Day 10, Day 11, Day 12
