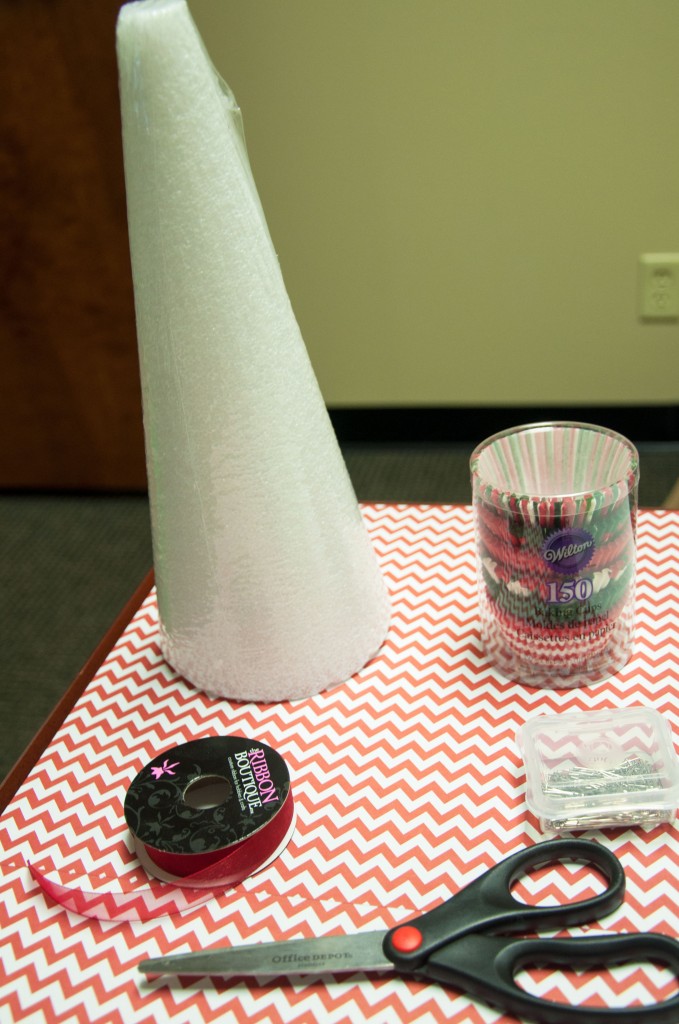
Welcome to Day 2 of the 12 days of Christmas crafts! Today I am going to show you how to make a cupcake liner Christmas tree! To begin you will need a foam cone, cupcake liners, scissors, straight pins, and some ribbon as shown below:
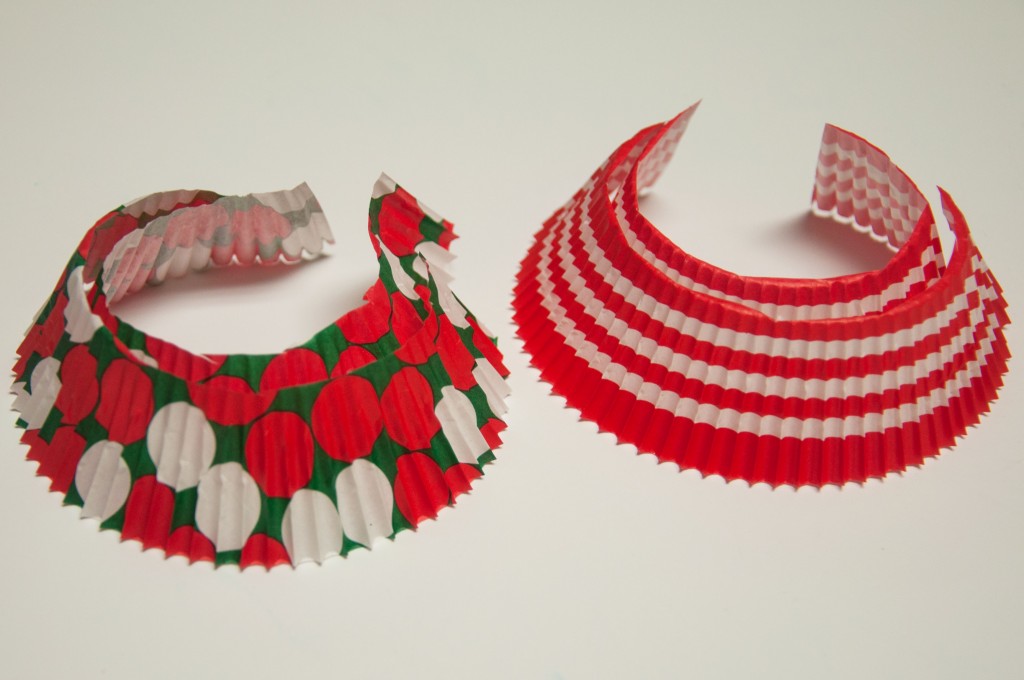
To begin you will need to cut the bottoms off of the cupcake liners as shown:
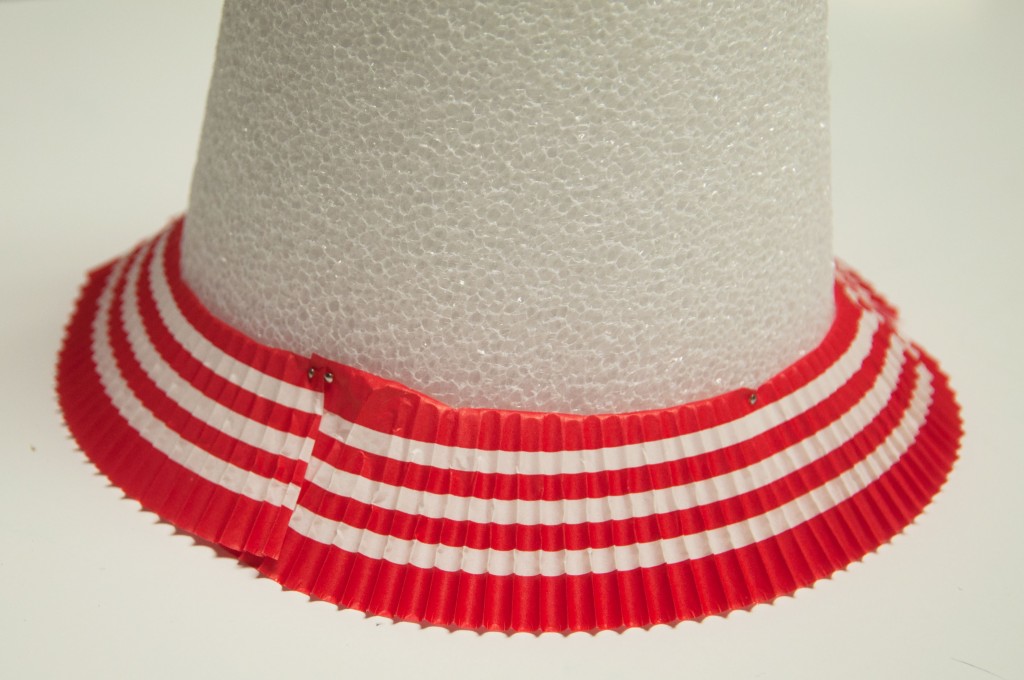
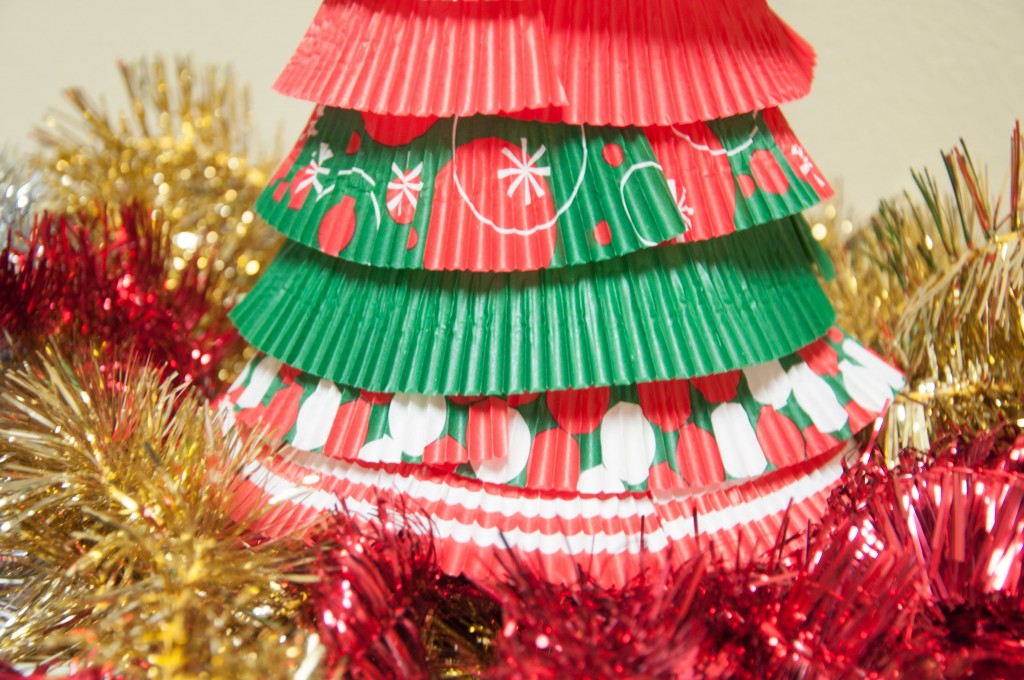
Next, take the bottomless cupcake liners and stretch them around the base of the foam cone. Pin them into place. You will need more than one liner per layer at the bottom of the tree, and progressively less as you move upwards.
You can alternate patterns as you go up, or use the same design the entire way! Evenly space the liners so that the patterns on each layer show, but the pins do not.
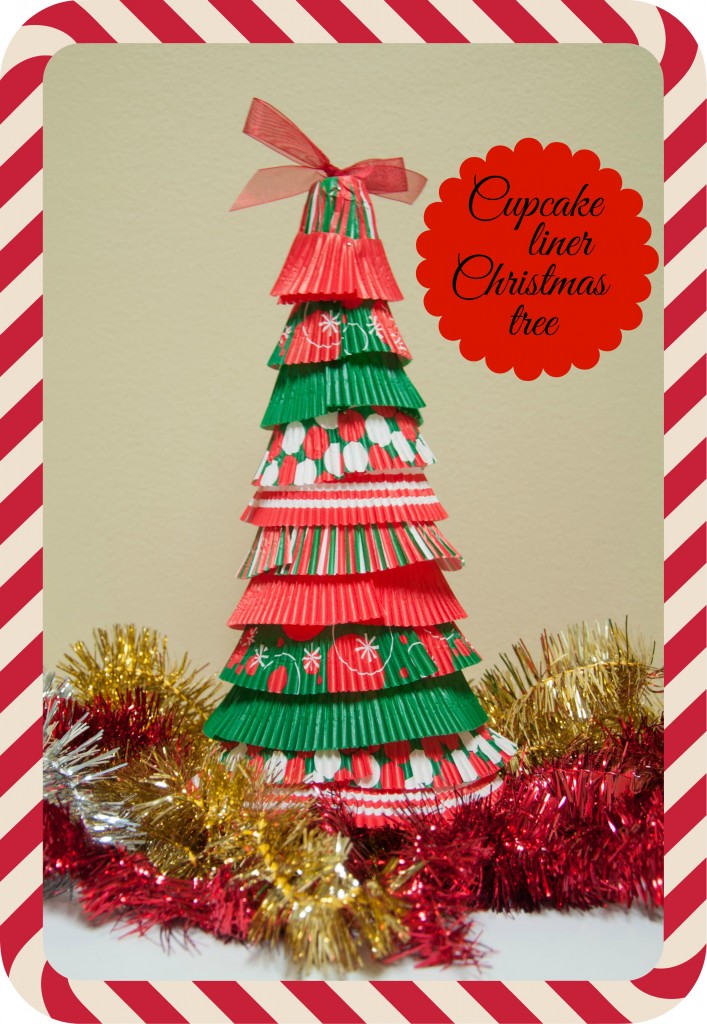
Before you make it to the very top, you will want to take an uncut cupcake liner and cover the point. Pin it into place. Then cover those pins with the last liner layer. I then tied a ribbon and pinned it in to place on the very top. You could also glue a paper star to a toothpick and stick this into the top!
There you have it, a cupcake liner Christmas tree!
Have questions? Ask them below! Stay tuned tomorrow for Day 3 of Christmas crafts!
Until next time…
xox Megan
Want to see the other 11 days of Christmas crafts? Here they are:
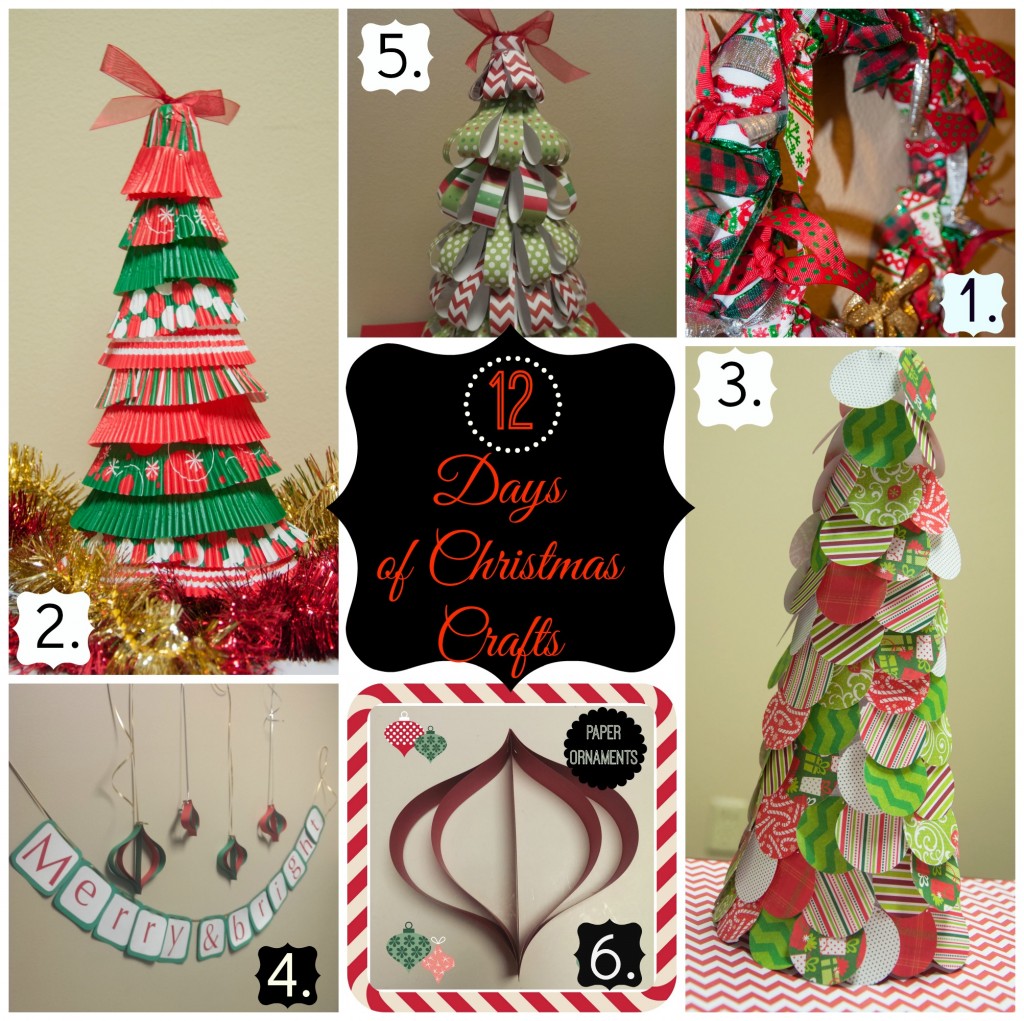 Day 1, Day 2, Day 3, Day 4, Day 5, Day 6, Day 7, Day 8, Day 9, Day 10, Day 11, Day 12
Linking up with: Craft Frenzy Friday




 a Rafflecopter giveaway


