
Hi Lovelies!
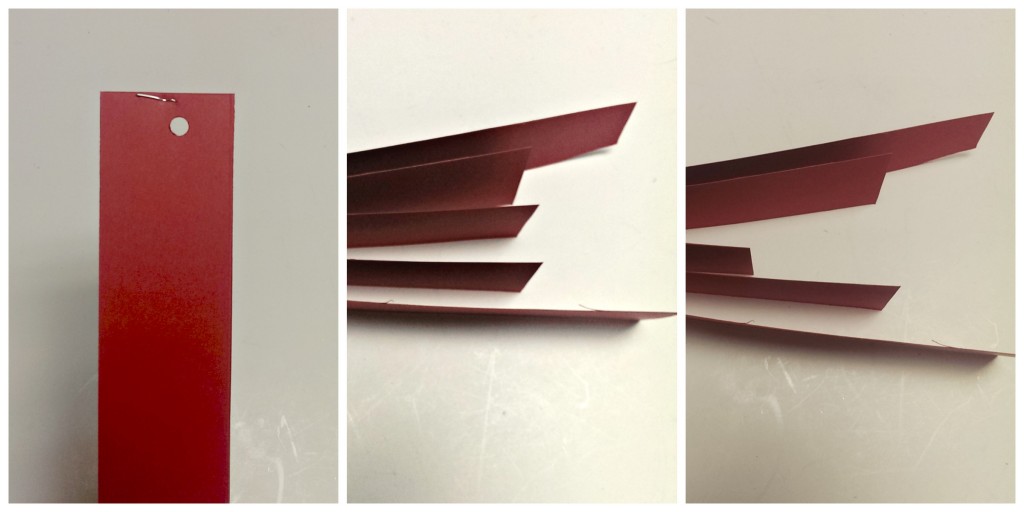
Today’s craft doesn’t have step by step pictures…they were awful! Haha! You can’t see well enough in pictures so I will explain it as best as I can.
I bought chevron Christmas fabric and the bow is actually made out of an extra white pillow case. I started with a rectangular piece of the chevron fabric and folded it in half, while inside out, to be a square. I then sewed along 2 sides. Sew along the 3rd side most of the way across and then turn the pillowcase the correct side out. Stuff the pillow with either a pillow or stuffing and hand sew the rest of the case shut.
For the bow, I cut a long strip of the white pillow case, using the bottom end of the pillow case (the closed end) and the edge of the pillow case. Turn the fabric inside out and sew down the entire open long side. Pull the fabric right side out and then sew the 2 short ends that are left together. You will now have a loop of fabric. Make another loop, this one much smaller, for the center of the bow. Slide the small loop onto the larger loop as you can see in the picture below and it will make a bow!
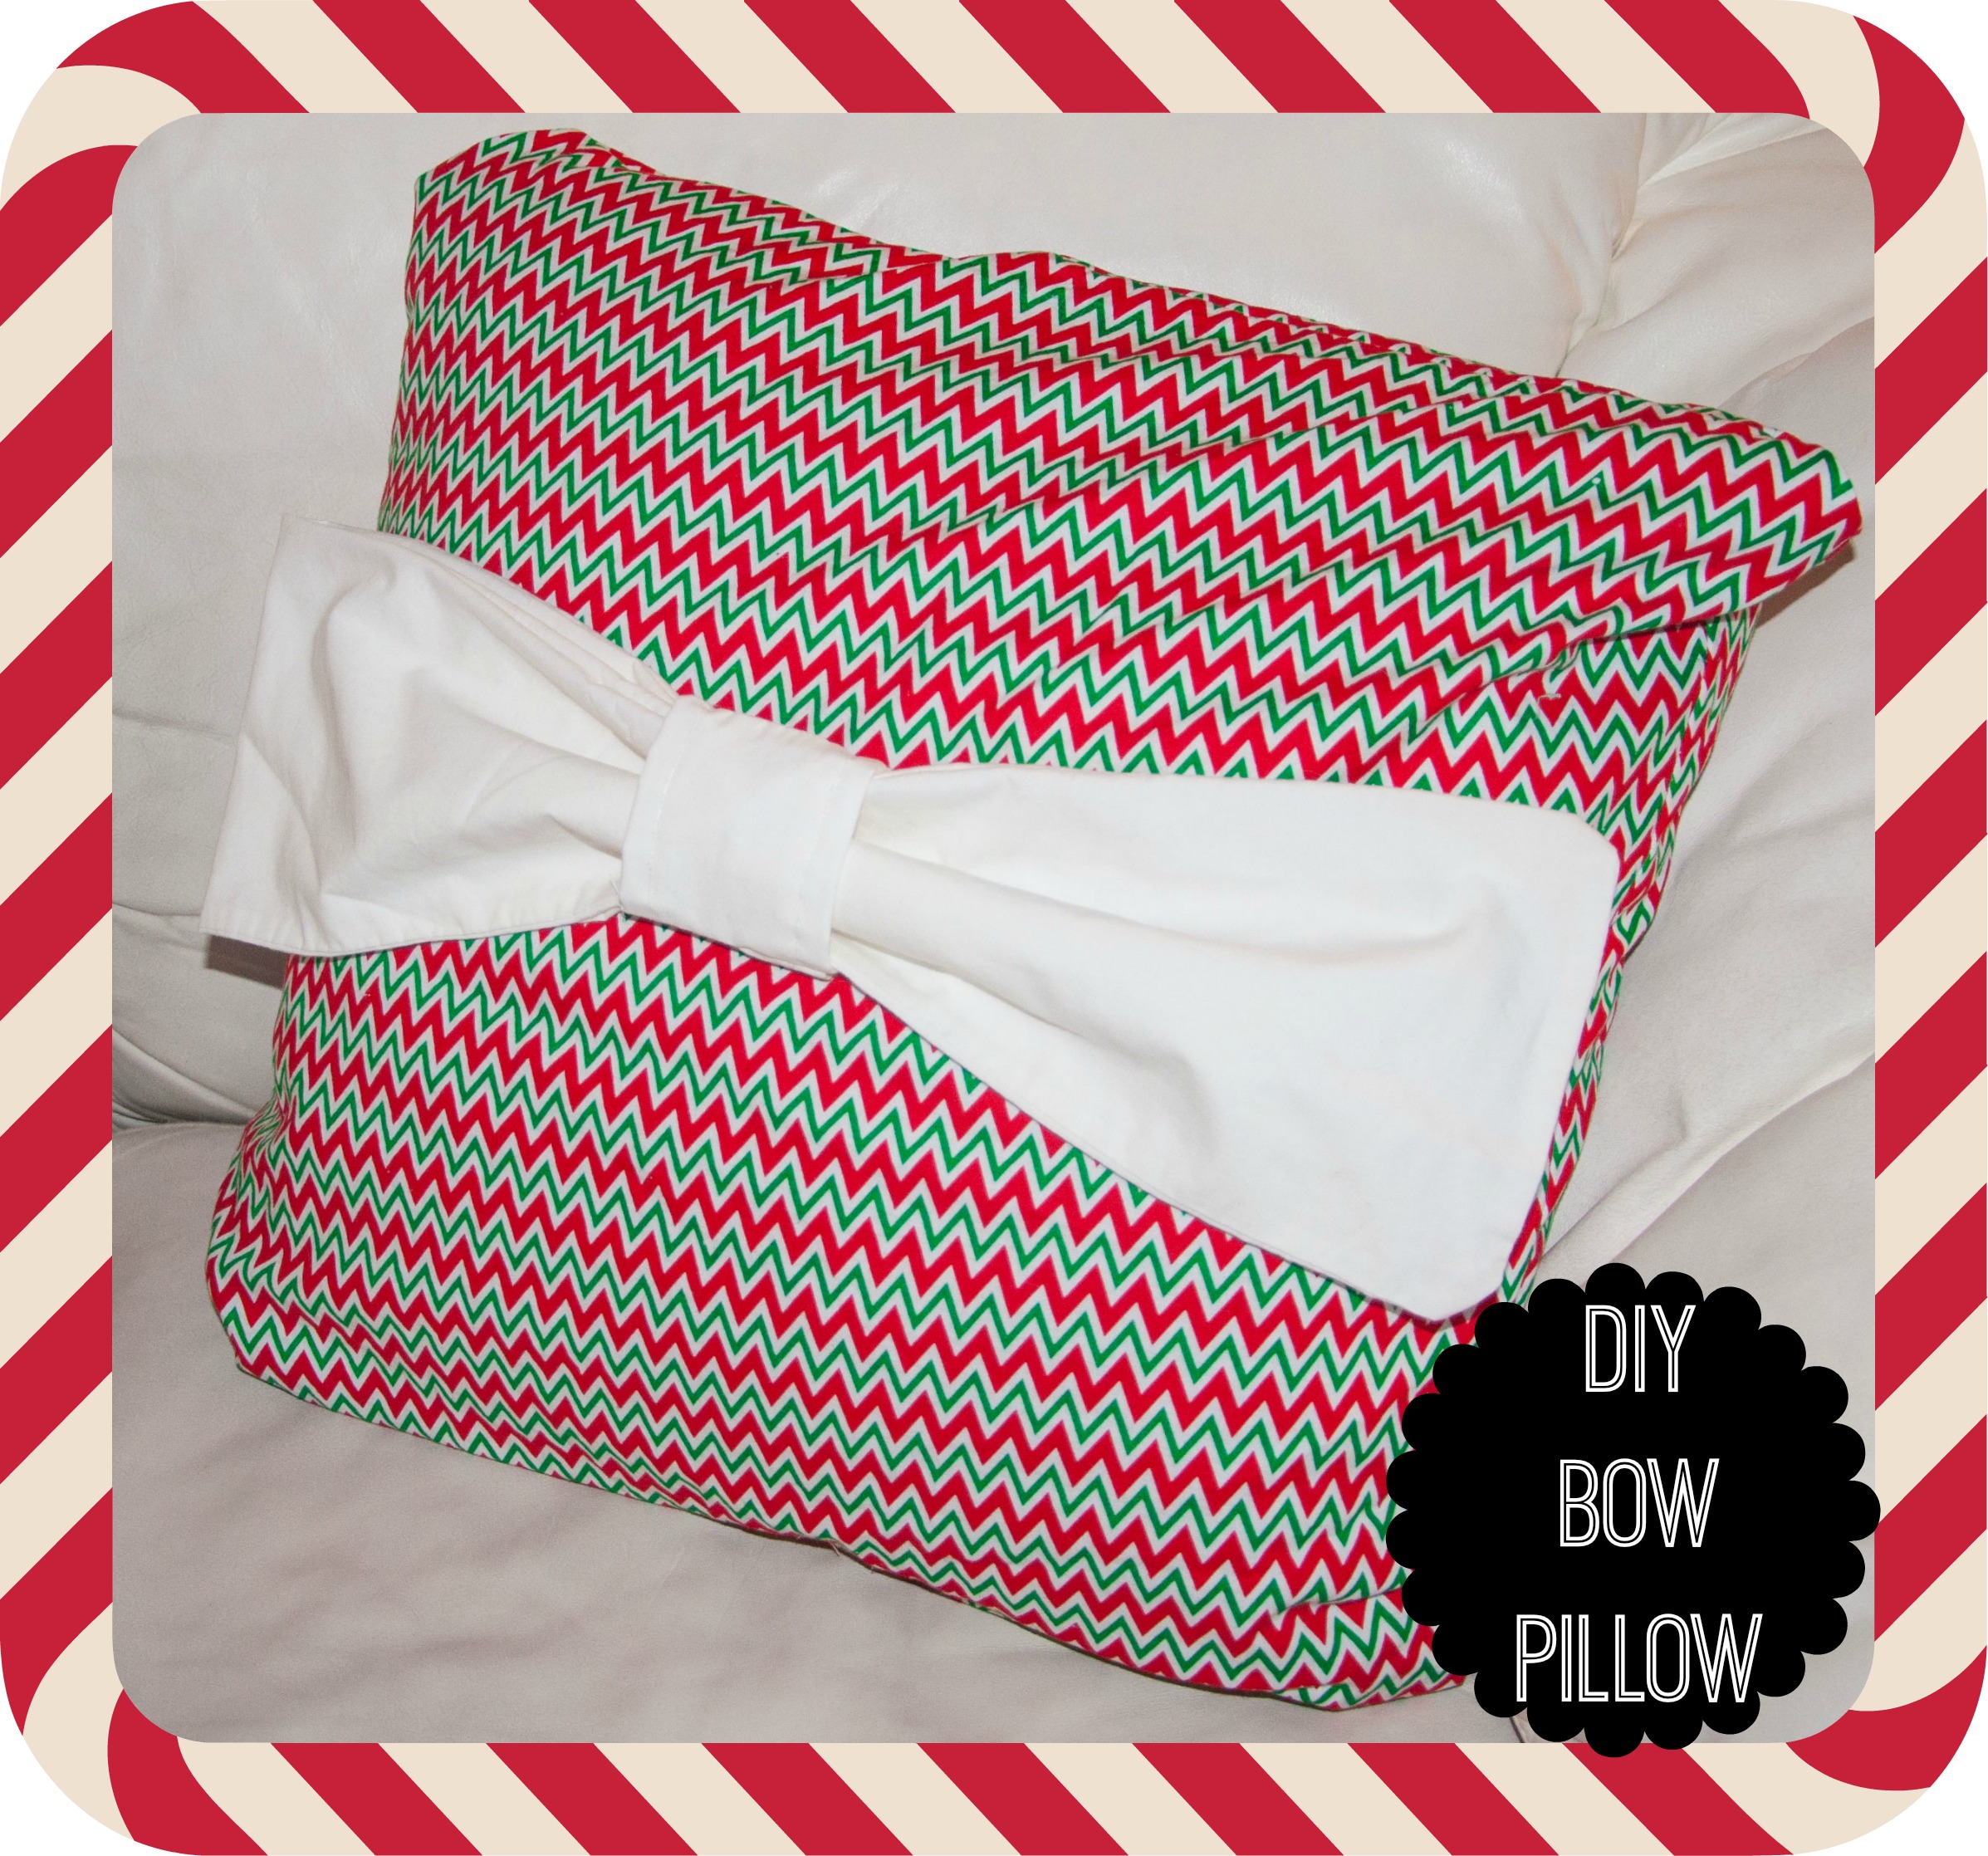
You can use fabric glue to attach the bow to the pillow, or you can hand sew it on with a few stitches in each corner! I know it’s a little rough to understand without pictures, but like I said, the ones I took were awful! Have questions? Ask them below and I will do my best to answer them!
Until next time…
xox Megan
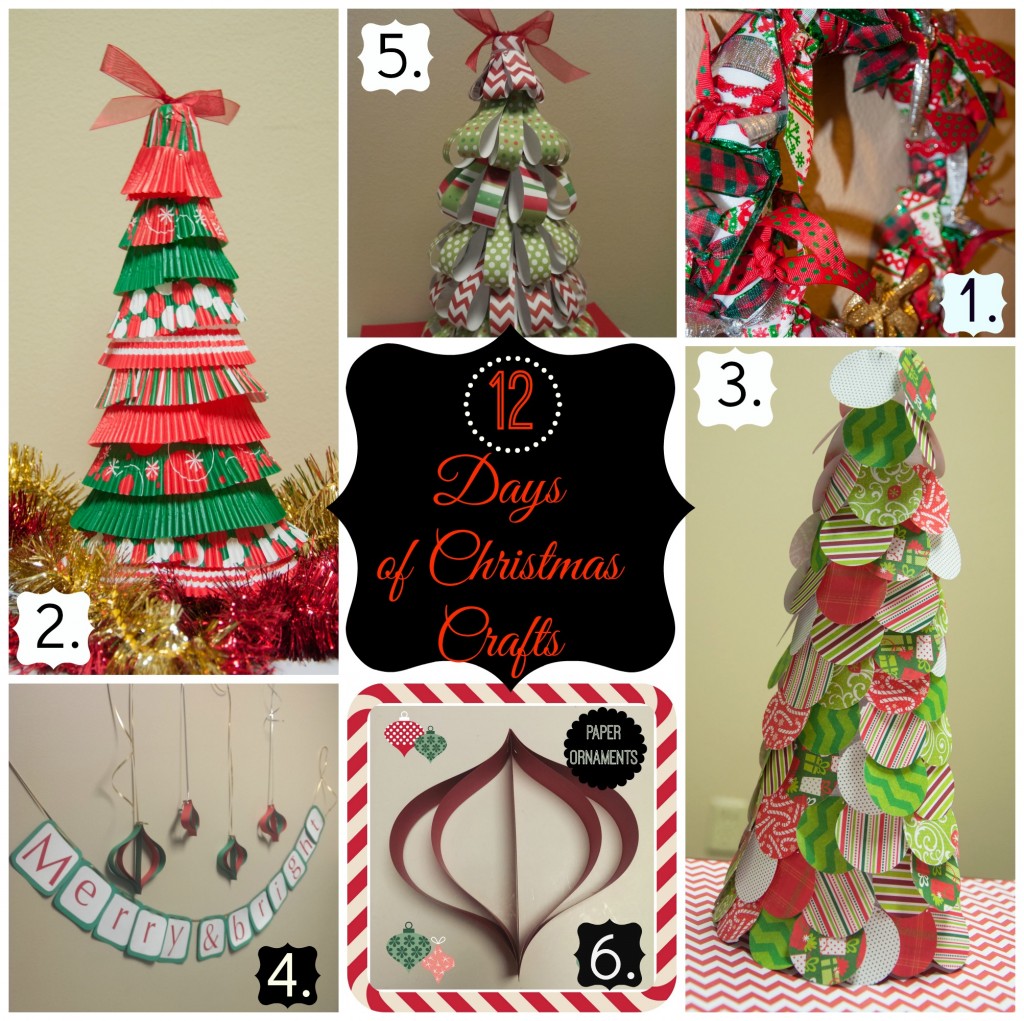
Want to see the other 11 days of Christmas crafts? Here they are:
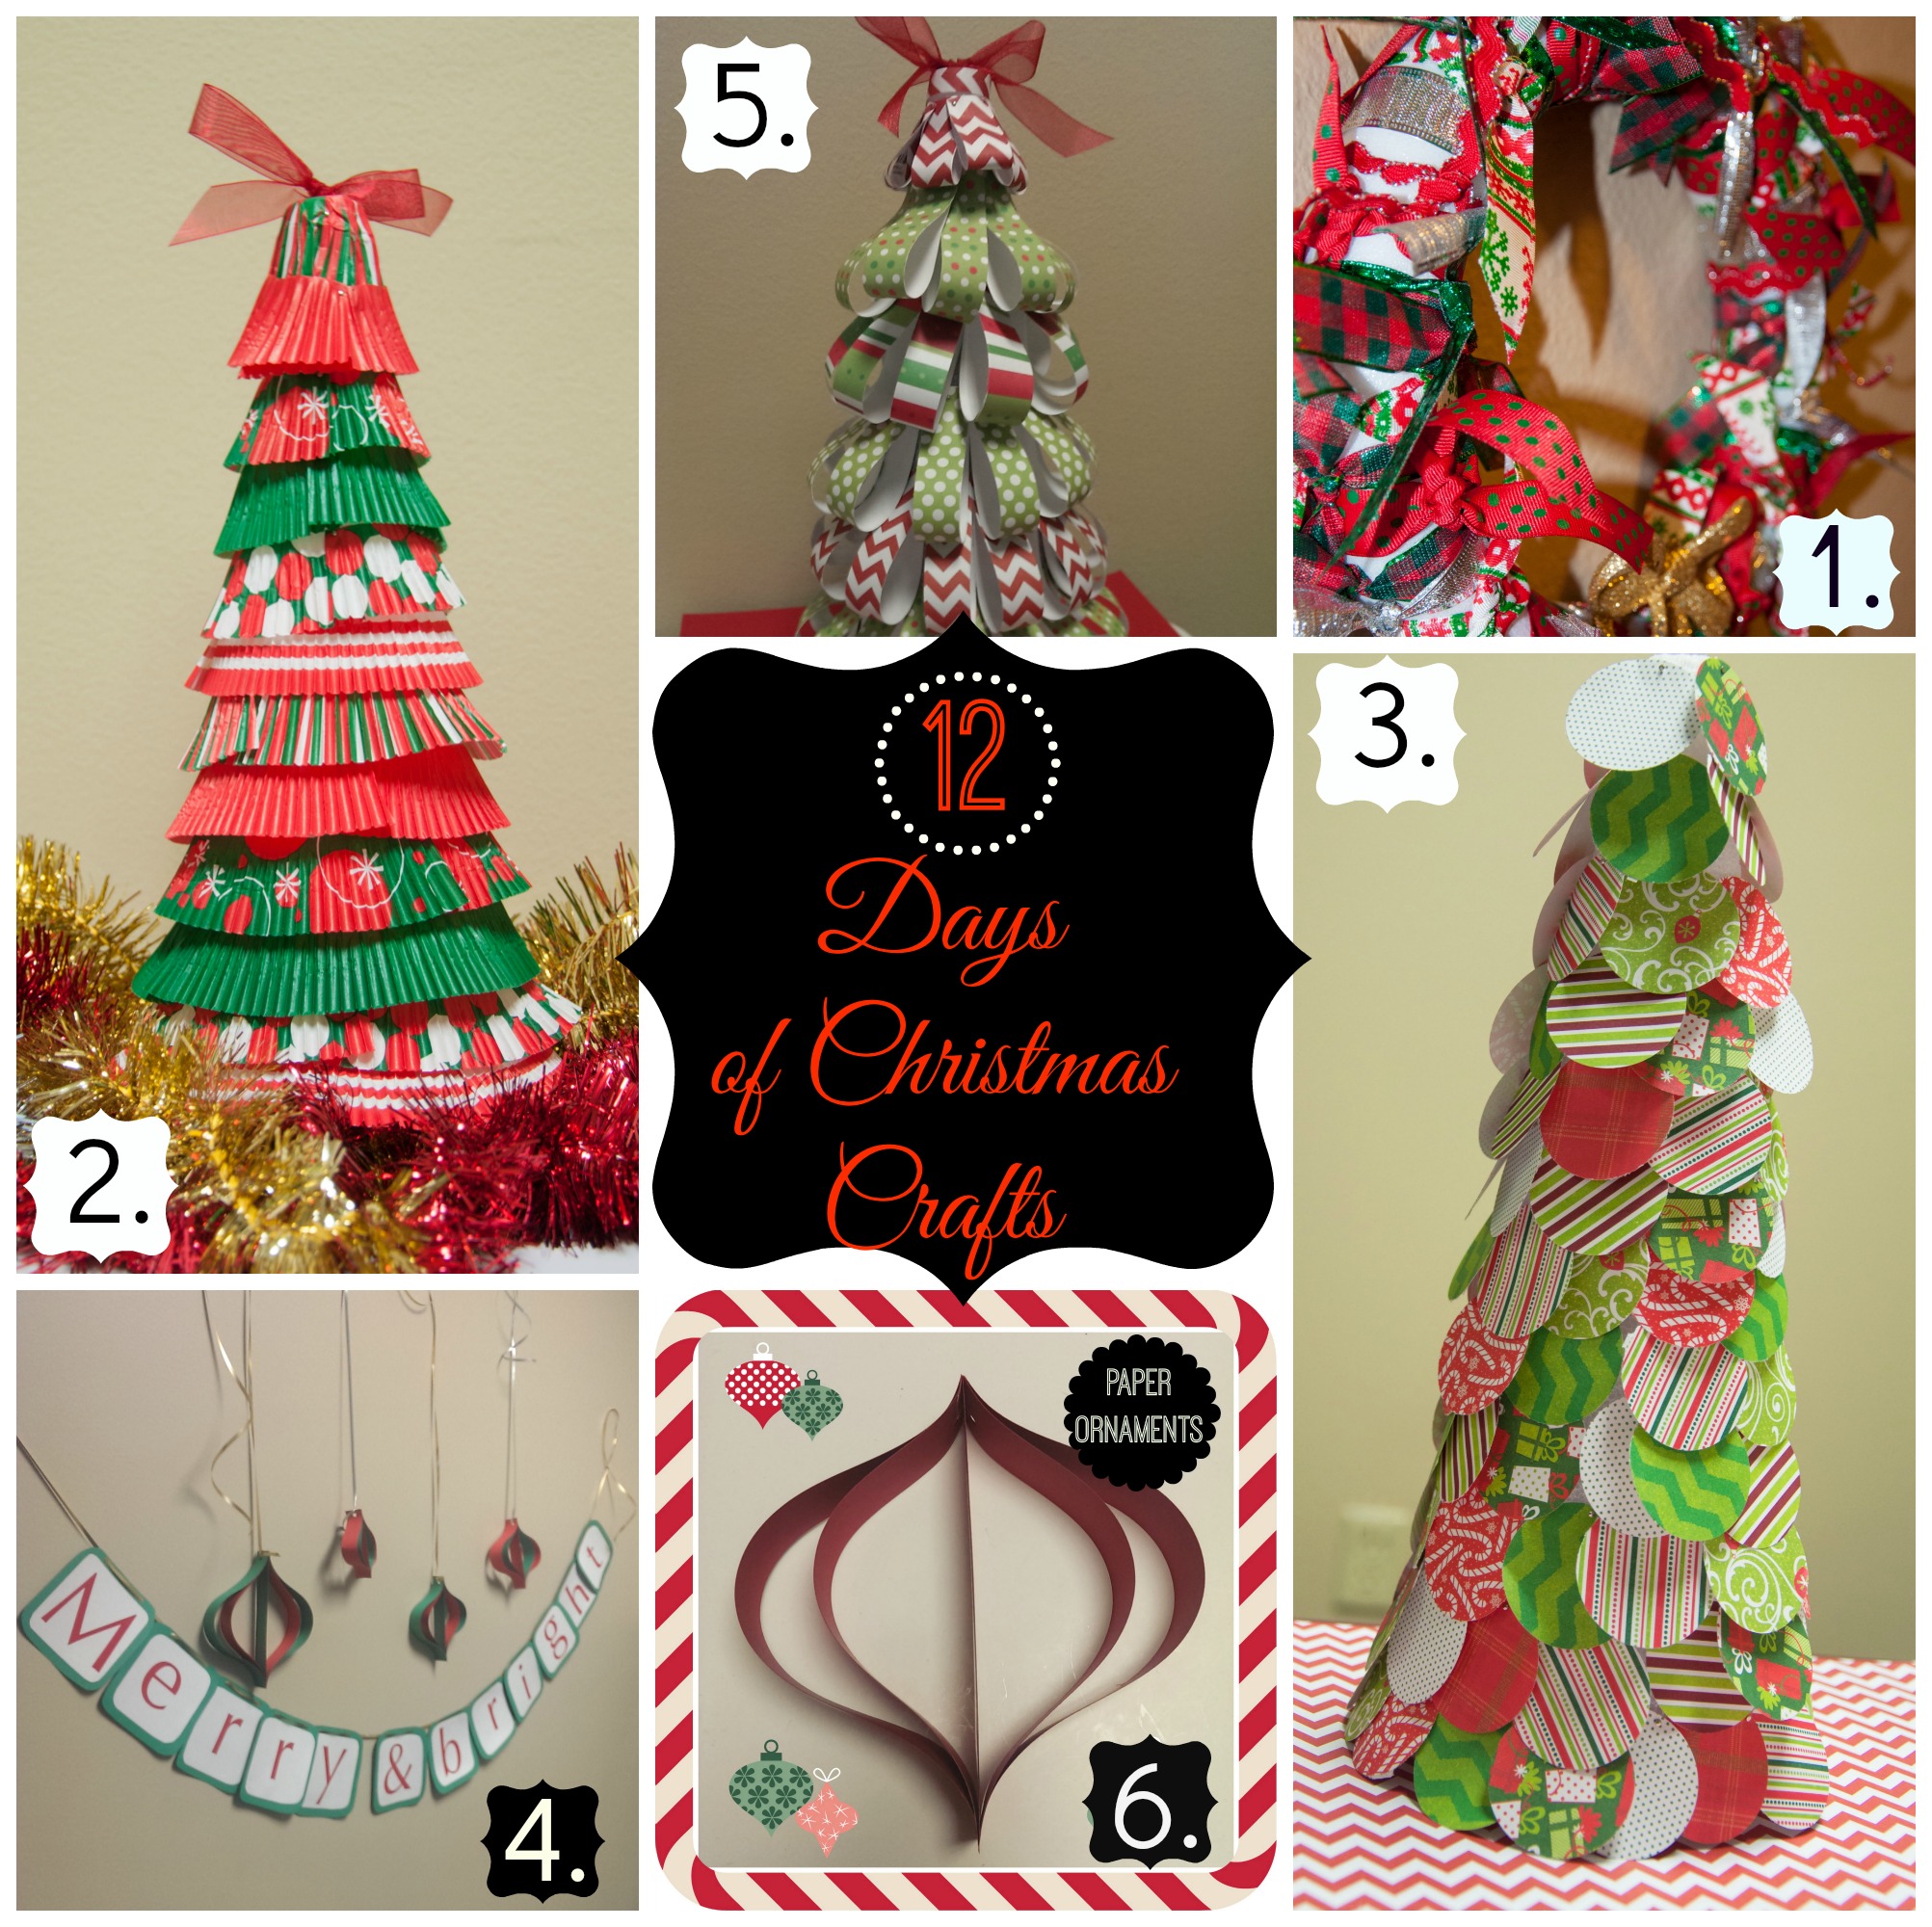
Day 1, Day 2, Day 3, Day 4, Day 5, Day 6, Day 7, Day 8, Day 9, Day 10, Day 11, Day 12


 Day 1
Day 1
