


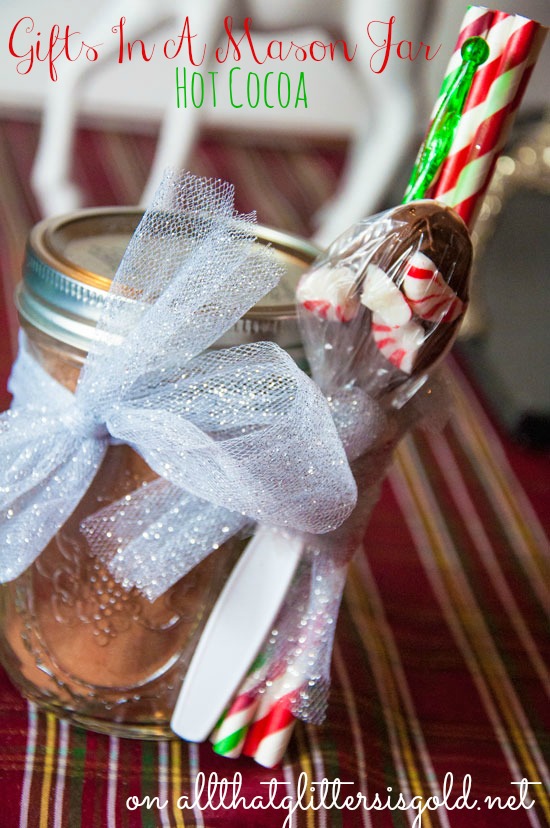
Gifts in a mason jar are the easiest way to give a little something small to show thanks to those in your life. I have seen these ALL over Pinterest this holiday season and there are SO many different ideas out there! This would be the perfect gift for teachers, mailmen, FedEx and UPS drivers, gardeners, etc. My gift in a jar is a hot chocolate gift. I paired the hot chocolate with one of my homemade chocolate mint stir spoons! I also plan to give a little package of homemade marshmallows as well:)
I try to DIY most things I do because I find it fun, and I honestly think that people appreciate homemade gifts much more than they do store bought:) I looked around for some other great mason jar gift ideas and here’s an awesome list from other bloggers around the interwebs!
Want to see the other 11 days of Christmas? Check them out here:
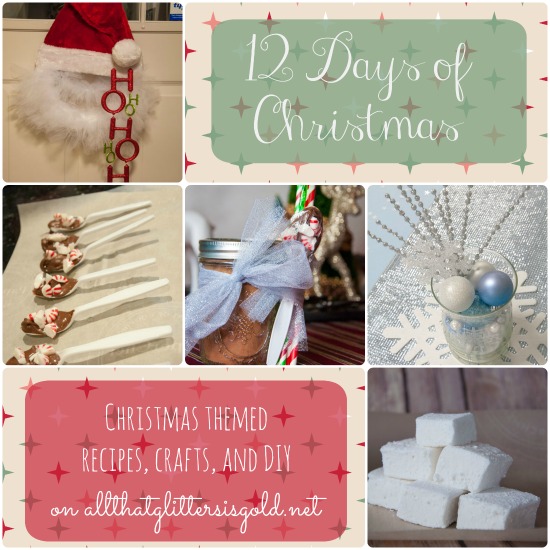
Day 1 // Day 2 // Day 3 // Day 4 // Day 5 // Day 6 // Day 7 // Day 8 // Day 9 // Day 10 // Day 11 // Day 12


