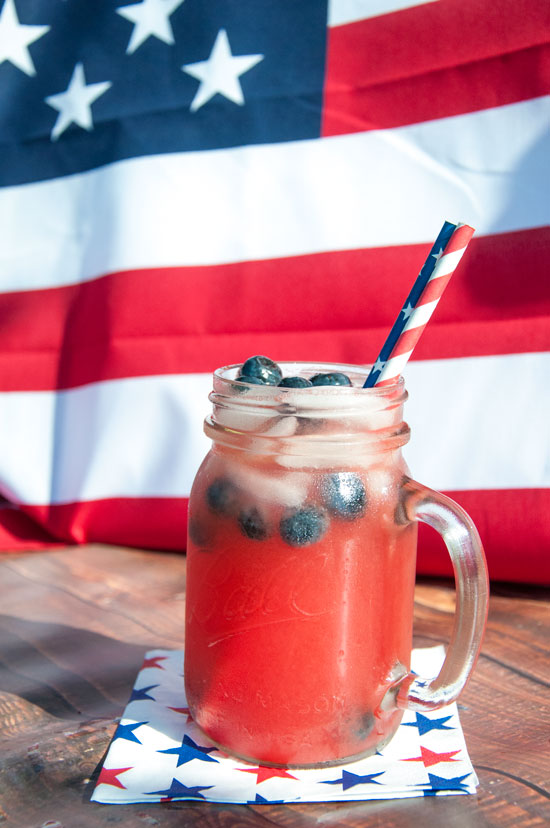
Red, White, and Blueberry Punch

Patriotic Cocktail

The 4th of July weekend is going to be here in the blink of an eye and I know I will not be lacking in the beverage department! With this cocktail and the Star Spangled Sangria I made last week, my family and I will be all set for the day! I have been doing really well with my healthy eating journey, eating Whole30 style during the week and a little more lax on the weekend, so I wanted to try and incorporate some aspect of healthy food into this one! It is made of real watermelon juice, lemon juice, a little bit of sparkling water, and some tequila. Oh, and don’t forget those blueberries, yum! I tried not to add any extra sugars if I didn’t need to and I think I did pretty well.
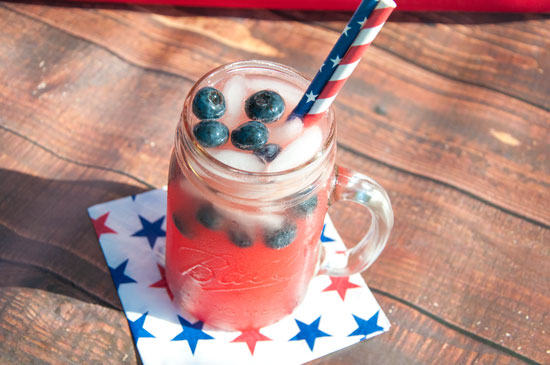
Red, white, and blue cocktail

Now, I won’t go so far as to say that this is a healthy drink…I mean, tequila, but it’s better than some of the recipes I found for kool aid and gatorade bomb pop drinks. Now, don’t get me wrong, they LOOK amazing, but there is so much sugar!! Ahh! If you’re wanting a delicious, healthier drink, this one is for you! Enjoy!

Ingredients:

  • 1 Watermelon
  • 4 lemons
  • Sparkling Water
  • Silver Tequila
  • Blueberries
  • *Optional* White wine

Red, white and blue punch

Directions:

  1. If you have a juicer, this drink is going to be SO much easier to make. Put your watermelon into it and it does all the work.
  2. If, like me, you don’t have a juicer you will need to cut your watermelon in to small chunks and place in a mixing bowl or tupperware container  Take a fork or masher and start mashing your watermelon! Every once in a while you will want to strain the juices out and into your cup/mason jar/carafe.
  3. Once you have enough juice you can stop mashing! Woohoo!
  4. Add your lemon juice and sparkling water to taste. If you want a little more fruity taste, you can add a little dash of white wine as well!
  5. Throw that silver tequila in next!
  6. Add a little ice and throw some blueberries in there to give it a patriotic look, and there you have it!
  7. Drink it on up!

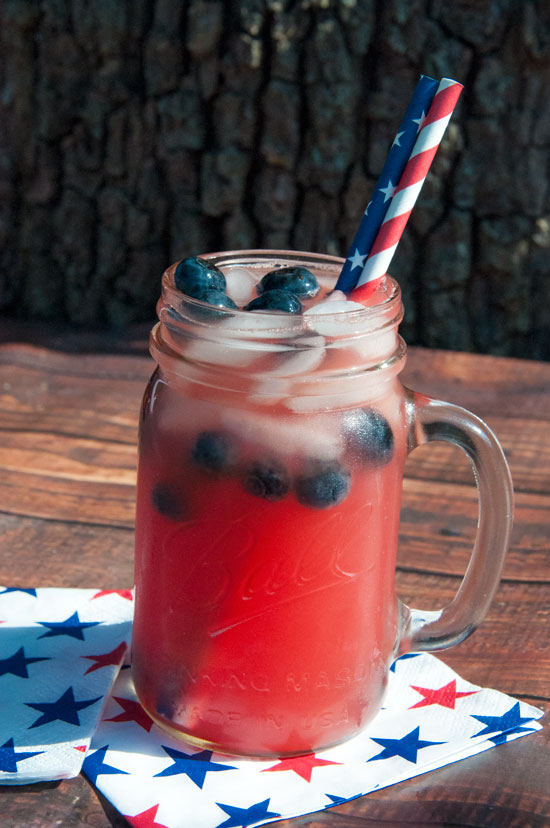
Watermelon, Blueberry Cocktail

I hope you all enjoy your cocktails and have a safe and happy 4th!!

All That Glitters Blog Signature

Skinny Chocolate “Ice Cream”

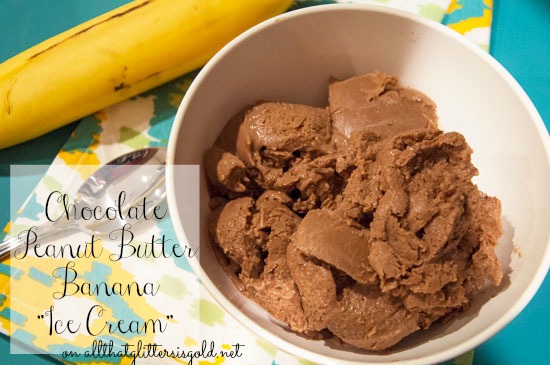
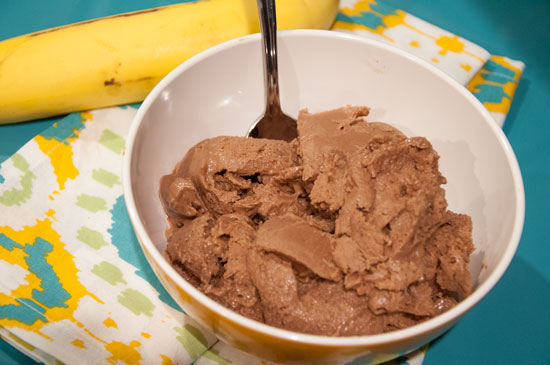
Chocolate Peanut Butter Banana Ice Cream. So easy to make and you can try all sorts of flavors!

Although you are technically not supposed to make this while on the Whole30, I did once and I am so glad that I did. I have been making it ever since and it is such an amazing substitute for ice cream! All of the ingredients are Whole30 compliant so feel free to pin this recipe to your Whole30 (or paleo) Pinterest boards:)

Ingredients:

  • Bananas
  • 100% Cocoa Powder
  • Almond Butter

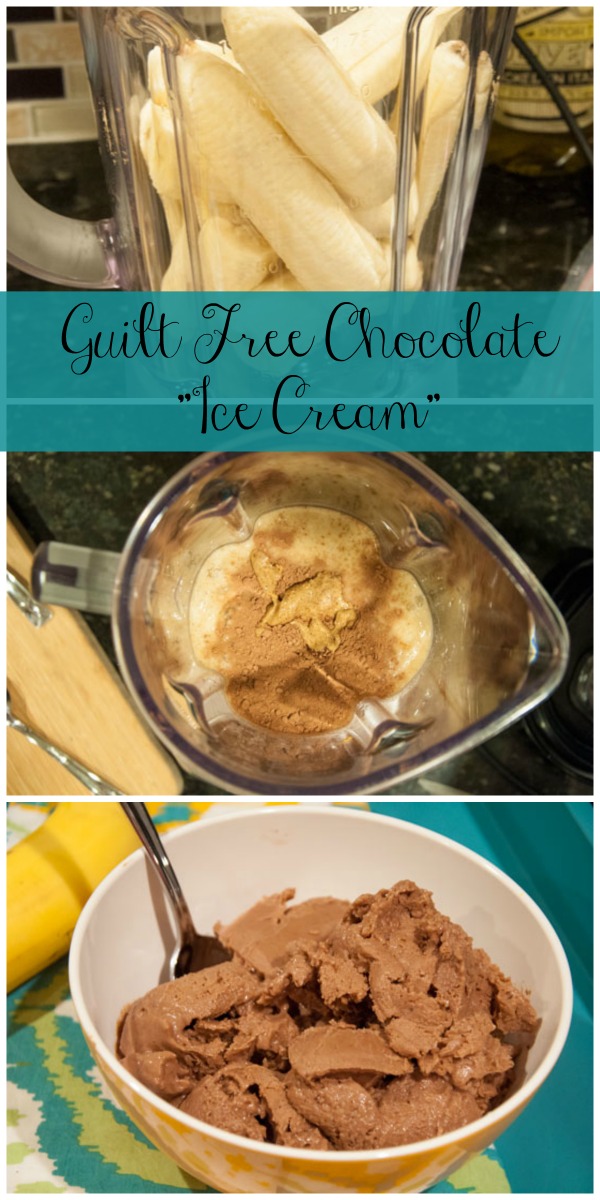
Guilt Free Chocolate Ice Cream- only 3 ingredients!

Directions:

  1. Peel your bananas, cut them up and freeze them in a plastic baggie
  2. Once frozen, place them into your blender or food processor and put the setting on high. Once it is blended to a milkshake like consistency, stop the blended and add a scoop of cocoa powder as well as almond butter. If you are really not into the Whole30, you can substitute peanut butter here.
  3. Blend again, until all of the ingredients are together.
  4. Pour your mixture into a freezer safe, resealable container and place into the freezer again.
  5. Leave it in the freezer for a few hours until it has harden, and then scoop like ice cream!

Now, don’t get me wrong…this isn’t ice cream, but it is SO close and I love it! Also, if you don’t like bananas you are NOT going to like this. It does taste like banana, chocolate, peanut butter! This is a great recipe for those of you that love to have a little ice cream each night, but it’s also a great recipe for the kids this summer! What a great way to give them a treat that is also healthy for them without all of that sugar!

Guilt Free Ice Cream! Only 3 simple ingredients

There are so many different flavors you can make as well! Try some of the variations below!

  • Add frozen strawberries for strawberry banana ice cream.
  • Add nutella for hazelnut ice cream.
  • Add pumpkin puree for pumpkin ice cream.
  • Add dark chocolate chips for banana chocolate chip ice cream.
  • Add oreos for Oreo ice cream.

So many varieties to choose from! Which one will I do next?! Enjoy your “ice cream” and thank you so much for stopping by! Don’t forget to pin this recipe so that you don’t forget to try it this summer!

All That Glitters Blog Signature

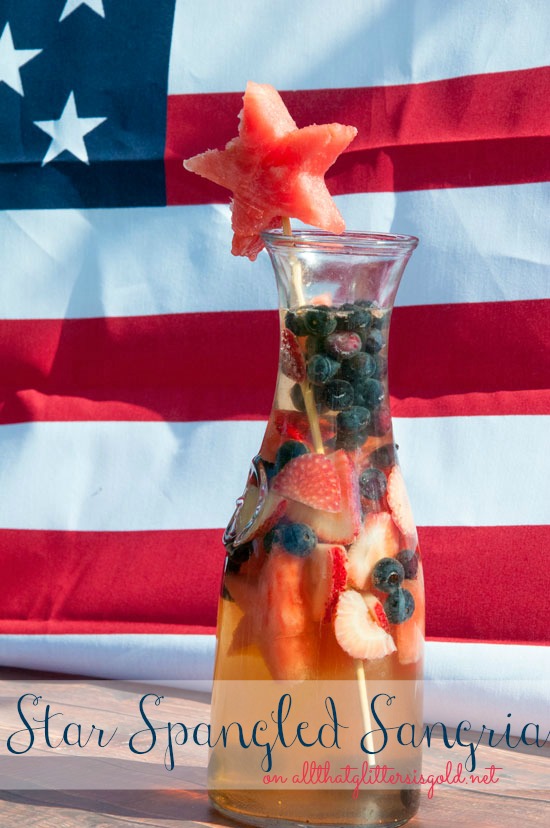
Star Spangled Sangria

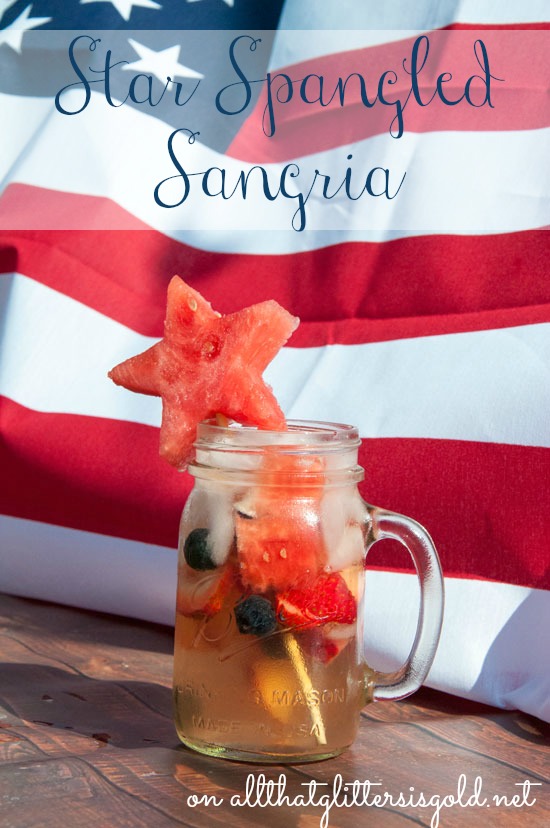
Thinking about the 4th of July makes me all giddy inside. It is my absolute favorite holiday. People think I'm weird because Christmas is everyone else's favorite.....There is just something about the summer sun, lake water, the smell of sunscreen, and a little bit of sangria that makes me grin from ear to ear. Christmas is great and all, if you like all that cold weather stuff...but 4th of July is where its at:)  Today's recipe inspiration came from a photo I saw on Pinterest if watermelon pieces cut into stars. I mean, how genius is that? I decided I needed a red, white, and blue cocktail with these watermelon stars on a stick for some added flair! It turned out pretty awesome if I don't say so my self!  Ingredients:  1 bottle of white wine  Watermelon  Strawberries  Blueberries  Vodka  Triple Sec  Sparkling Wine or club soda  Directions:  1.  First, you are going to want to cut up your fruit. Slice the strawberries and throw them into a big mixing bowl. Add the blueberries. To make watermelon stars, slice your watermelon and use a star cookie cutter to cut out the shapes. Throw those on in the bowl too! (Save a few stars for your garnish!)  2. Next add about 2 shots of vodka (More if you have a LOT of fruit) and a shot of triple sec. Mix this up with the fruit. If your fruit isn't mostly covered, add more!  3. Refrigerate this concoction for a couple of hours until the fruit has soaked up a bit of the liquor.   4. Put the fruit into a carafe or pitcher, add white wine, and sparkling wine or club soda.  5. Put one of your un-soaked stars onto a kebob skewer and place it in your drink!  6. VOILA! Star spangled, red, white, and blue Sangria!  I hope you all enjoy! I'm going to go dream about the 4th of July and wish it was closer than 2 weeks away:)

Thinking about the 4th of July makes me all giddy inside. It is my absolute favorite holiday. People think I’m weird because Christmas is everyone else’s favorite…..There is just something about the summer sun, lake water, the smell of sunscreen, and a little bit of sangria that makes me grin from ear to ear. Christmas is great and all, if you like all that cold weather stuff…but 4th of July is where its at:) Today’s recipe inspiration came from a photo I saw on Pinterest if watermelon pieces cut into stars. I mean, how genius is that? I decided I needed a red, white, and blue cocktail with these watermelon stars on a stick for some added flair! It turned out pretty awesome if I don’t say so my self!

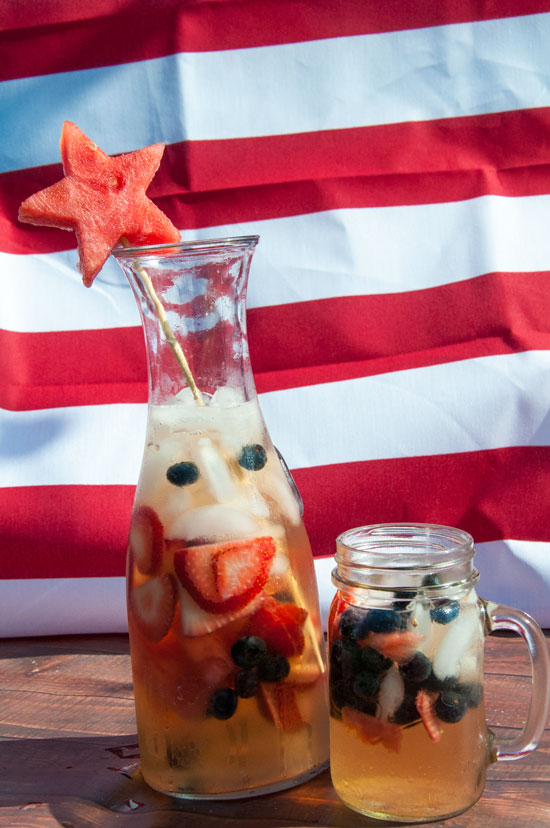
Red, white, and blue sangria

Ingredients:

  • 1 bottle of white wine
  • Watermelon
  • Strawberries
  • Blueberries
  • Vodka
  • Triple Sec
  • Sparkling Wine or club soda

Red, white, and blue sangriaDirections:

  1. First, you are going to want to cut up your fruit. Slice the strawberries and throw them into a big mixing bowl. Add the blueberries. To make watermelon stars, slice your watermelon and use a star cookie cutter to cut out the shapes. Throw those on in the bowl too! (Save a few stars for your garnish!)
  2. Next add about 2 shots of vodka (More if you have a LOT of fruit) and a shot of triple sec. Mix this up with the fruit. If your fruit isn’t mostly covered, add more!
  3. Refirgerate this concoction for a couple of hours until the fruit has soaked up a bit of the liquor.
  4. Put the fruit into a carafe or pitcher, add white wine, and sparkling wine or club soda.
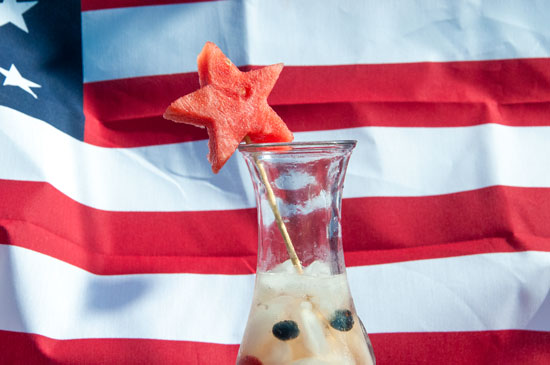
  5. Put one of your un-soaked stars onto a kebob skewer and place it in your drink!
  6. VOILA! Star spangled, red, white, and blue Sangria!

Thinking about the 4th of July makes me all giddy inside. It is my absolute favorite holiday. People think I'm weird because Christmas is everyone else's favorite.....There is just something about the summer sun, lake water, the smell of sunscreen, and a little bit of sangria that makes me grin from ear to ear. Christmas is great and all, if you like all that cold weather stuff...but 4th of July is where its at:)  Today's recipe inspiration came from a photo I saw on Pinterest if watermelon pieces cut into stars. I mean, how genius is that? I decided I needed a red, white, and blue cocktail with these watermelon stars on a stick for some added flair! It turned out pretty awesome if I don't say so my self!  Ingredients:  1 bottle of white wine  Watermelon  Strawberries  Blueberries  Vodka  Triple Sec  Sparkling Wine or club soda  Directions:  1.  First, you are going to want to cut up your fruit. Slice the strawberries and throw them into a big mixing bowl. Add the blueberries. To make watermelon stars, slice your watermelon and use a star cookie cutter to cut out the shapes. Throw those on in the bowl too! (Save a few stars for your garnish!)  2. Next add about 2 shots of vodka (More if you have a LOT of fruit) and a shot of triple sec. Mix this up with the fruit. If your fruit isn't mostly covered, add more!  3. Refrigerate this concoction for a couple of hours until the fruit has soaked up a bit of the liquor.   4. Put the fruit into a carafe or pitcher, add white wine, and sparkling wine or club soda.  5. Put one of your un-soaked stars onto a kebob skewer and place it in your drink!  6. VOILA! Star spangled, red, white, and blue Sangria!  I hope you all enjoy! I'm going to go dream about the 4th of July and wish it was closer than 2 weeks away:)

I hope you all enjoy! I’m going to go dream about the 4th of July and wish it was closer than 2 weeks away:)

All That Glitters Blog Signature


Fit Friday: Strawberry Spinach Summer Salad

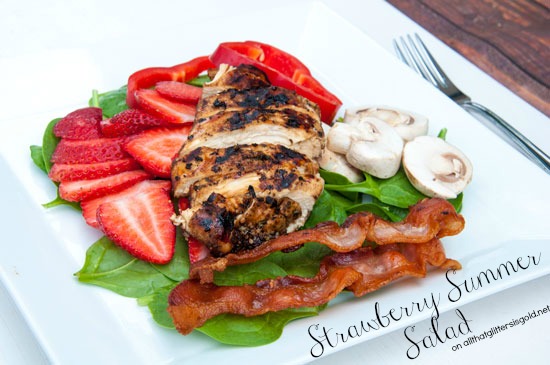
Strawberry Summer Salad
Today is Day #19 of my first every whole30. Since my last update, things have gotten a lot easier. I have gotten used to making healthy dinners my #1 priority when I get home from work and have been planning it all out very well! I haven’t had as many cravings- unless I see something I love in person, or smell it…smelling it is the worst! I have come across a few recipes that I ABSOLUTELY love and will be sure to share more of them as the weeks go on.
Today’s recipe was actually inspired by the Spinach Salad at La Madeleine. I have to say though, I’m pretty sure mine is better…sorry Madeleine! It’s quick, it’s easy, and most importantly it’s whole30 compliant! Woohoo!
Strawberry Salad with Homemade Balsamic

Ingredients:

  • 1 Chicken breast
  • 2-3 strips of whole30 compliant sugar free bacon
  • Strawberries
  • Red bell pepper
  • Sliced mushrooms
  • Spinach
  • Olive Oil
  • Balsamic Vinegar
  • Chopped Garlic
  • Salt
  • Pepper
Strawberry Spinach Salad

Directions:

  1. I start in the morning by marinating the chicken. Put it into a plastic baggie with some olive oil, balsamic vinegar, and a dash of salt and pepper. Let this sit in the fridge for a few hours, but if you don’t have a lot of time, 15-30 minutes will do just fine.
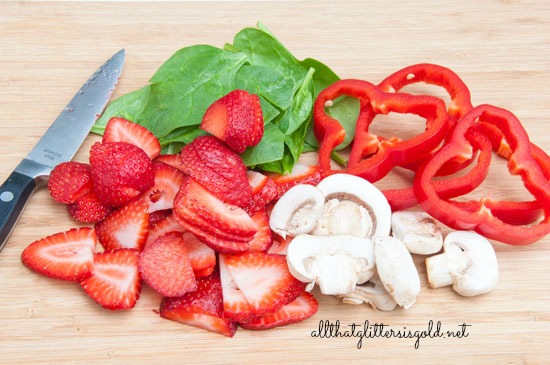
  2. Once your chicken is marinated, go ahead and start chopping your fruit and veggies. I hesitate to put measurements on these because everyone will like a little bit more of one item than another, so play it by ear depending on your tastes. I used about a cup of strawberries, 1/4 cup of red bell pepper strips, 1/4 cup of mushroom slices, and 2 cups of spinach.
  3. Set your veggies aside and throw that chicken on to the grill. Cook until the middle is no longer pink!
  4. While your chicken is grilling, put your bacon into a frying pan and cook until crisp.
  5. Once cooled, you will crumble the bacon into little bits.
  6. Now, it’s time to start on your dressing. I usually make it in a glass measuring cup so that I know how much I am making and don’t have to dirty another bowl. Add one part balsamic, 3 parts olive oil. The sprinkle in some salt and pepper, and add that chopped garlic. Stir using a whisk or fork. You will have to stir again before serving because this separates VERY quickly. (I use 1/4 cup balsamic, 1/2 cup olive oil and have some left over for later!)
  7. Once the chicken is done cooking, slice it into pieces. 
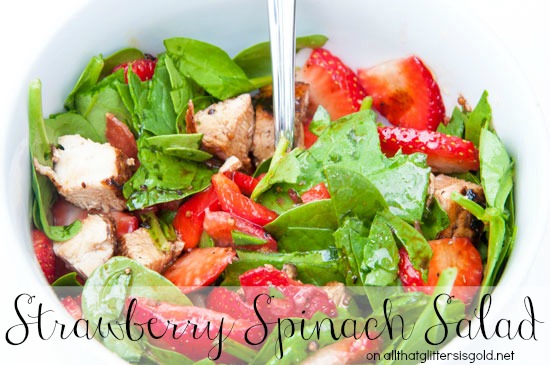
  8. Now it’s time to put your salad together! Throw that spinach in a bowl and add all of your chopped ingredients. Give that dressing a little stir and pour some on top!
  9. Enjoy! This is honestly one of Wes and I’s favorite things to eat right now. It’s perfect for lunch or dinner and those strawberries, yum! I never thought I would enjoy fruit on a salad until I had this…now I just can’t get enough!Spinach and Strawberry Summer Salad
Feel free to pin this recipe to your whole30/paleo/healthy eating boards on Pinterest! I hope you all enjoy!
All That Glitters Blog Signature

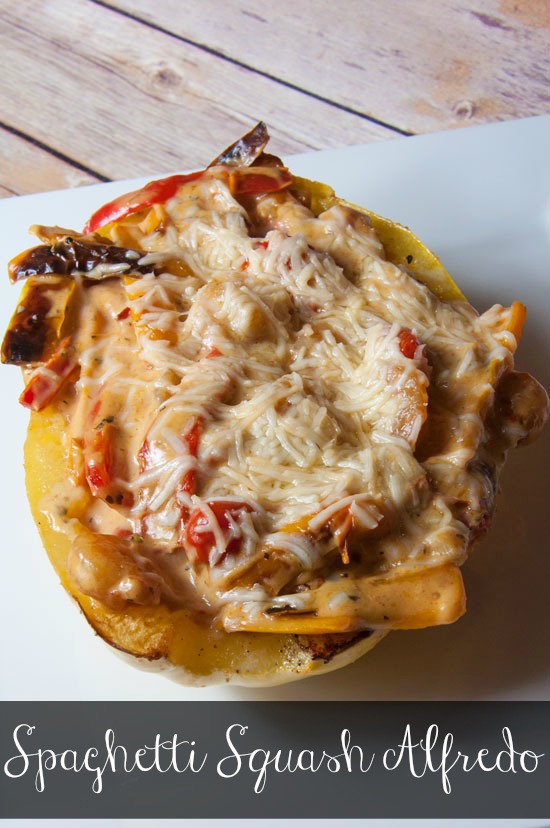
Spaghetti Squash Alfredo With Shrimp

Spaghetti Squash Alfredo with Shrimp

I’m not a health kick guys! Woohoo! I’ve been doing really well with eating healthy and I’ve been working out regularly. I’ve even been taking Sophie on walks every night (except when it was like 30 degrees….) Now, I realize that alfredo sauce is not the healthiest thing ever, but when you put it over spaghetti squash instead of pasta it makes it infinitely better for you! haha! You may remember this recipe of spaghetti squash with meat sauce a few weeks back, and I still vouch that it is the best one ever….but when you’re in the mood for a creamy sauce this one, is top notch.

I have been a pasta addict since the days of the Little Caesars spaghetti bucket back in the day, so giving it up cold turkey is just NOT going to happen for me. I have to say though, that this recipe is a GREAT alternative! It is filling and it does a great job at creating the same sort of consistency. If you have never had a spaghetti squash before you will want to check out the directions down there, because I just away my BIGGEST spaghetti squash secret: how I cut the damn thing! Enjoy!

Ingredients:

  • 1 large spaghetti squash
  • 1 jar alfredo sauce- I used Classico Garlic Alfredo
  • 1 bell pepper- I used half a red and half a yellow
  • 1/2 lb shrimp
  • 1 cup cherry tomatoes
  • Parmesan cheese
  • Suggestion: This would also be fantastic with some spinach and mushrooms in it!

Spaghetti Squash Alfredo with Shrimp

Directions:

Squash:

  1. Start by heating your oven to 400 degrees.
  2. Cut your spaghetti squash in half. This is a hard one. Thankfully I already have a method and it’s super secret, but I’m going to share anyways haha! I have three words for you, pumpkin carving knife. It works so well and is the only way that is even worth the try:)
  3. Scrape out the seeds on the inside of your squash, just like you would a pumpkin at Halloween.
  4. Spread some olive oil on the insides of the squash and sprinkle it with some salt and pepper.
  5. Lay your squash face down on a tinfoil covered cookie sheet. Put some olive oil on the tinfoil to prevent it from sticking!
  6. Once your oven reaches 400 degrees, put your squash in the oven.
  7. Cook your squash for about 30-45 minutes, depending on your oven, or until it is soft.
  8. Once your squash is soft, remove from the heat and, using a oven mit to hold it still, scrape out your spaghetti squash with a fork. It should be a spaghetti like consistency! You don’t have to scrape the entire squash out, but at least do the top part.

Sauce:

  1. Cook your peppers in a frying pan until done.
  2. Add your tomatoes and shrimp, and cook until the tomatoes are soft and burst with very little pressure.
  3. Add your sauce and simmer on medium-low until  your squash is fully cooked.
  4. I also like to add a little spice to mine with some basil, oregano, minced garlic, and crushed red pepper.

Spaghetti Squash Bowls:

  1. Once the squash and sauce are done, scoop your sauce out into your squash bowl.
  2. Cover with cheese if you would like.
  3. Pop it back in to oven for 5-10 minutes or until that cheese has melted.
  4. Serve!

We like to eat ours out of the squash like a bowl. Makes life more fun. But, you can scoop it all out and be normal too. Have fun and let me know if you end up trying it out!


All That Glitters Blog Signature