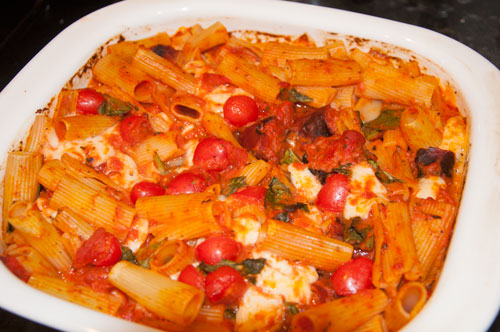
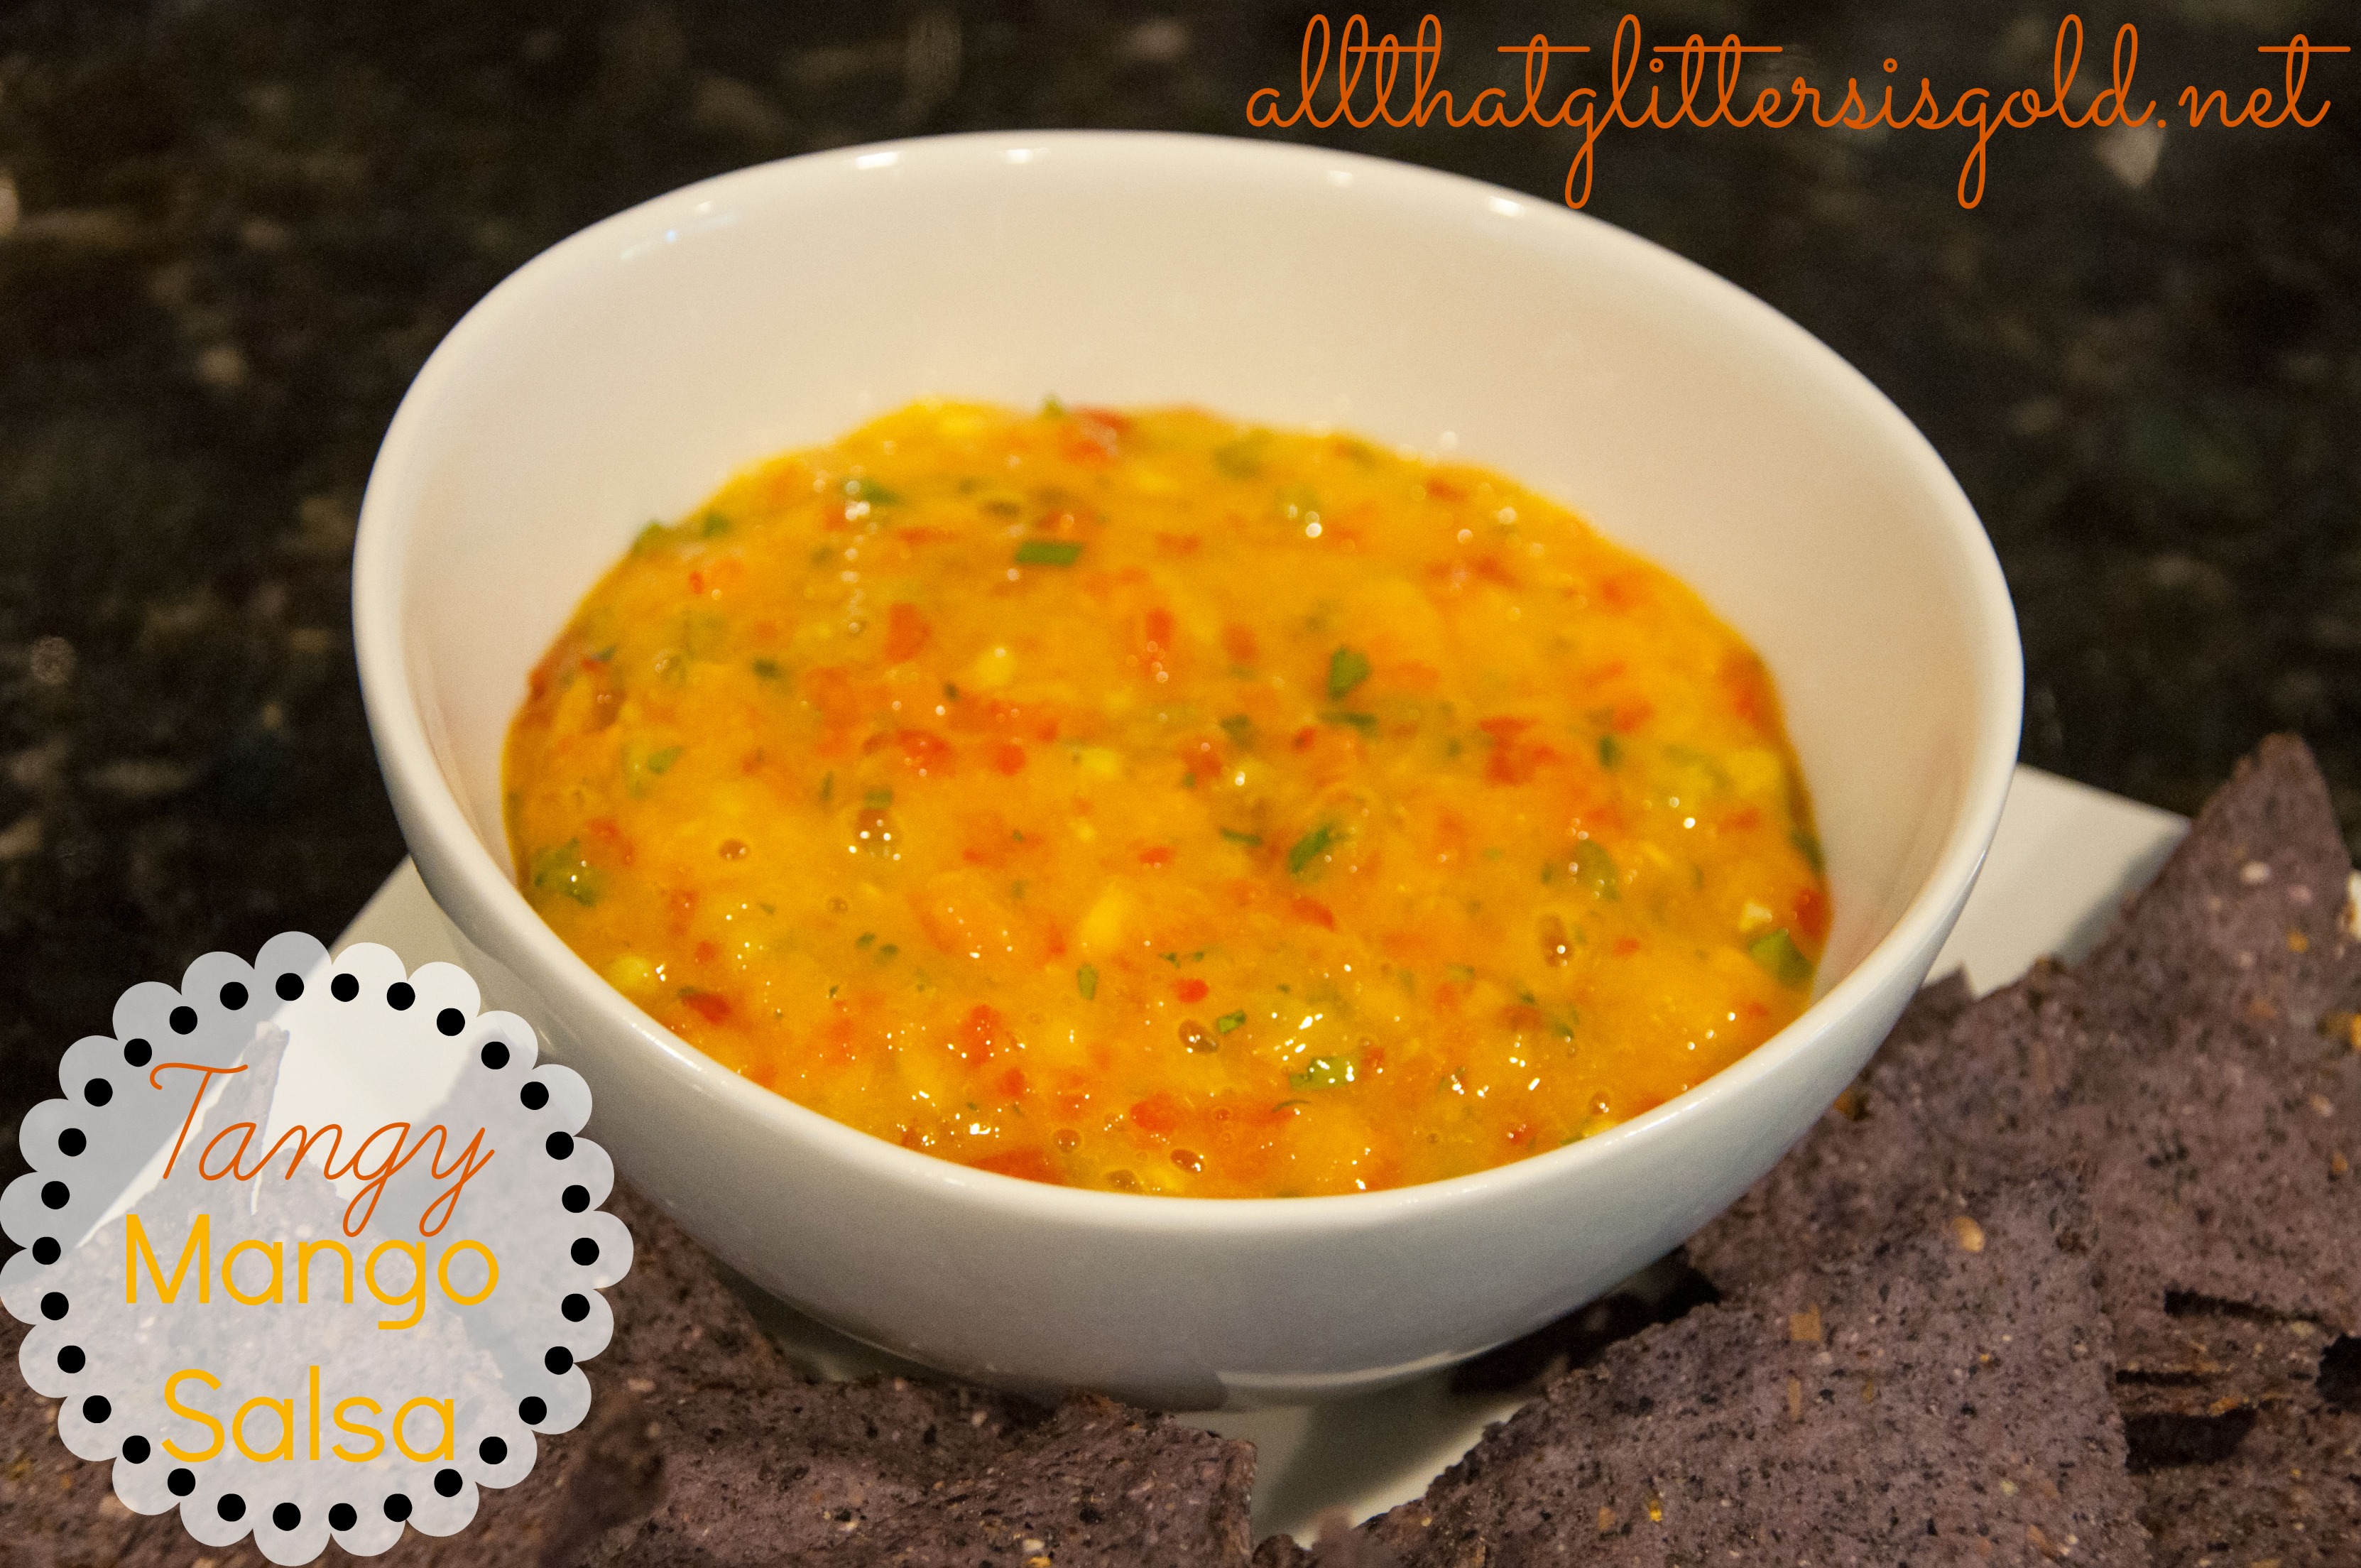
Baked Caprese Pasta

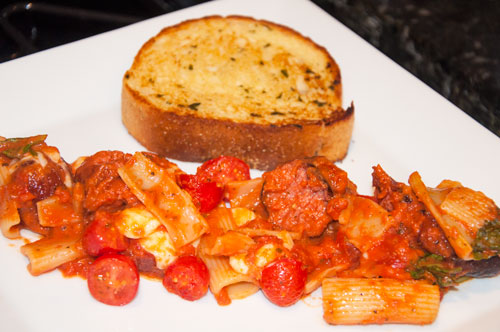
Caprese Pasta with Italian Sausage2

Hi Lovelies!

Yum. That’s all I have to say about this recipe. It’s pretty basic, but it’s just one of those comfort type foods for me. I just can’t get enough of tomato, mozzarella, and basil lately. (Like this recipe) Really anything with basil in it since I bought my own basil plant! I used Italian sausage in this version, but you could really substitute ground beef or chicken if you wanted to make it a little more kid friendly.

Tomato Basil Pasta with Sausage

Ingredients:

  • Rigatoni
  • Olive Oil
  • Tomato Sauce
  • Grape Tomatoes
  • Basil leaves
  • Mozzarella
  • Italian Sausage
  • Heavy Cream
  • Parmesan

Baked Caprese Pasta

Directions:

  1. Start boiling some water for the pasta, be sure to add a little olive oil to the water in order to keep the noodles from sticking together.
  2. I used sausage that was already cooked, it just needed to be grilled, so this is where we started the grill and threw those babies on.
  3. Once the water is boiling, add your rigatoni.
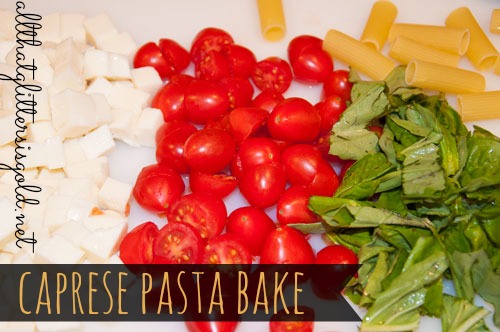
  4. While the pasta is boiling chop up the fresh basil and cut your tomatoes into halves. Chop your fresh mozzarella into 1/4 inch cubes.
  5. In a saucepan mix your tomato sauce with  about 1/3 a cup of heavy cream.
  6. Mix the basil, tomatoes, about 1/2 a cup of parmesan into the creamy tomato sauce.
  7. Once the parmesan is melted, your sauce is ready.
  8. When the sausage is grilled and ready, slice into 1/2 inch pieces and put into sauce.
  9. When the noodles are tender, drain them and put them into an oven safe casserole dish. Pour the sauce over the pasta and mix it up until all noodles are coated.
  10. Take your mozzarella cubes and fold them into the noodles.
  11. Put the casserole dish in the oven at 450 for about 25-35 minutes.
  12. Serve the ooey gooey goodness:)

Caprese Pasta Bake

All That Glitters Blog SignatureLinking up with: Treasure Box Tuesday


Nourish Your Life

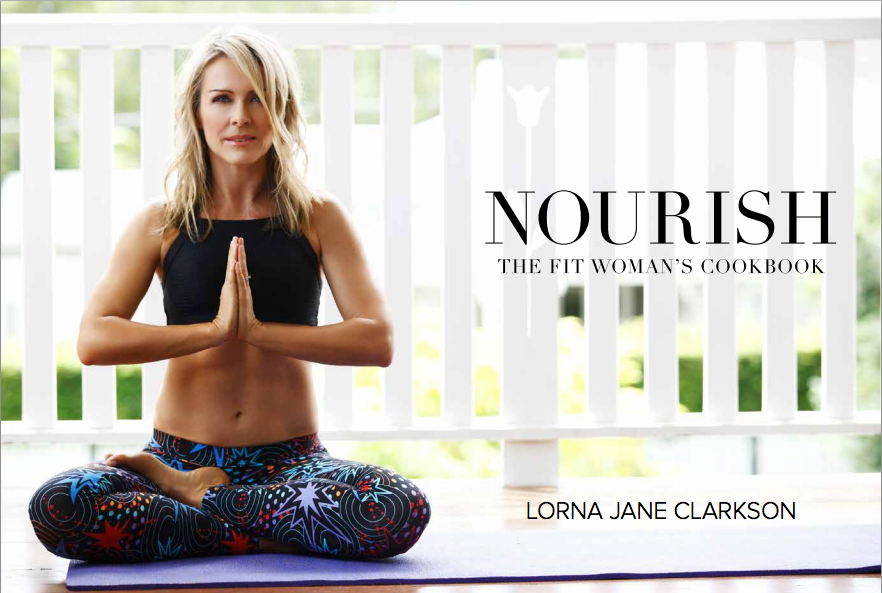
Nourish Cookbook by Lorna Jane

Hi Lovelies!

If you haven’t heard of Lorna Jane Clarkson yet, you really should go and check her stuff out. Her athletic brand is fantastic, and she has one of the most wonderful outlooks on life I have ever seen. I found Lorna Jane through the Sweat Pink Ambassador program that I am a member of and I am thankful all the time that I did! She has been a HUGE inspiration in my journey to being healthy. I love her outlook on life and her goals for her company. In her words,

“I know my life will change me, shape me, and ultimately define me. I also know that the more I believe, the more that is possible. I am determined to make my time on this planet truly count for something by inspiring women towards active living.”

Active living, in Lorna Jane’s eyes, is summed up by her motto, “Move, Nourish, Believe”. It involves moving your body every day, nourishing your body with delicious food, and believing that anything is possible if you are willing to work for it. This really sums up everything that I believe as well. If I am active, eat well, and believe that I have the strength to get through those work outs and control what I put in my body, my life will be infinitely better.

It's you who decides what you eat

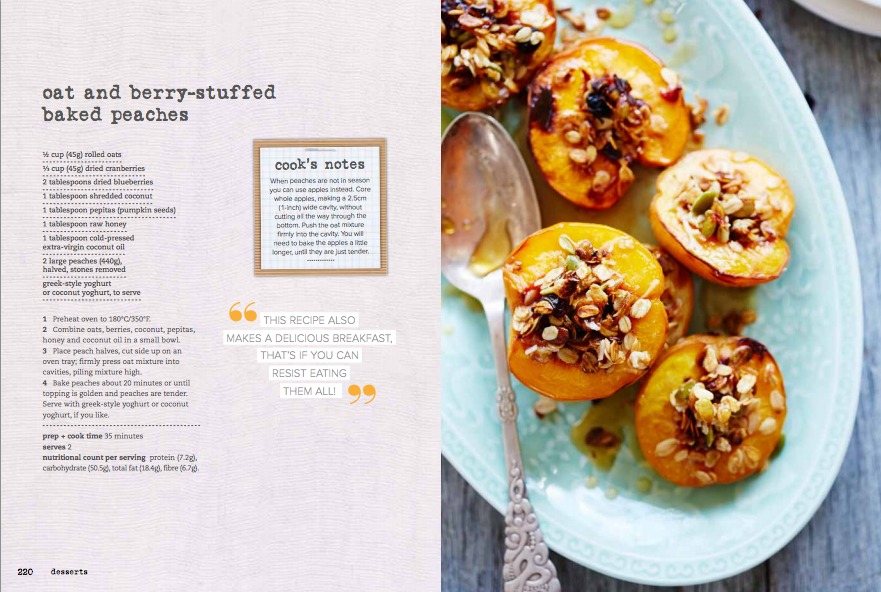
I was sent a copy of Lorna Jane’s new cookbook, Nourish, in exchange for a review and I really enjoyed the read. It is more than just a bunch of healthy recipes, there are some great tips and a lot of motivation to go along with those wonderful meals. I had the opportunity to prepare a few of the recipes and wanted to share them with you! The first one I fell in love with at first sight was the Oat and Berry Stuffed Peaches.

Grilled Peaches Recipe

Oat And Berry Stuffed Peaches

I changed mine up a little bit from the original recipe since I didn’t have some of the ingredients. I also grilled mine instead of baking them, but the basic gist of the recipe is still there:)

Grilled Peaches with Oats and Berries

Ingredients:

½ cup rolled oats
¹/2 cup fresh blueberries (Original recipe called for dried cranberries and blueberries)
1 tablespoon agave nectar (Original recipe called for raw honey)
1 tablespoon cold-pressed extra-virgin coconut oil
1 tablespoon ground cinnamon
2 large peaches, halved, pits removed
Frozen yogurt- optional (Original recipe called for greek-style yogurt)

Peaches and Oats

Directions:

    1. The original recipe was for baked peaches, but being July and the perfect weather for grilling, I decided to grill mine:) Both are equally delicious…mine just gave me a little bit more time to enjoy my backyard and a little less heat in my already hot house!
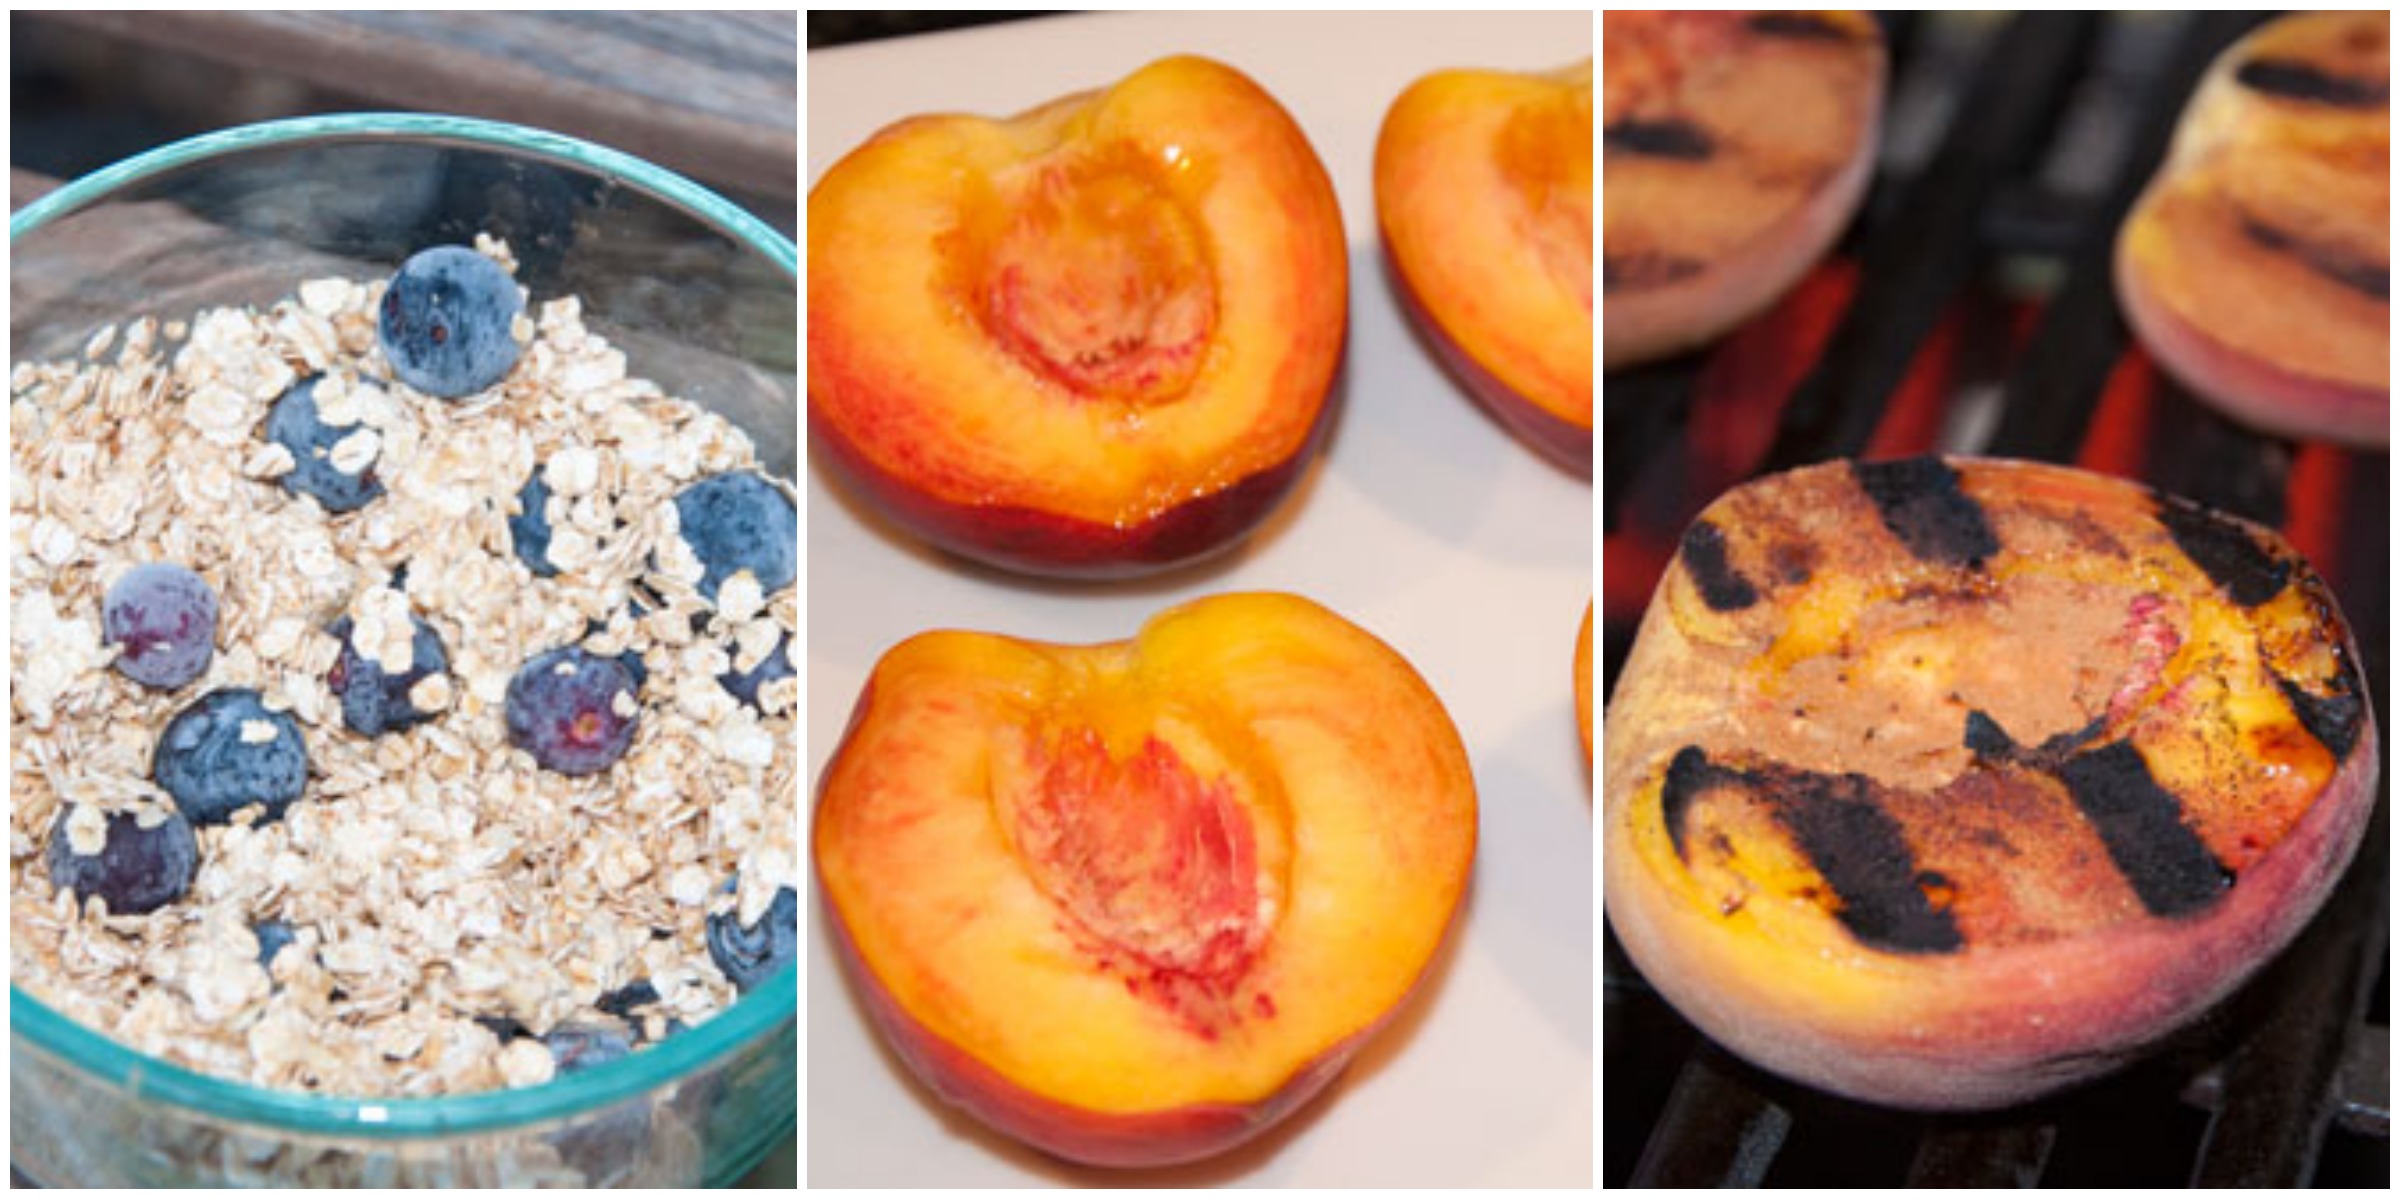
    2. I cut the peaches in half and removed the pit, then sprinkles ground cinnamon on each side and placed them on the grill.
    3. Let them grill on each side for 5 minutes.
    4. While the peaches are grilling mix together the oats, blueberries, agave nectar, and coconut oil.
    5. Bake oat concoction for 10 minutes.
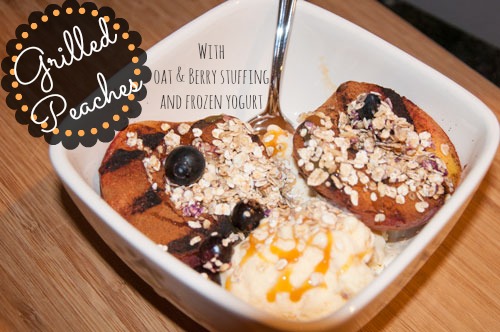
    6. Once peaches are tender, remove from grill and place in a bowl. Sprinkle the oat and blueberry bake on top.
    7. Enjoy as is, or serve with a scoop of vanilla or berry frozen yogurt.

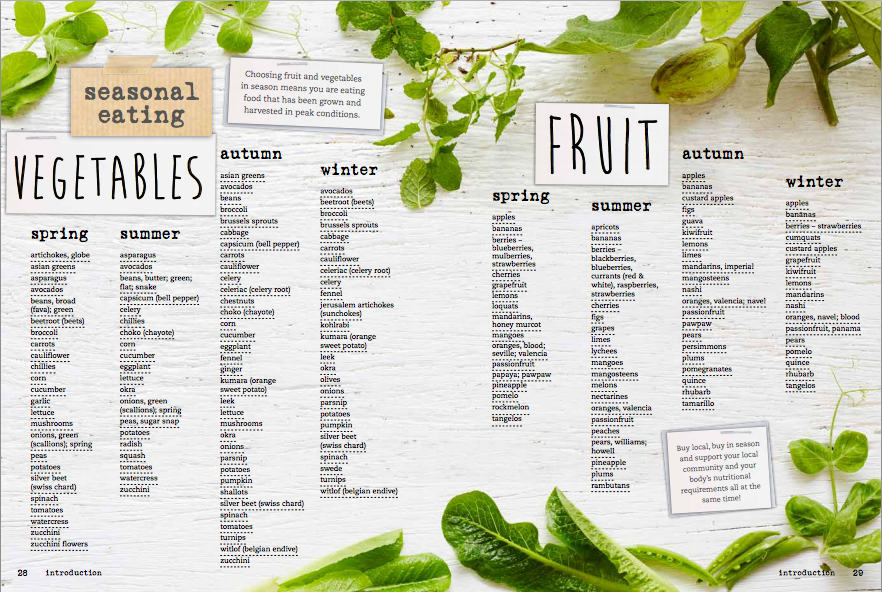
Grilled Peaches with Frozen YogurtI have actually grilled peaches before and loved them, but the oat and blueberry bake on the top gave it that extra little oomf that it really needed! I would definitely recommend this one and it would be perfect for kids too! If you are curious as to when peaches, blueberries, or any other fruit/vegetable are in season check the chart below and get a sneak peek at the cook book!

Fruits and Vegetables- Seasonal Eating

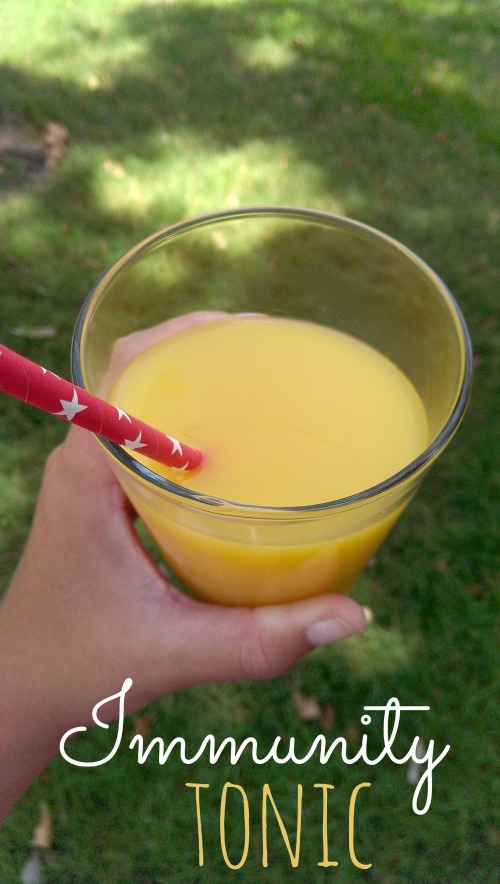
The second recipe I knew I had to try was for the Immunity Tonic. I am that person who has a terrible immune system and am always looking for ways to keep myself healthy. While in college I was sick all.the.time! It has gotten better, but I still don’t have time to get sick, and really who wants to be sick? No one. This tonic tasted great and it was super simple to make!

Immunity TONIC

Immunity Tonic

Ingredients:

Orange juice
Fresh ginger
Manuka honey
Tumeric

Directions:

Whisk ½ cup freshly squeezed orange juice with a1/2 inch grated piece of fresh ginger, 2 teaspoons manuka honey
and 1/2 inch grated piece of fresh turmeric in a small jug until combined.
Pour into serving glasses or bottles

I really enjoyed all of Lorna Jane’s input, as well as the pictures and quotations. She has some great insight into how to live healthy and about living life to it’s fullest. I would highly recommend the book to anyone wanting to change their lifestyle and become more healthy, but especially to women. Stay tuned, because I will be sure to post more recipes from the book as I get around to making them!

Take care of what you feed yourself

Do you want to win a free copy of NOURISH? All you have to do is come to the Twitter party with the Sweat Pink Community and Lorna Jane tonight at 8PM CST! Follow along with the #LiveLoveNourish hashtag or you can check  out @LornaJaneActive and @FitApproach to keep up with the topics. 10 wonderful participants will win a free copy of the cookbook and 1 lucky winner will get the cookbook AND a $150 Lorna Jane gift card! Go to the Facebook event to get more information! Want a copy now, go here to order it today!

All That Glitters Blog Signature

**I was provided an electronic copy of the Nourish cookbook, as well as a gift card for review purposes. All opinions are my own and I would never endorse something I didn’t love myself.**

Put An Egg On It

Sunshine BurgersHi Lovelies!

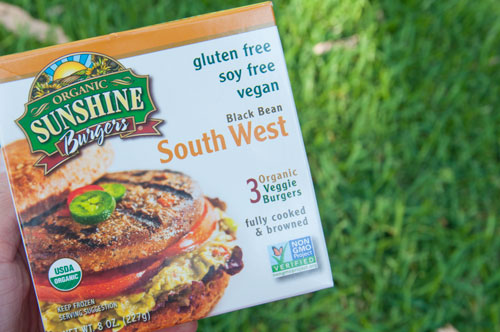
My name is Megan, and I am a burger addict. Pizza too, but that’s another story for a different day. I have been really trying to avoid these foods since I started my bootcamp a month ago, and have been trying to eat well and live a healthy lifestyle. Now, don’t by any means think that I am saying the meal down below is healthy, haha, but this black bean burger is much better for me than my regular beef burger. I am that person who likes to jam onions, ranch, bacon, and all sorts of unhealthy things into my burger meat. Lol. When I found out that I had the opportunity to try out Sunshine burgers for free, I jumped at the chance. I mean, really…who wouldn’t? Free food y’all! I have also been looking for a good black bean burger for a few years now. We used to go to this burger shop in Downtown Rochester, Michigan, and my favorite thing to order was their black bean burger. Ever since then, I have been trying to find something similar to it and have had no such luck. When I found out that Sunshine Burgers made a black bean one, I knew which flavor I was going to try immediately.

Black Bean Burger with egg.jpg

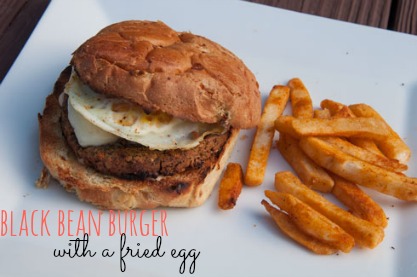
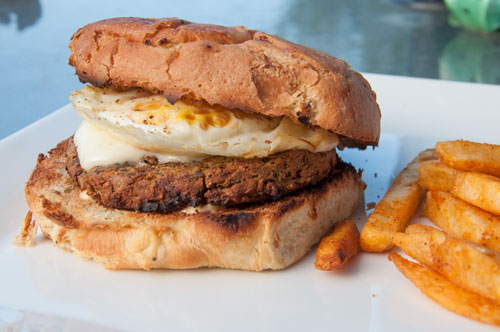
Now, I’m not going to lie to you, just looking at the burger by itself I was a little turned off. It doesn’t LOOK necessarily appetizing, but alas, I melted some fresh mozzarella on it, took it off the grill, placed it on my bun, spread a little chipotle mayo on it, and topped it all off with a fried egg. It was pretty darn good. Let me also say, that if you haven’t tried an egg on a burger (no matter what kind) you NEED to do it now! Best. Idea. Ever.

So, you want to try my wonderful mozzarella, egg, chipotle mayo, black bean goodness? You are in luck! You can either A.  go sign up for Sunshine Burger’s newsletter to get a free coupon! B. Find a store near you that sells Sunshine burgers by using their Find-A-Store feature on their website…OR C. Enter via the rafflecopter below to win some free product coupons from sunshine burger!

a Rafflecopter giveaway

Black Bean Burger with Mozzarella and Egg

What I used in my burger:

  • Sunshine Bugers- Southwest Black Bean
  • Burger Bun
  • 1 Egg-Fried
  • Kraft Chipotle Mayo
  • Fresh Mozzarella

Good luck in the raffle, everyone!!

All That Glitters Blog Signature**I received Sunshine Burger product to review without monetary compensation. All opinions are my own. I was given the opportunity to review through the Sweat Pink Ambassador community.**

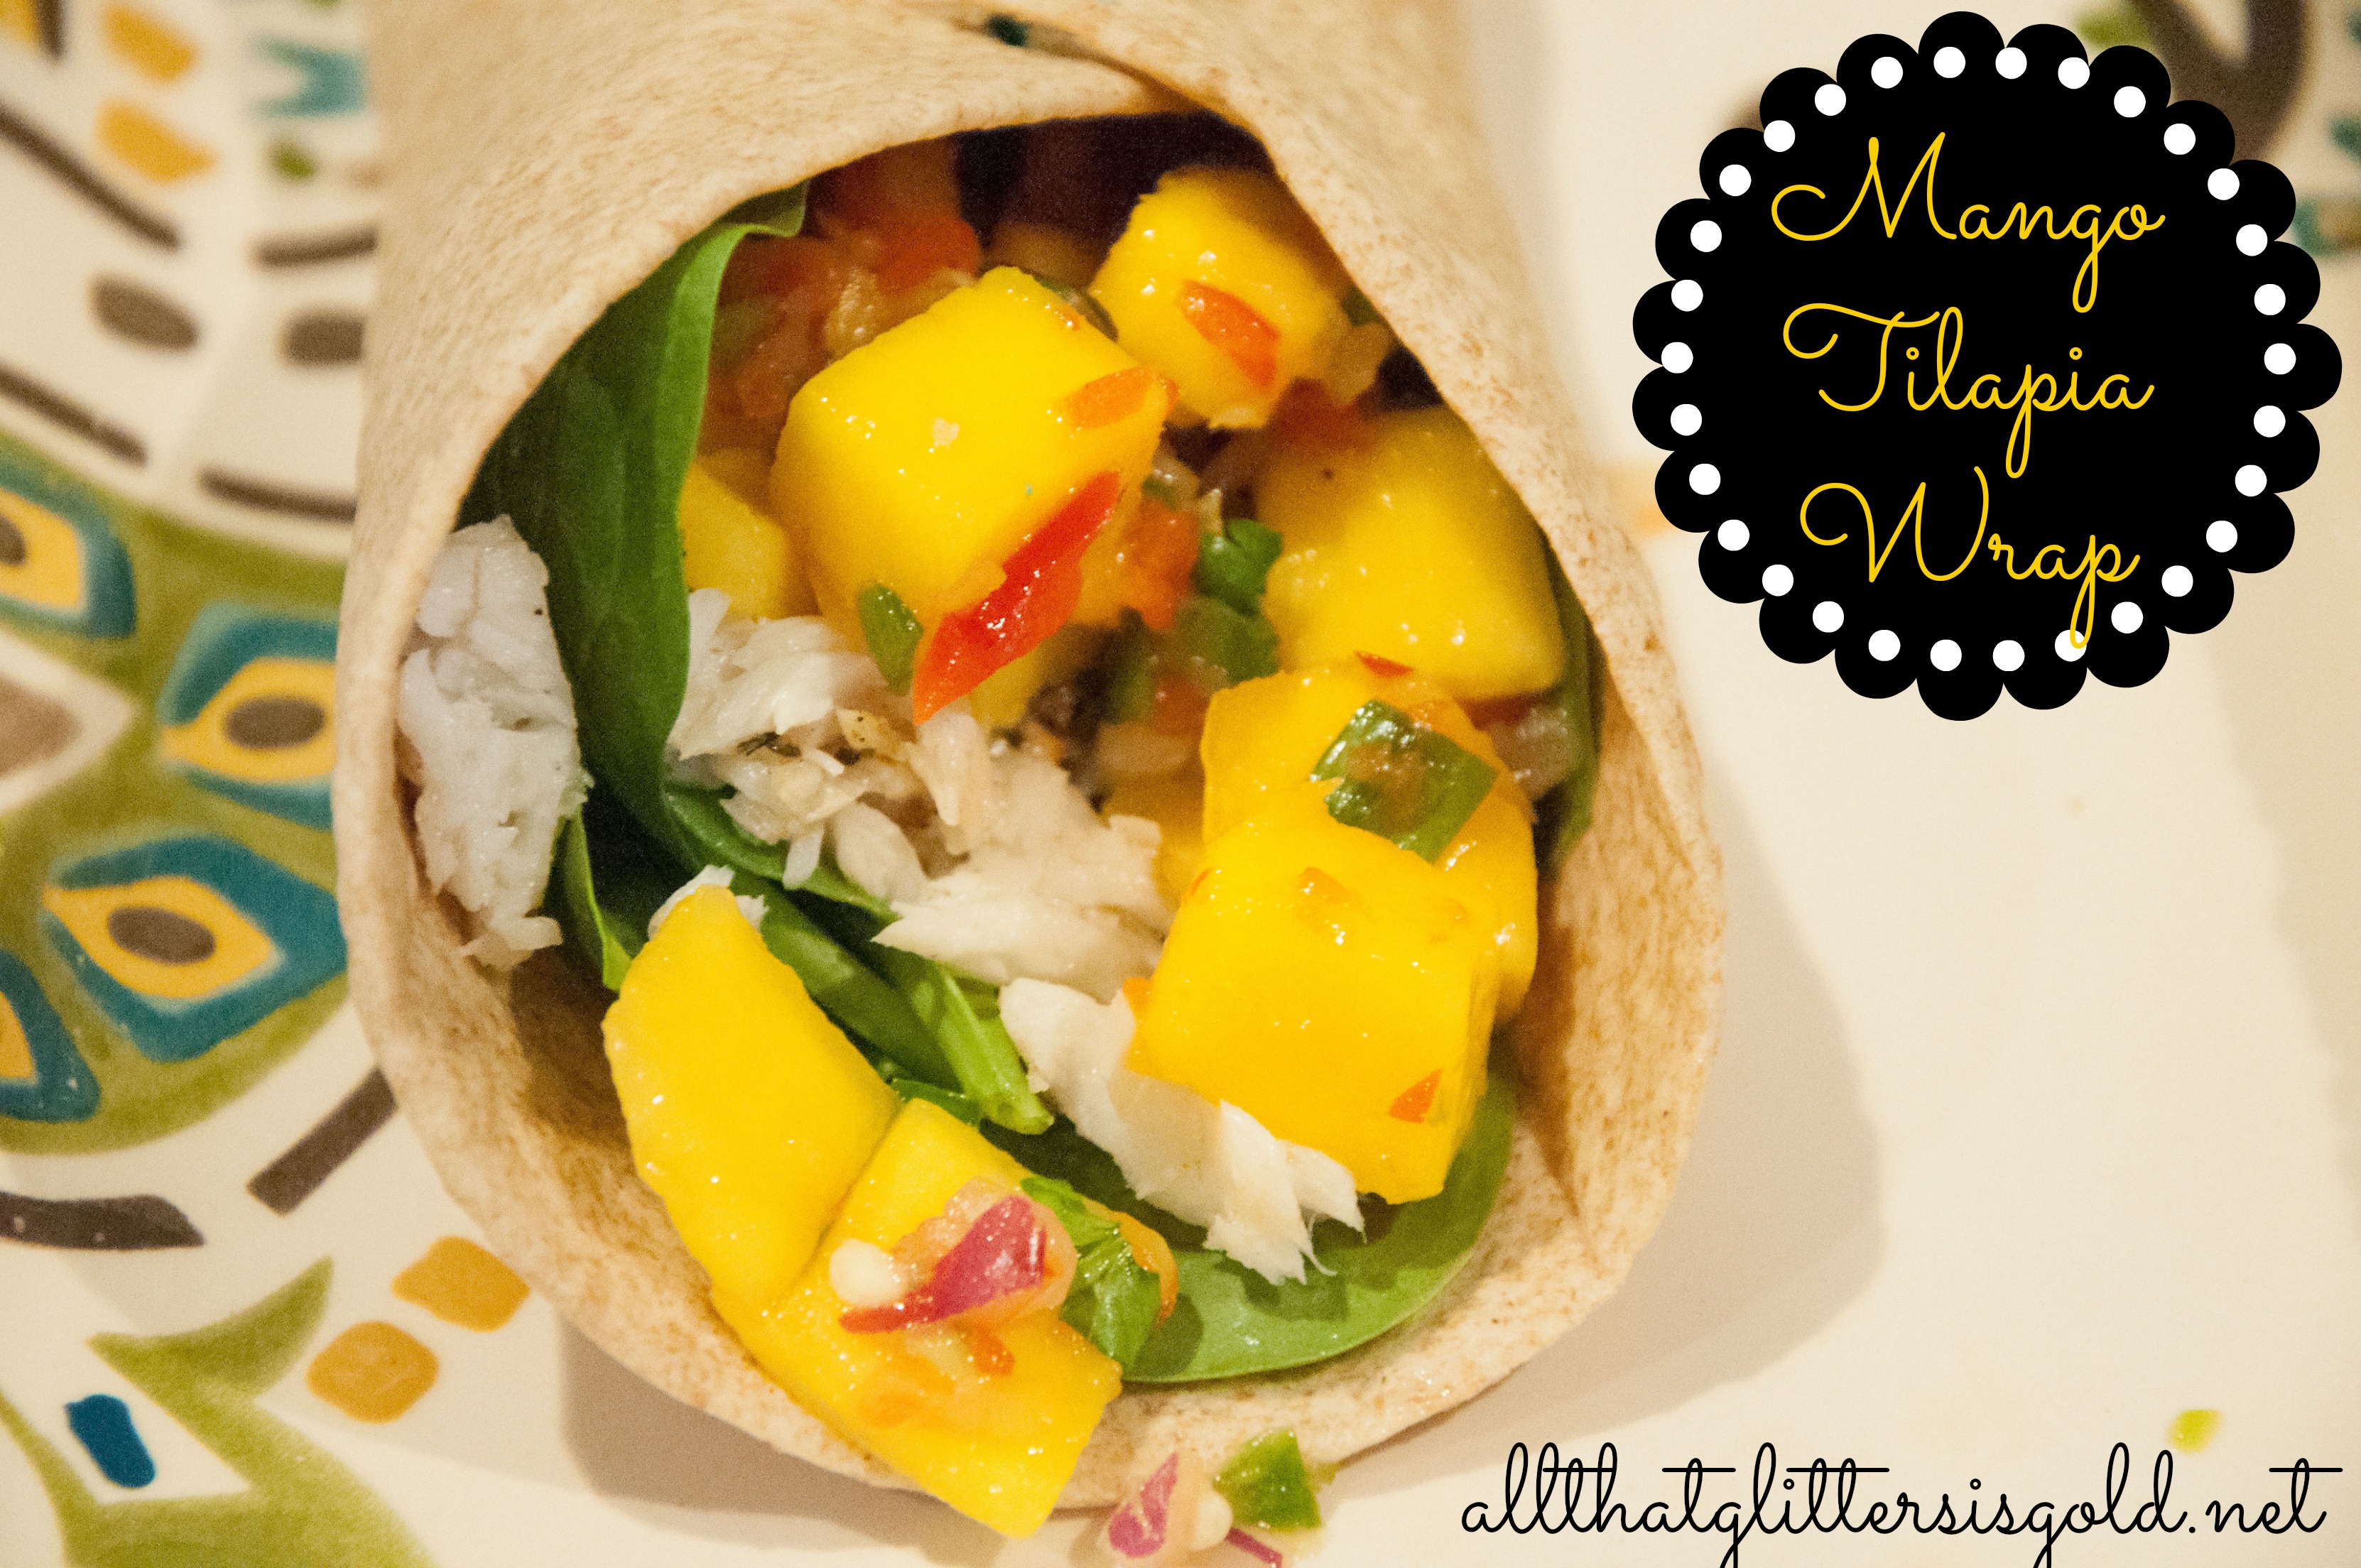
Mango Tilapia Wrap

Mango Tilapia Wrap

Hi Lovelies!

This week was the first week of a 6 week bootcamp I signed up for with my friend Chelsea. It’s going really well so far! Every muscle in my body is sore, but it will all be worth it in the end! I really just want to get healthy and more in shape, especially for our trip to the family reunion in Michigan this summer. You know how those go, you haven’t seen your family in an entire year (almost two actually!) and everyone wants to look their best. Ours is always at a lake house where we are in a bathing suit 99% of the time so that makes it even more necessary!

To go along with my bootcamp experience I have been trying really hard to eat healthier as well. I have had a lot of fish, chicken, ground turkey, eggs, veggies, fruits, etc. I am not going paleo, for those of you who were about to ask. If you read this article from way back when, you will know that I like my carbs and pasta a lot and will never be able to go paleo…but I would like to cut some of the crap and carbs out. I am extremely carb addicted and I think it is part of the reason for me being so tired all of the time. The whole wheat tortilla in this wrap was the first of it’s kind this week, yay for me! I haven’t even had pasta once this week, and for those of you who know me, you would know pasta is my downfall…I could eat it all day every day. Overall, I think my “get healthy plan” (I refuse to call it a diet, because it really is a lifestyle change:)) is going really well and I will be sure to check back in with you in a few days with my progress.

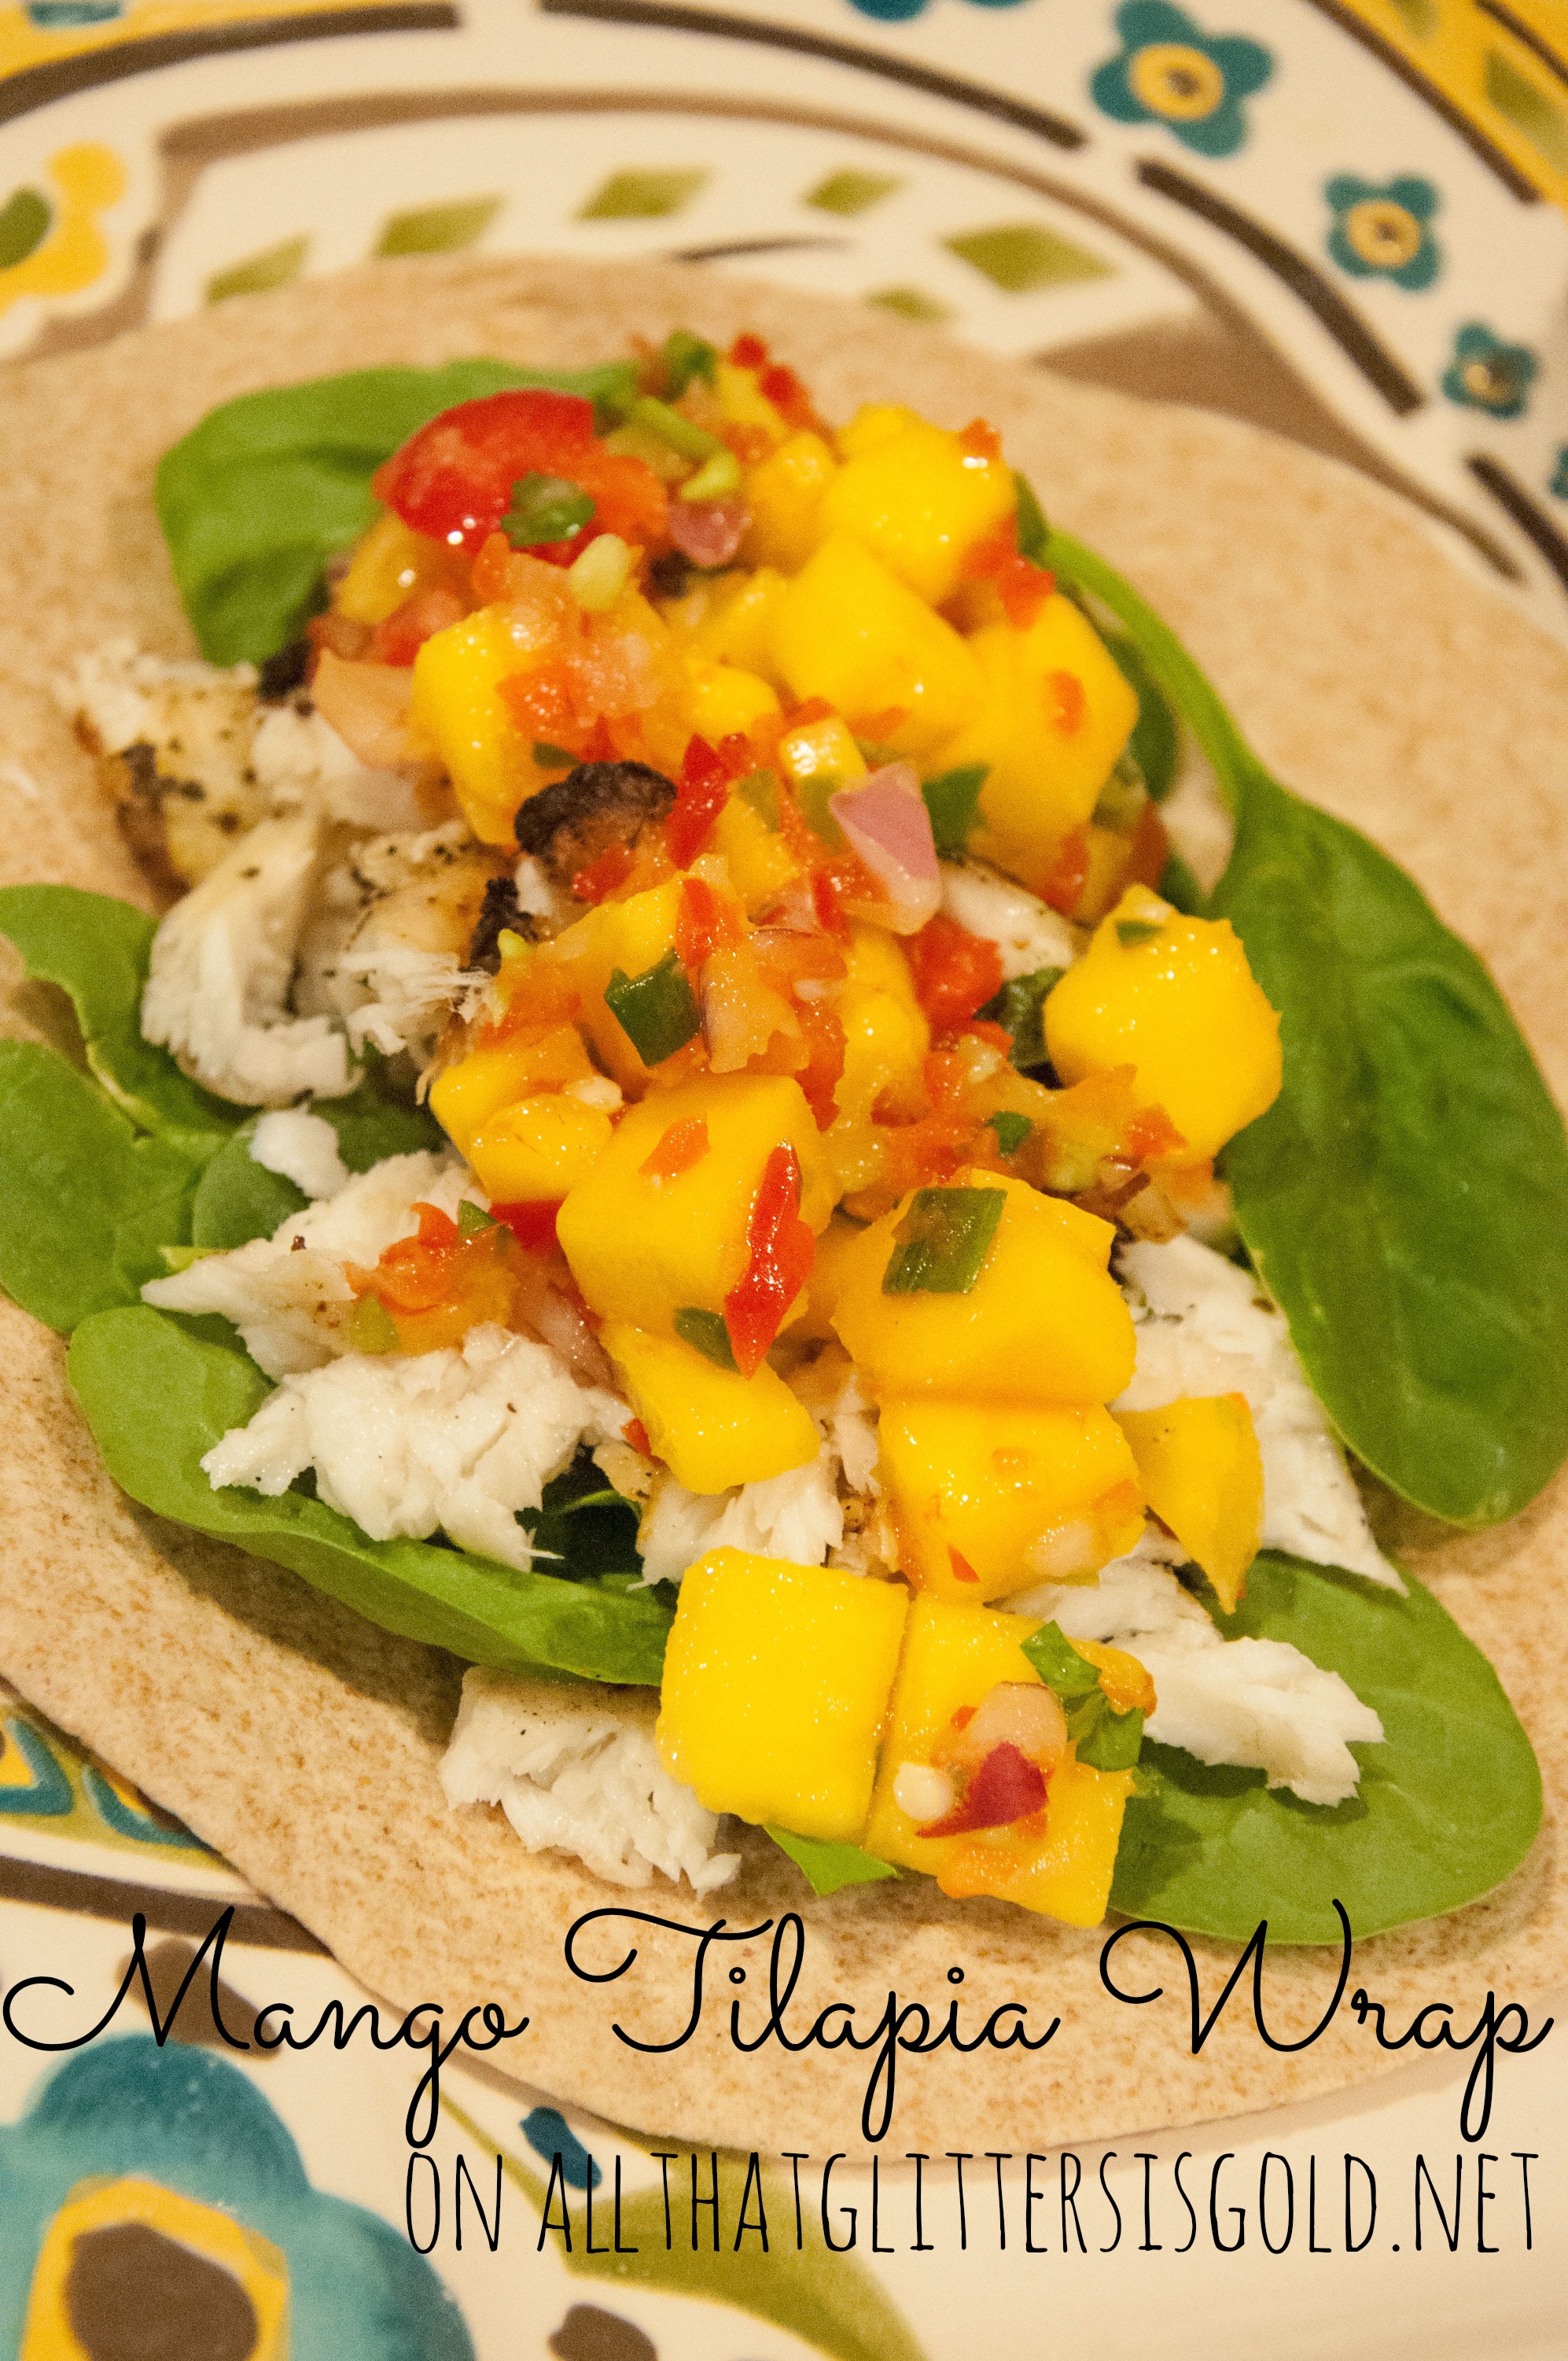
Mango Tilapia Wrap

I have been on a mango kick lately! I made some really great mango salsa here a few weeks back, but this time I tried to make the salsa a bit chunkier. I wanted it to be more like a pico de gallo. It was really great with the tilapia, which is a good thing since I bought a Costco pack of tilapia. Wes and I will be tilapia-ed out by the time that package of fish is gone. So here you have it, the mango tilapia wrap!

Wrap Ingredients:

  • Tilapia filets
  • Fresh cilantro
  • Olive Oil
  • Basil
  • Oregano
  • Garlic
  • Baby spinach
  • Mango Salsa (Ingredients below)

Mango Salsa Ingredients:

  • 2 Mangoes
  • 1/2 Red bell pepper
  • 3 Green Onions
  • 4 Tablespoons of cilantro (I add a bit more of this because I LOVE cilantro)
  • 1 Jalapeño
  • Juice of 1/2 a Lemon
  • Juice of a Lime
  • 1/4 Cup of red onion

I started off making the mango salsa. As I said before, I wanted to make it chunkier, so I didn’t put the mangos in the food processor. I diced them up and placed them into a big mixing bowl. I then cut the red bell peppers, jalapeño, and red onion into strips and placed them into my food processor. I chopped them into small pieces. Add those ingredients to the mango and stir it up. Chop up the green onion and cilantro into small pieces with your knife and then stir those in as well. Lastly, I squeezed the lemon and lime juice in. Those measurements are purely reference numbers, I probably added a lot more than that to mine, just use your best judgement and your taste buds:)

One the salsa is complete, I moved on to the tilapia. I brushed some olive oil on to both sides of the filets and then sprinkled with fresh, chopped cilantro, basil, oregano, and some chopped garlic. Grill on each side for a few minutes until thoroughly cooked on the inside. While the fish is cooking, get your tortilla out and lay some baby spinach onto it. When the fish is done, flake it into smaller pieces and place on top of the baby spinach. Top it off with your mango salsa! Enjoy!

*For those of you not wanting the carbs from the tortilla, just lay down a big bed of spinach and top it off with the tilapia and mango salsa for a Mango Tilapia Spinach Salad!*

Mango Tilapia Wrap

Linking up with: Treasure Box Tuesday
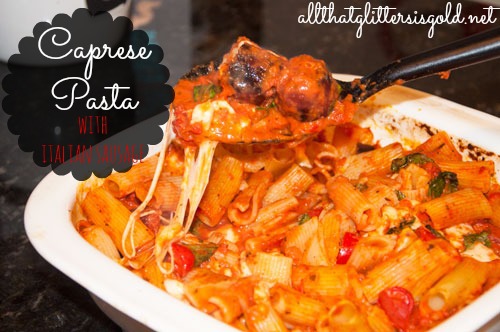
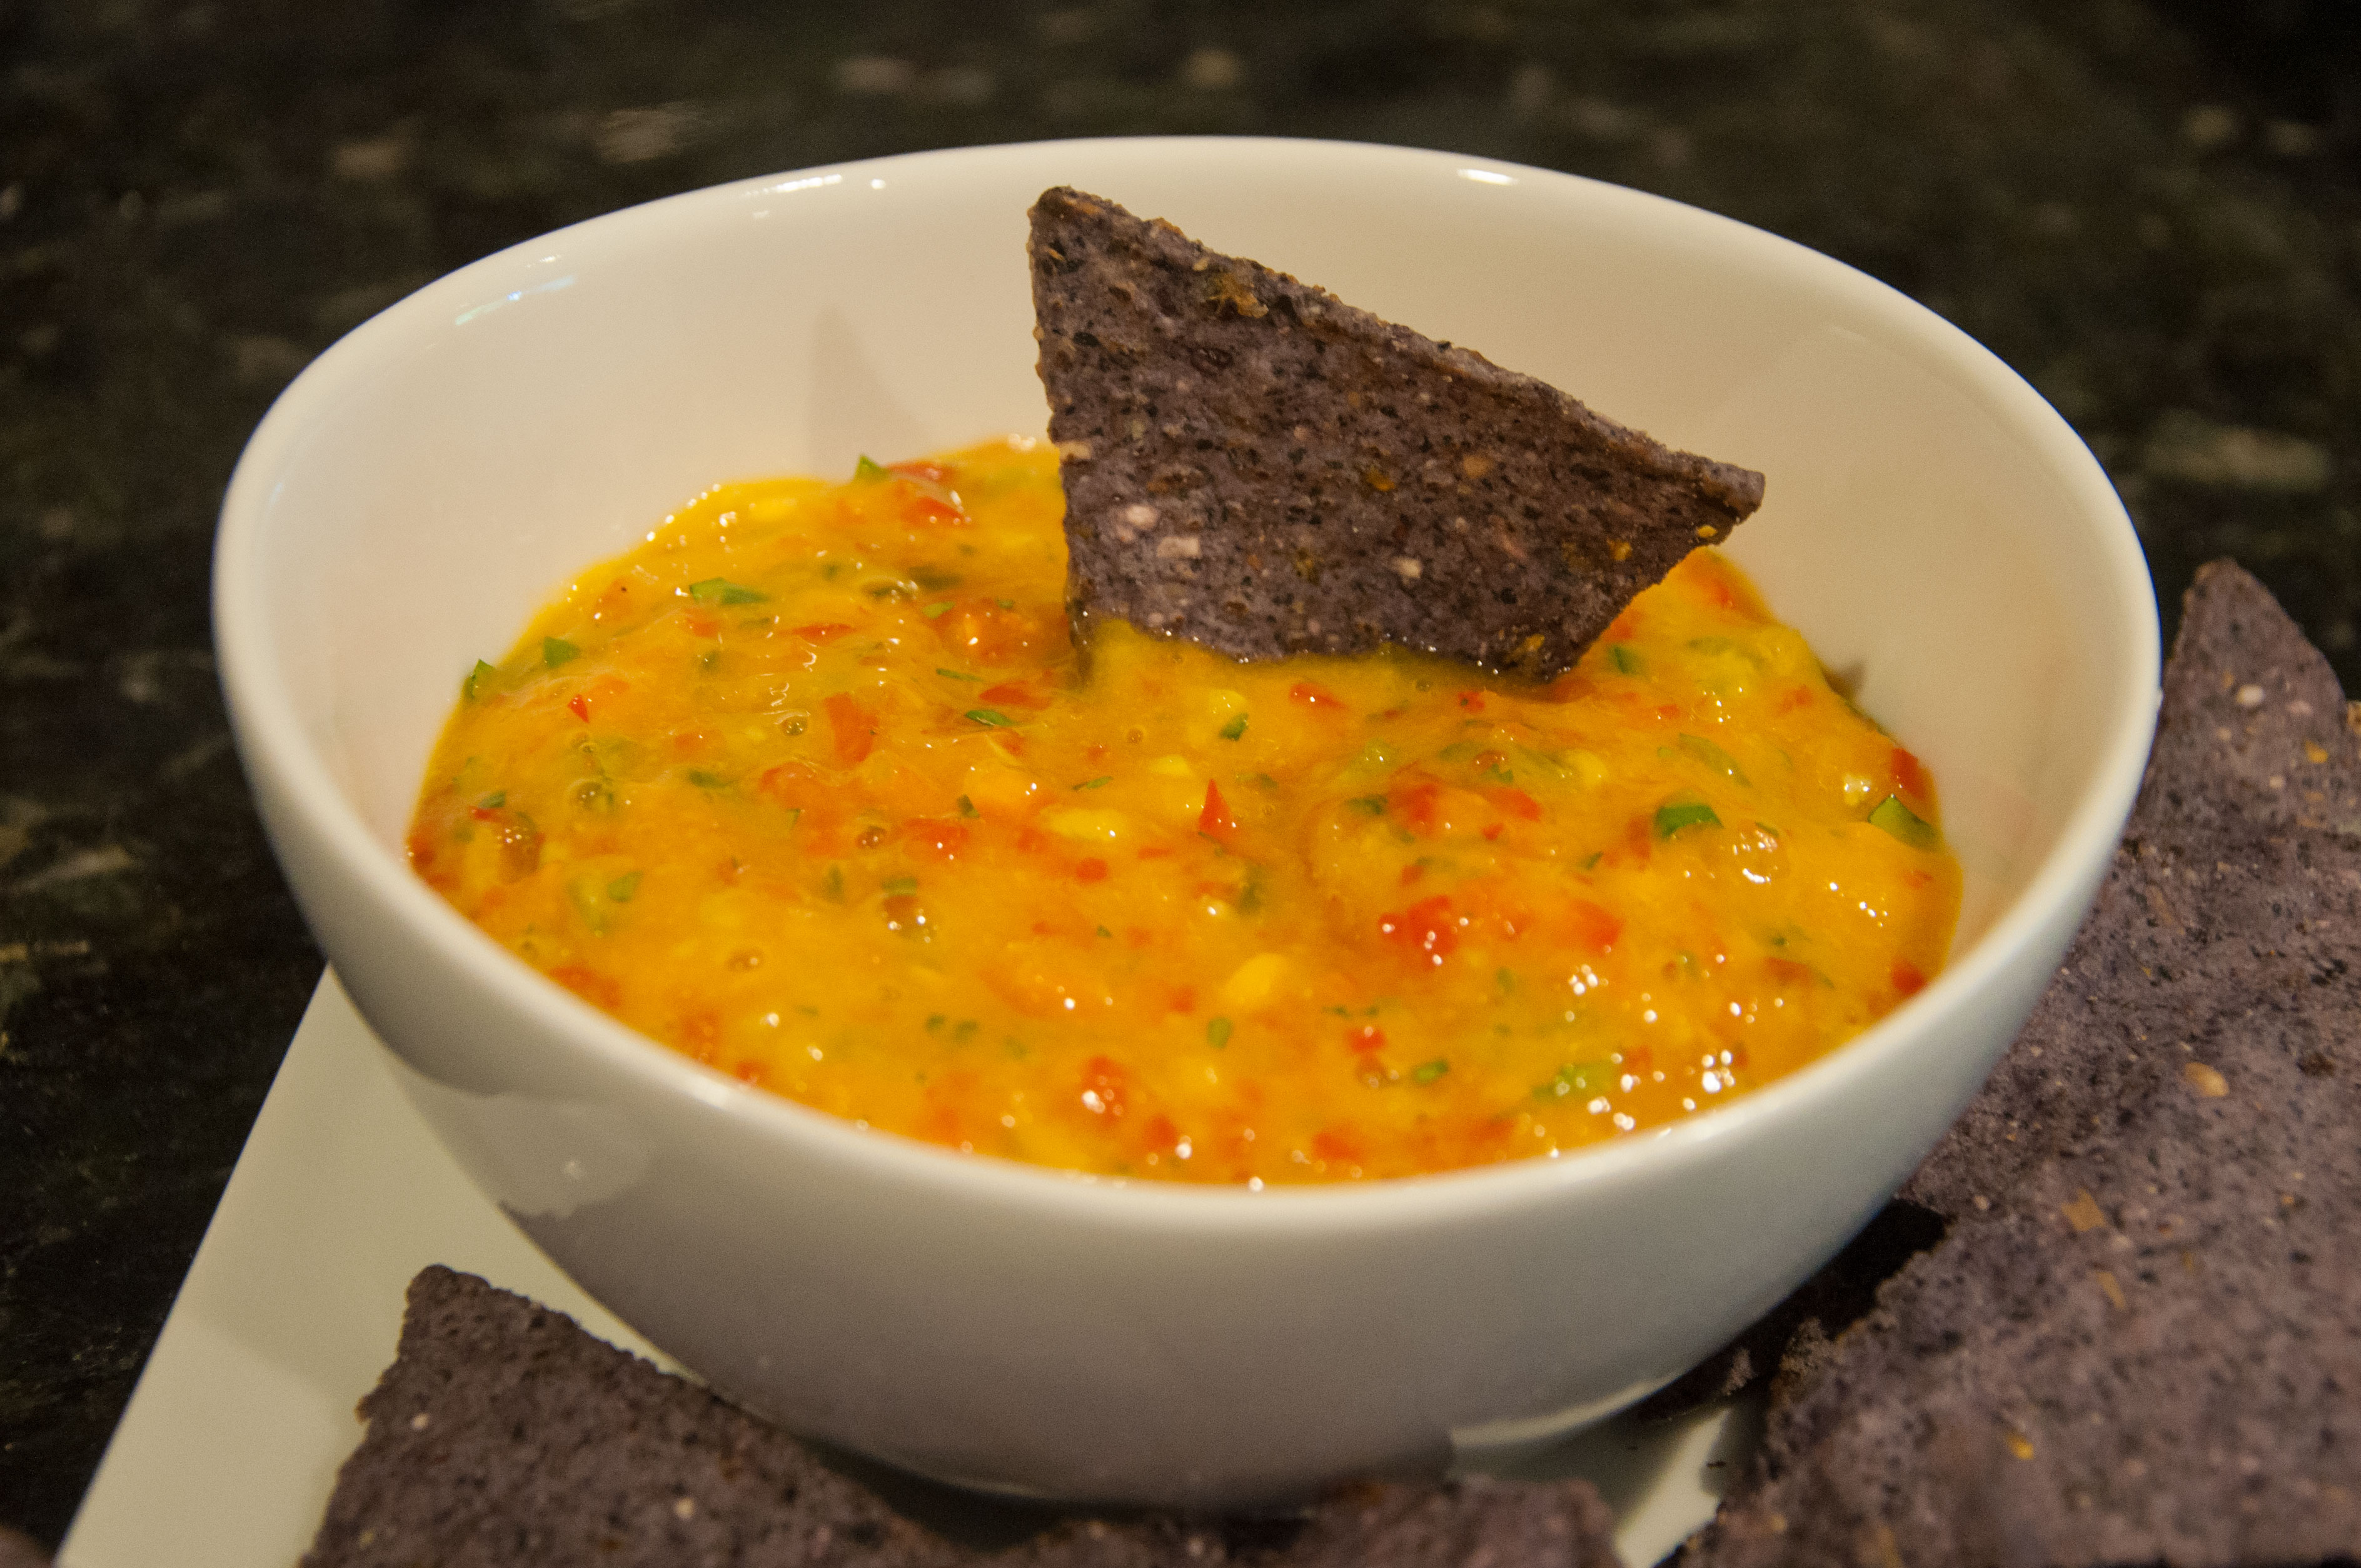
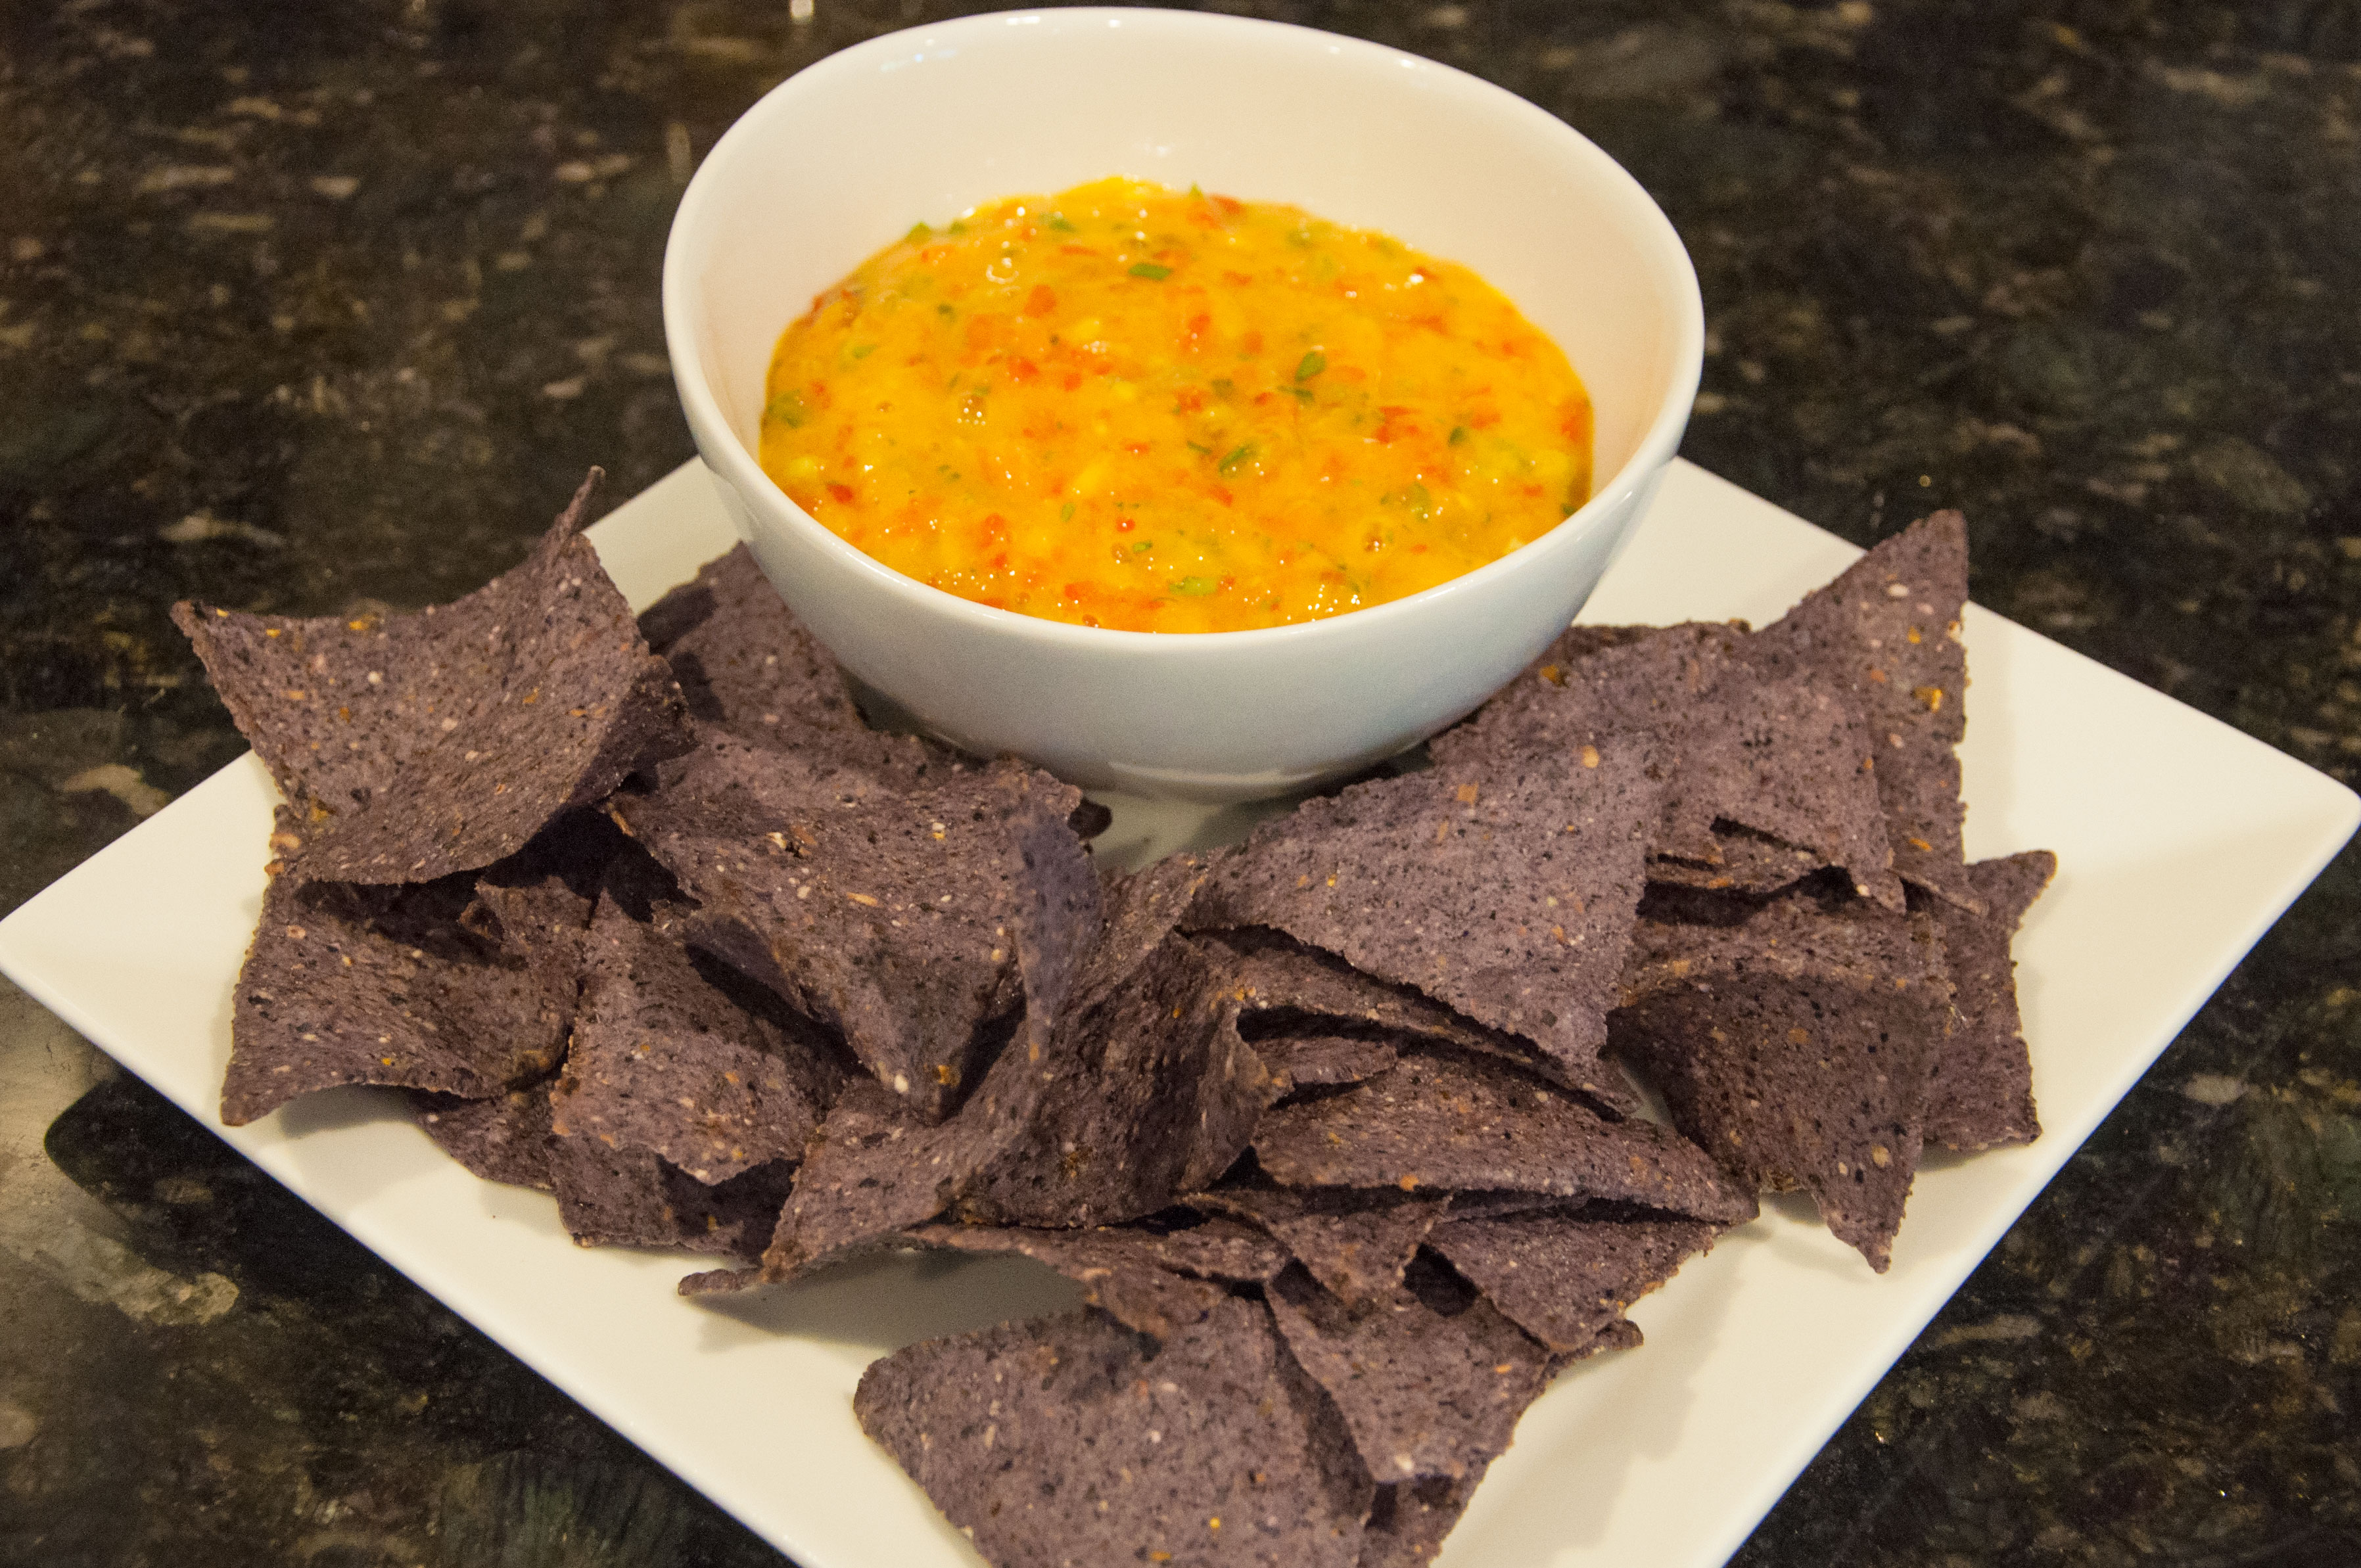
Tangy Mango Salsa

Tangy Mango Salsa

Hi Lovelies!

Summer is my favorite season for more than one reason, but one of the best reasons is the food! Summer is when all of my favorite fruits are plentiful and mangoes are at the top of my favorites list! I found this mango salsa recipe online years ago, and I’m not really positive which site it came from, but considering they are all pretty similar that’s ok:) I really love serving it with tortilla chips, like these blue corn ones from Whole Foods, or with Wheat Thins. Wheat thins are probably my favorite actually…definitely give those a try!

Ingredients:

  • 1 mango, peeled and diced
  • 1/2 of a red bell pepper, finely diced
  • 1 green onion, chopped
  • 2 tablespoons cilantro
  • 1 jalapeño, diced
  • Juice of 1/2 a lime
  • Juice of 1/4 a lemon
  • 1/4 cup of red onion
  • Wheat thins or tortilla chips


Blue corn chips with mango salsa

Directions:

  1. To start, decide if you want your salsa chunky or not. I prefer mine to be more pureed, but some prefer chunkier salsa.
  2. If you prefer it to be chunkier you may want to used a chopping machine such as this one to finely chop all of the ingredients and just mix them together in a bowl.
  3. If you prefer smoother salsa, as pictured, you will want to put your mango in a food processor and turn it on until the mango pieces are very finely chopped.
  4. Then add all of the other ingredients and turn it on chop for a few more seconds.
  5. The mango should puree itself, while all the other ingredients are finely chopped (you don’t want them to puree as well)
  6. I always like to refrigerate the salsa for 20 minutes or so before serving.
  7. Serve with your wheat thins or tortilla chips!

Mango salsa with blue corn chips Mango Salsa Recipe

Voila! There you have it! We put this on our fish tacos last night and it made the entire meal! I am so excited to serve this all summer long!

All That Glitters Blog Signature